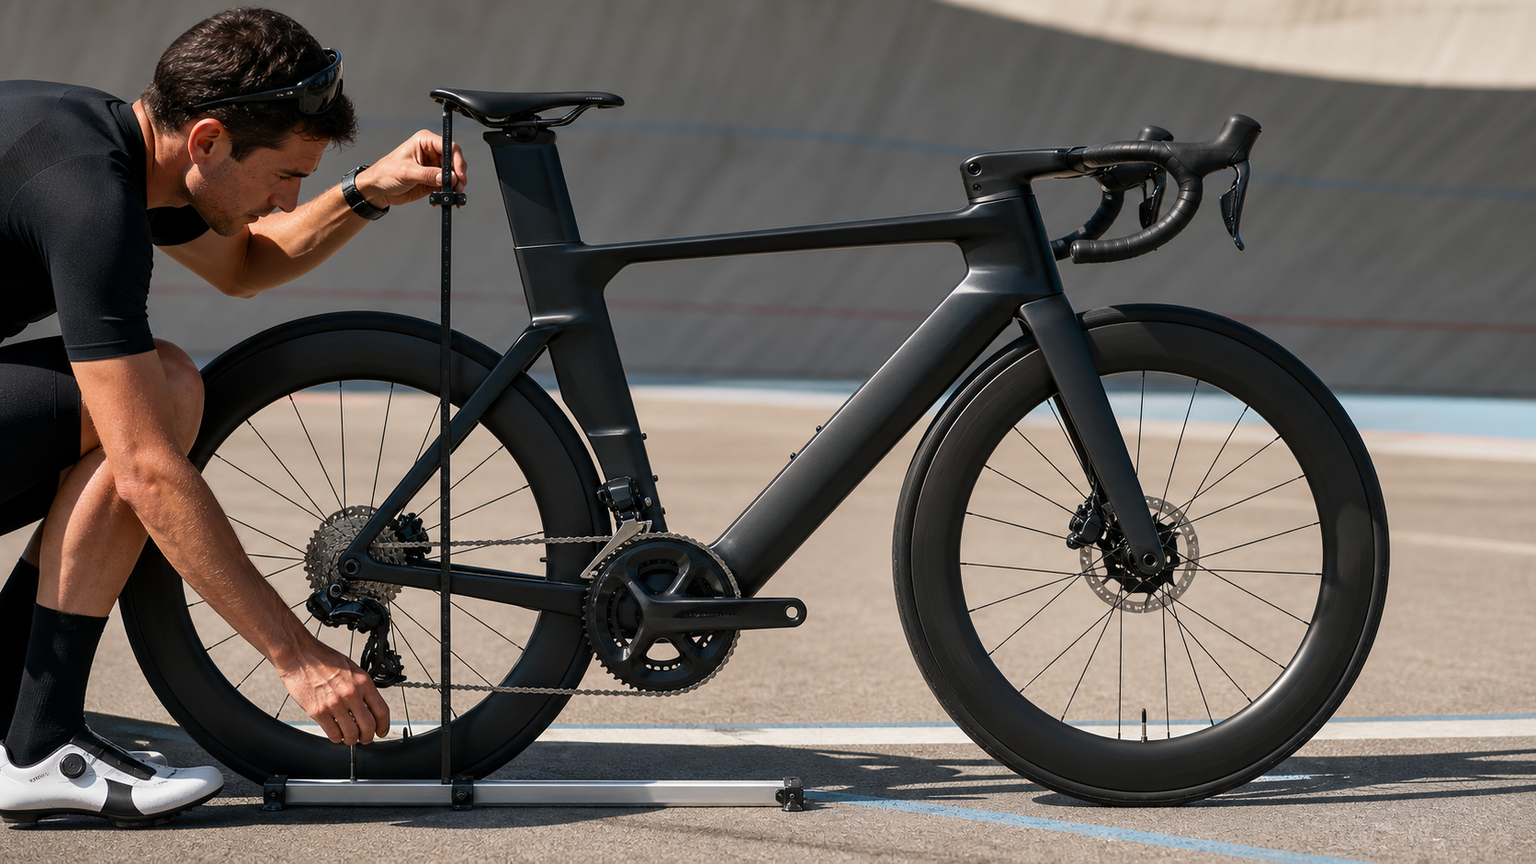
Aero Road Bike Geometry Explained: Why Your Aero Bike Feels Different from Everyone Else’s
The aero road bike has become the hottest category in the road bike market in recent years. From pro teams to weekend riders, everyone wants that feeling of “cutting through the wind.” But many riders discover, after buying an aero frame, that the ride feel is nothing like what they imagined. The key is often not the frame itself, but whether you understand the design philosophy behind aero bike geometry.
What Is Frame Geometry?
Frame geometry refers to the angles and distances between key points on a frame. These numbers may look dry on paper, but they directly determine a bike’s handling characteristics, stability, and riding position.
Key Geometry Parameters
| Parameter | English Term | Meaning | Aero Bike Trait |
|---|---|---|---|
| Head Tube Angle | Head Tube Angle | The lean angle of the front fork | Steeper (72°-73.5°) |
| Seat Tube Angle | Seat Tube Angle | The lean angle of the seat tube | Steeper (73°-75°) |
| Top Tube (TT) | Top Tube (TT) | Horizontal distance from head tube center to seat tube center | Medium to slightly long |
| Chainstay | Chainstay | Distance from bottom bracket to rear axle | Shorter (395-410mm) |
| Reach | Reach | Horizontal distance from bottom bracket to top of head tube | Core fitting parameter |
| Stack | Stack | Vertical distance from bottom bracket to top of head tube | Lower |
| Wheelbase | Wheelbase | Distance between front and rear wheel axles | Medium-short |
| Trail | Trail | Distance between the steering axis extension and the front wheel contact point | Affects steering responsiveness |
| BB Drop | BB Drop | How far the bottom bracket sits below the wheel axle centerline | Lower (lower center of gravity) |
The Design Philosophy Behind Aero Geometry
1. An Aggressive, Forward-Leaning Position
The core design idea of an aero frame is to keep the rider in a lower, forward-leaning position to reduce frontal wind resistance. This shows up as:
- Lower Stack: The head tube is shorter — on some models it’s only 100-120mm
- Longer Reach: The rider’s upper body extends further forward
- Steeper seat tube angle: Pushes the pelvis forward, favoring leg power delivery angle during high-speed cruising
This means that on an aero bike, your body will sit lower, longer, and further forward than on a typical road bike. If you lack flexibility or core strength, holding this position for long periods can be quite painful.
2. Agility from Shorter Chainstays
Aero bikes typically use shorter chainstays (395-410mm), which offer several benefits:
- The rear wheel sits closer to the rider’s center of gravity, making acceleration more direct
- Better rear-wheel traction on climbs
- A shorter overall wheelbase for more agile handling
But shorter chainstays come with a trade-off: on rougher roads, rear wheel bounce is transmitted more noticeably to the rider.
3. Head Tube Angle and Handling
Aero bikes typically have a head tube angle between 72° and 73.5°. This “moderately steep” setting balances responsive handling against high-speed stability:
- Steeper angle: More responsive steering, suited to criteriums and technical corners
- Slacker angle: Better straight-line stability, suited to long-distance cruising
Because aero bikes are often ridden at high speeds, designers pair this with an appropriate trail figure (usually 55-60mm) to ensure stability at speed.
How Aero Tube Shapes Affect Geometry
The signature feature of aero bikes is the wing-like, airfoil-shaped tubing. But these tube profiles aren’t just for looks or drag reduction — they also affect the frame’s structural behavior:
Airfoil Down Tube
The down tube is usually the frame’s thickest tube, using a teardrop or NACA airfoil cross-section. The wider profile provides:
- Higher lateral stiffness (resisting twist under pedaling load)
- A larger frontal projected area (but a lower drag coefficient, so the net effect is reduced drag)
Flat Seat Tube
The seat tube uses a flat or D-shaped cross-section, wrapping around the front of the rear wheel, with the goal of:
- Reducing turbulence in front of the rear wheel
- Providing some vertical compliance (a tube flattened side-to-side flexes more fore-aft)
Deep-Section Head Tube
The head tube area is the trickiest to optimize aerodynamically, since it houses the stem, cabling, fork, and other complex components:
- Integrated designs merge the stem and head tube into one unit
- This reduces turbulence generated in this area
Aero Geometry vs. Climbing Bike Geometry
| Trait | Aero Bike | Climbing Bike |
|---|---|---|
| Weight | Heavier (larger tubes, more material) | Very light |
| Stack | Lower | Medium |
| Reach | Longer | Medium |
| Chainstay | Short (395-410mm) | Very short (400-405mm) |
| Tube Shape | Airfoil, sculpted | Round or lightweight sculpted |
| Best Use Case | Flat roads, rolling terrain, time trials | Long climbs, mountain roads |
| Riding Position | Low, aggressive | Relatively upright |
Interestingly, the recent trend is toward “all-round” bikes that combine the strengths of both aero and climbing bikes. Models like the Specialized Tarmac SL8 and Trek Madone Gen 8 strike a new balance between aero efficiency and weight.
How to Tell If Aero Geometry Suits You
Body Condition Checklist
- Hip flexibility: Can you comfortably touch the floor in a forward bend? The low, aggressive position of an aero bike requires good hip mobility
- Core strength: Can you hold a plank for over 60 seconds? A low riding position relies on your core to support your upper body
- Neck mobility: In a low position, your neck must work harder to lift your head and look ahead
- Wrist load: The lower your upper body, the more weight your wrists bear
Quickly Judging with the Stack/Reach Ratio
The Stack ÷ Reach ratio is a quick way to gauge how aggressive a bike’s riding position is:
| Ratio | Position | Best For |
|---|---|---|
| > 1.55 | Comfortable, upright | Casual riding, beginners |
| 1.45-1.55 | Moderately sporty | Most riders |
| 1.35-1.45 | Race-oriented | Riders with a training base |
| < 1.35 | Extremely aggressive | Professional racers |
Most aero bikes fall between 1.35 and 1.45. If your current bike’s ratio is 1.50 or higher, switching directly to an aero bike may take some adjustment.
Geometry Tips for Buying an Aero Bike
- Don’t just look at frame size — look at Stack and Reach: The numbers for a “Medium” can vary significantly between brands
- A test ride is essential: Numbers on a geometry chart can’t fully convey how a bike will actually feel
- Leave room to adjust: Choose a frame with a Stack slightly lower than your current setup, then fine-tune with spacers
- Consider stem length: A 10mm difference in Reach can be compensated for with stem length
- Don’t sacrifice your fit for aero gains: Aero benefits gained from an incorrect riding position are far less valuable than a correctly-fitted “non-aero” setup
Aero geometry isn’t a case of “more aggressive is always better.” Finding a setup that lets you maintain good form while staying comfortable over long rides is what truly unlocks the benefits of an aero bike. Remember: the fastest frame is the one on which you can put out your maximum power.
Related Reading
單車高張力拍攝神器 Antigravity A1 全景空拍機! / CT Yeh
28 天前
單車 梅山36灣 坡度介紹 路段介紹 空拍 (相關遊記影片,請參考說明或我的頻道喔,歡迎訂閱)
6 年前
#Canyon Aeroad 公路車 三年騎乘 #心得 | 出保方式 | 購買價格計算 | 同場加映累積三年大保養慘況
6 年前
#公路車 #Fitting 靠人工智慧APP 幫你調整單車
6 年前
3D 列印車褲墊 / 舒適改善? / 無痕 x 分區壓縮 / ATK & Decider系列 / JE22黑科技 / #公路車 #CTYEH
11 個月前
碟煞公路車 優缺點?換車一年半實際經驗分享 / 公路車 / CT Yeh
2 年前
再一組! 全碳幅條 碟煞/無內胎輪組 開箱! 到底好騎嗎? UNAAS X40 | 公路車 | CT Yeh
4 年前
鉅齒紋輪組!? ControlTech MEG-T50 EVO 碳纖維幅條輪組/ 功率對比實驗 / 公路車 / CT Yeh
2 年前