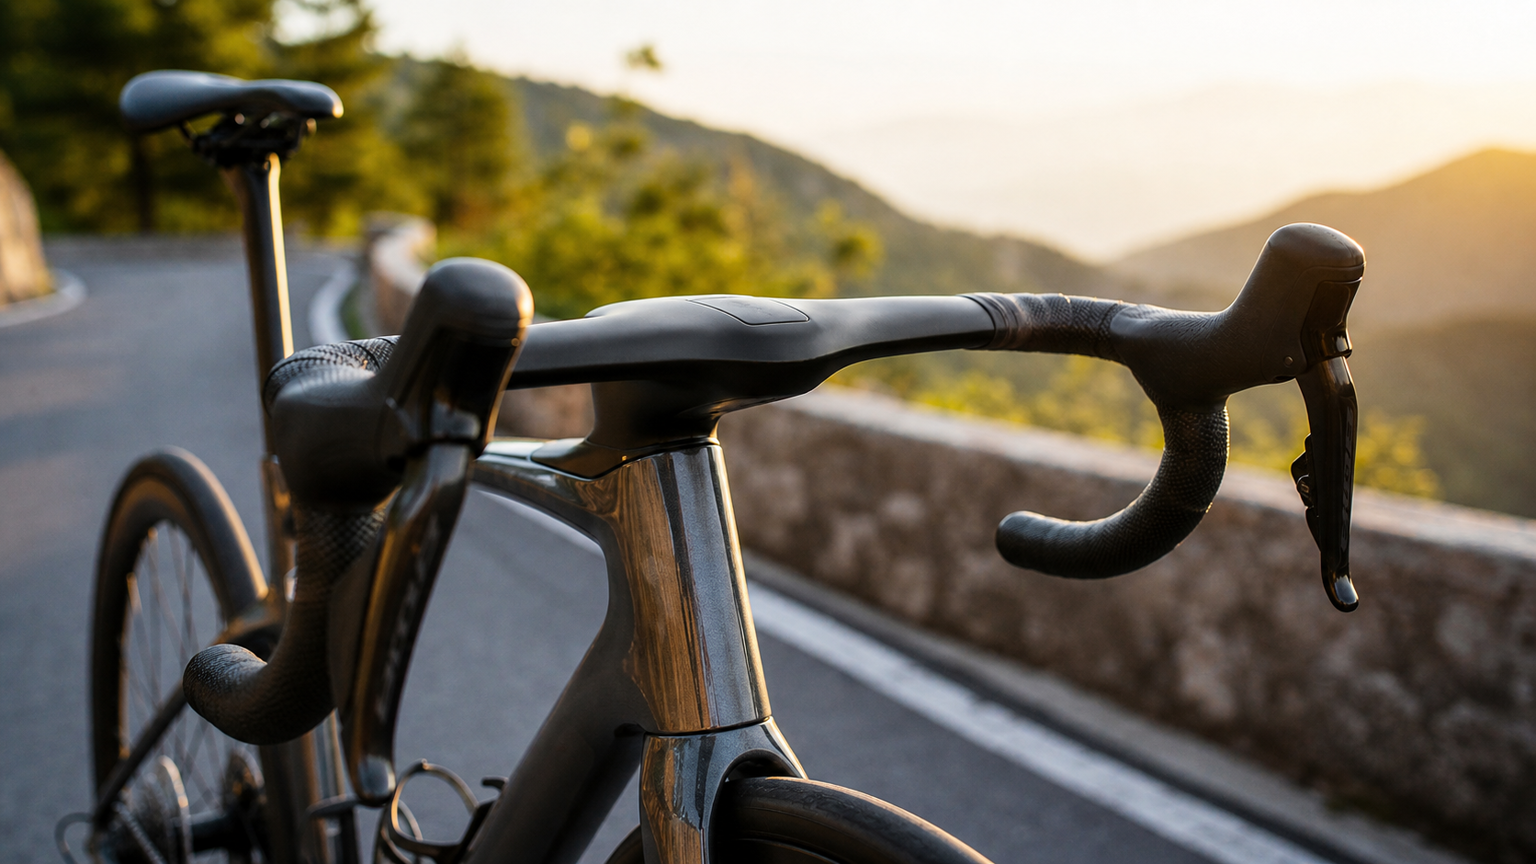
Pros and Cons of Integrated Cockpits: The Trade-off Between Aesthetics and Practicality
Open the latest model page from any bicycle brand, and you’ll notice a common feature: a clean, uncluttered front end with no visible cables, where the stem and handlebar blend seamlessly into one. This is the integrated cockpit, which has spread from professional teams to the consumer market and has become standard equipment on high-end road bikes. But beneath that sleek, beautiful exterior lie several trade-offs you need to know about.
What Is an Integrated Cockpit?
An integrated cockpit is a design that combines the following components into a single unit:
- Stem: The component connecting the steerer tube to the handlebar
- Handlebar: The drop bar the rider grips
- Cable routing channels: The pathways for brake and shift cables
Based on the degree of integration, there are three levels:
| Level | Description | Examples |
|---|---|---|
| Semi-integrated | Stem and handlebar are one piece; cables are exposed but concealed by the stem cover | Some mid-range models |
| Fully integrated | One-piece design; cables are completely hidden inside the stem and handlebar | Specialized, Trek high-end models |
| Ultimate integration | Stem, handlebar, and computer mount are all integrated into one | Canyon Aeroad CFR, Cervélo S5 |
Advantages of Integrated Stems
1. Aerodynamic Benefits
The front end is the area of the bike with the largest frontal surface and the most severe turbulence. The integrated design reduces drag through the following means:
- Eliminating the joint between stem and handlebar: Reduces turbulence generation
- Hiding cables: Exposed brake and shift cables are an unexpected source of drag
- Optimizing cross-section profiles: One-piece construction allows for smoother aerodynamic shapes
How significant is the actual benefit? According to wind tunnel data from various brands, compared to a traditional round-tube stem with external cabling, the integrated design saves approximately 3-8W (at wind speeds of 40-45km/h). This figure may seem modest, but in a time trial, it could mean 10-20 seconds faster per hour.
2. Aesthetic Value
This is the most obvious and undeniable advantage. A one-piece front end delivers:
- A clean visual appearance
- No messy cables
- A highly integrated, tech-forward look
- Great photo appeal (let’s admit it, this matters)
3. Theoretically Higher Structural Stiffness
A one-piece construction has no clamping interface between the stem and handlebar, making the force transfer path more direct. Some brands claim integrated stems are 15-25% stiffer than traditional assemblies, providing more precise feedback during hard sprints or sharp cornering.
4. Competitive Weight
Top-tier integrated cockpits typically weigh 350-420g (including the stem portion), which is comparable to or even lighter than an equivalent separate stem (120-150g) plus handlebar (200-250g).
Disadvantages of Integrated Stems
1. Difficult Fitting Adjustments
This is the most critical issue with integrated cockpits.
Adjustability of traditional separate systems:
- Stem length: 60-130mm options
- Stem angle: -17° to +17°
- Handlebar width: 38-44cm options
- Handlebar reach/drop: Multiple shapes available
Adjustability of integrated systems:
- Stem length: Fixed (or limited to 2-3 options)
- Handlebar width: Fixed
- Handlebar shape: Fixed
- The only thing you can usually adjust is spacer height
This means that if your fitting requirements call for a 100mm stem with a 40cm handlebar, but the integrated cockpit you purchased only offers 90mm/42cm or 110mm/42cm options, you’ll have to make do.
2. High Maintenance and Service Costs
Replacing cables inside an integrated cockpit is a nightmare:
- Replacing brake hoses: Requires disassembling the entire cockpit, or even the fork
- Replacing shift cables: Also requires extensive disassembly
- Bleeding: Bends in the hydraulic lines inside the cockpit can make air bubbles difficult to purge
- Service time: Replacing cabling on a traditional setup takes a shop about 30-60 minutes; an integrated setup may take 2-4 hours
- Service cost: Correspondingly 2-3 times higher
3. Computer and Accessory Mounting
The smooth surface of an integrated cockpit leaves nowhere to mount accessories:
- Requires a proprietary computer mount (often non-universal, priced NT$500-2,000)
- Light mounting may require additional adapters
- Limited mounting options for action cameras like GoPro
- Some integrated cockpits are incompatible with certain computer brands
4. Damage Costs
Crashing is part of cycling, and the stem and handlebar are among the most vulnerable parts in a crash:
- Traditional stem: If bent, replace it for NT$500-3,000
- Traditional handlebar: If a carbon bar breaks, NT$3,000-10,000
- Integrated cockpit: It’s one piece—if damaged, replace the whole unit for NT$10,000-30,000+
5. Difficult to Resell
Integrated cockpits are usually brand-specific designs that only fit certain frames. If you change bikes, the cockpit is unlikely to carry over to the new one, and demand on the second-hand market is relatively limited.
Who Should Consider an Integrated Cockpit?
Suitable Candidates
- Riders who have completed a bike fitting and are certain they won’t need further adjustments
- Time trial / triathlon athletes pursuing maximum aerodynamic performance
- Cyclists with ample budget who can accept higher maintenance costs
- Buyers of high-end complete bikes (already equipped with an integrated cockpit)
Unsuitable Candidates
- Beginner to intermediate riders still exploring their optimal riding position
- Riders who frequently need to adjust their fitting setup
- DIY enthusiasts who prefer to service and maintain their own bikes
- Cyclists on a limited budget who cannot afford a full replacement after a crash
Tips for Buying an Integrated Cockpit
1. Get Fitted Before You Buy
This is an iron rule. Before spending big money on an integrated cockpit, be sure to complete a professional bike fitting first to determine the exact dimensions you need.
2. Check Size Options
Different brands offer different size combinations:
- Stem lengths typically come in 80/90/100/110/120mm options
- Handlebar widths typically come in 38/40/42/44cm options
- Confirm whether the combination you need is available in stock
3. Verify Cable Compatibility
- Does it support your groupset (mechanical / electronic)?
- Is the hydraulic hose routing smooth?
- Is there enough room to accommodate all cables?
4. Consider After-Sales Support
- Does the brand have a distributor in Taiwan?
- Does your local shop have experience servicing integrated cockpits?
- Is parts supply stable?
Alternative: Semi-Integrated Designs
If you want the integrated look but want to keep adjustment flexibility, consider semi-integrated options:
- Separate stem + cable-hiding cover: Retains the freedom to swap stems while using a cover plate to conceal cables
- Adjustable integrated stems: Some brands offer designs with replaceable stem faceplates, allowing you to switch between different lengths
- Integrated computer stem caps: Add an integrated computer mount to a traditional stem for a similar visual effect
Integrated cockpits represent the direction of road bike design, but they still involve compromises in practicality. Before deciding whether to upgrade, be honest with yourself about your needs: are you chasing ultimate aerodynamic performance, or everyday convenience? The answer will determine whether an integrated cockpit is your best partner or an expensive source of frustration.
Related Reading
- In-Depth Analysis of One-Piece Carbon Cockpits: Pros and Cons of Integrated Designs
- Maintenance of Road Bike Aero Components: Integrated Cockpits and Hidden Cable Routing
- Choosing Road Bike Stem Length and Angle: The Key Component in Fitting
- The Complete Guide to Upgrading Road Bike Wheels: Aluminum vs. Carbon Wheelsets Compared
鉅齒紋輪組!? ControlTech MEG-T50 EVO 碳纖維幅條輪組/ 功率對比實驗 / 公路車 / CT Yeh
2 年前
碟煞公路車 優缺點?換車一年半實際經驗分享 / 公路車 / CT Yeh
2 年前
功率實測 Lun Hyper 2023 碳幅條輪組 D45 碟煞 | 公路車 | CT Yeh
3 年前
碟煞公路車 銑面器 !? 原來銑完差這麼多! 降低蹭碟機率! | TIME 公路車 保養小記錄 | CT Yeh
3 年前
Lun HYPER 第三代 D45碳幅條輪組 功率對比實測 / 鈦合金行星齒輪,中高階的製造水準 / 公路車 / CT Yeh
1 年前
公路車 BB培林大升級! / 備戰海鷗繞圈賽 Canyon Aerod & TIME 一起改 / MIT大廠 CEMA對鎖式陶瓷培林BB & 導輪 / 公路車 / CT Yeh
2 年前
再一組! 全碳幅條 碟煞/無內胎輪組 開箱! 到底好騎嗎? UNAAS X40 | 公路車 | CT Yeh
4 年前
首發!LUN HYPER 第五代 2025最新版 碳幅條x鈦合金 輪組 D40 開箱 / 居然開始捲高端輪組了 / 公路車 / CT Yeh
11 個月前