【Equipment Analysis】Essential for Advanced Full Marathon: The Golden Rules for Carbon Frame Geometry and Stiffness Selection Metrics, Drivetrain Efficiency, and Quantitative Evaluation of Vertical Vibration Absorption Performance
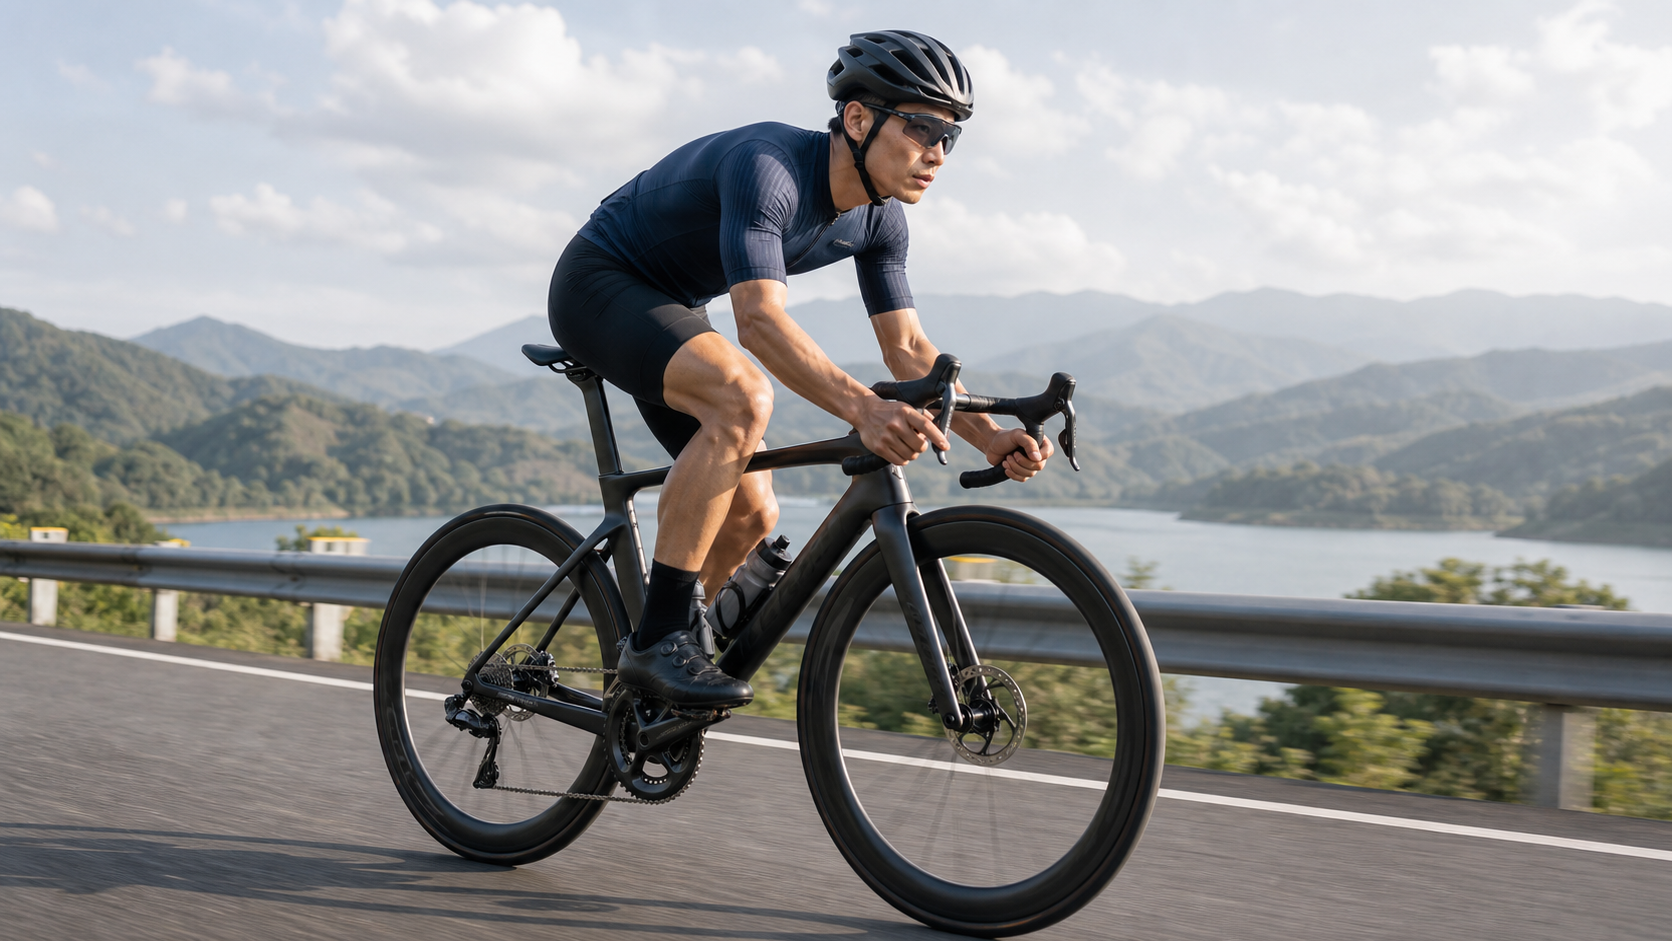
If we translate this topic into engineering language, it’s really asking one question: How should long-distance endurance riders find the most effective frame configuration among four interdependent variables: “geometry fit, pedaling stiffness, vertical comfort, and drivetrain loss.” Many people buying carbon frames only look at weight, brand stories, or adjectives like “springy, stiff, smooth,” but for full-distance users, what truly affects performance after 3 to 6 hours is often not a frame being 150 grams lighter, but whether the position is sustainable, whether hip and leg loads are balanced, whether vibration causes premature upper-body fatigue, and whether the drivetrain is wasting power under high chain tension.
This is also why the “golden rule of carbon frames” has never been the simple phrase “stiffer equals faster.” Research shows that changes in frame geometry alter muscle recruitment patterns; vertical stiffness and compliance affect comfort; and true drivetrain efficiency losses are often governed more by chain tension, chainring and cassette tooth counts, chain condition, and lubrication. In other words, a bike suited for long distances isn’t one that maxes out every number, but one that makes the right things big and preserves flexibility where flexibility is needed.
1. First Golden Rule: Geometry Always Comes Before Material, Because a Wrong Position Amplifies Every Flaw
Frame geometry is the most overlooked factor, yet it’s the first thing that determines whether you can sustain output over long distances. For endurance riders, looking at stack, reach, seat tube angle, head tube angle, fork offset, and wheelbase matters more than looking at carbon layup grade.
The two most basic coordinates are:
Stack = Vertical distance from bottom bracket center to top of head tube
Reach = Horizontal distance from bottom bracket center to top of head tube
For long-distance users, a higher stack and moderate reach are usually more likely than an extremely aggressive position to help you maintain an open chest, avoid locked shoulders and neck, and prevent excessive anterior pelvic tilt after 4 hours. This isn’t conservatism; it’s a compromise between metabolic and mechanical output.
Looking more closely, seat tube angle is no small matter either. Research on 72° versus 82° seat tube angles shows that, with no significant difference in power output, a steeper seat tube angle can significantly reduce biceps femoris activation. The implication for long-distance riders is clear: geometry changes may not instantly make you more powerful, but they can prevent certain muscle groups from over-compensating.
If the goal is “full-distance endurance” rather than a “20-minute TT,” the geometry evaluation order should be:
| Priority | Geometry Item | Primary Impact |
|---|---|---|
| 1 | Stack / Reach | Torso angle, shoulder/neck load, pelvic stability |
| 2 | Seat tube angle | Hip extension and hamstring involvement ratio |
| 3 | Head tube angle + Offset | Steering stability, descending confidence, front-wheel self-centering feel |
| 4 | Wheelbase | Straight-line stability, relaxed feel over long distances |
2. Second Golden Rule: Long Distance Requires “Sufficient Stiffness,” Not “Extreme Stiffness”
When discussing carbon frame stiffness, the most common mistake is treating stiffness as a single number. In reality, it should be divided into at least:
- Lateral stiffness: Affects lateral deformation of the bottom bracket area and rear triangle during pedaling.
- Torsional stiffness: Affects the overall feel of the front triangle and head tube during descending, out-of-saddle efforts, and direction changes.
- Vertical stiffness: Affects the transmission of vertical impacts felt at the saddle and handlebars.
In engineering terms, this can be simplified to:
k_lat = F / δ_lat
k_t = T / θ
k_vert = F / δ_vert
Where F is force, δ is deformation, T is torque, and θ is the torsion angle. The problem isn’t the formulas; it’s knowing which stiffness should be high and which should yield moderately.
For long-distance endurance use:
- The bottom bracket and chainstays need sufficient lateral stiffness to avoid a vague pedaling feel.
- The head tube area needs sufficient torsional stiffness, especially at high-speed descents and in crosswinds.
- But the seatpost, seatstays, and saddle rail system don’t need to chase extreme vertical stiffness, or your upper body will fatigue first.
Therefore, the real question isn’t “is this bike super stiff,” but:
Does this bike place stiffness in the power-transfer zone and leave compliance in the human-contact zone?
3. Third Golden Rule: Comfort Isn’t Mysticism—It’s Usually the Result of Vertical Compliance and Vibration Control
Frame comfort doesn’t mean soft, nor does it mean wobbly. Research indicates that a decrease in vertical stiffness—that is, an increase in vertical compliance—is associated with rider comfort; additionally, under identical structural and loading conditions, materials with a lower Young’s modulus provide higher compliance. More specifically, that study also found that with only minor structural adjustments, changes in seatpost wall thickness have a particularly large effect on vertical stiffness and comfort.
Here, compliance can be written as:
C_vert = δ_vert / F = 1 / k_vert
In other words, for the same vertical load, if the allowable displacement is greater, the sharp impacts felt by the rider are usually lower.
Another aspect that cannot be ignored is vibration transmission. Measurement studies on road bike comfort point out that vibration from road surface irregularities transmitted to the hands and buttocks becomes a significant source of discomfort and fatigue. More importantly, that study also explains that hand position, wrist angle, and static handlebar load all significantly affect the measured vibration induced to cyclist. This finding is crucial because it tells us:
- Frame comfort isn’t determined by the frame alone.
- Riding position, handlebar setup, tire pressure, and wheels all participate in the final ride feel.
So if you only look at the “vertical compliance improved 18%” claim in frame marketing but don’t address excessive handlebar drop, overly high tire pressure, or overly narrow tires, you probably won’t end up riding comfortably.
4. Fourth Golden Rule: Real Drivetrain Efficiency Often Lies Not in the Frame, but in Chain Condition and Gear Ratios
Many marketing copy draws a direct equals sign between “higher stiffness = higher drivetrain efficiency,” but the drivetrain efficiency literature reminds us that the real sources of loss are often in the drivetrain itself. Spicer et al.'s chain drive research points out that chain tension and sprocket size are the main factors affecting efficiency; both theory and experimental results support that increasing tooth count is generally beneficial for efficiency.
Drivetrain efficiency can be written in its most basic form as:
η_drivetrain = P_wheel / P_crank = 1 - P_loss / P_crank
If you only look at this equation, many would assume you just want P_loss to be as low as possible. But in practice, P_loss is influenced by many factors:
- Chain tension
- Front chainring and rear cassette tooth counts
- Chain deflection angle
- Lubrication condition
- Torque and cadence combinations
A 2025 new model goes further, proposing that drivetrain efficiency has a linear relationship with a composite metric DCM_metric = ω_wheel^0.3 / τ_crank. This means efficiency isn’t just about “whether the parts are good,” but also about how you ride. If you grind in a heavy gear with high torque and low cadence, the conditions each chain link experiences are quite different from those at high cadence.
For long-distance endurance riders, the most practical interpretation is:
- Don’t grind for extended periods on overly small cassette sprockets with excessively high chain tension.
- Position your common cruising gear ratios within a better chainline.
- The practical impact of chain cleaning and lubrication on efficiency is often greater than those hard-to-measure differences in frame marketing copy.
5. Integrating Geometry, Stiffness, Compliance, and Efficiency into a Bike Selection Matrix Is More Effective Than Looking at a Spec Sheet Alone
If you’re buying a “full-day endurance bike” rather than a short-distance sprint machine, I’d recommend building a weighted matrix directly:
| Item | Weight | What to Look At |
|---|---|---|
| Geometry fit | 35% | Stack / Reach, whether handlebar drop can be reasonably set |
| Long-distance stability | 20% | Wheelbase, head tube angle, fork offset handling character |
| Pedaling zone stiffness | 20% | Whether bottom bracket and rear triangle output feel direct |
| Vertical compliance | 15% | Seatpost design, rear triangle, allowable tire width |
| Drivetrain efficiency conditions | 10% | Gear ratio planning, chainline, maintenance convenience |
You can even score each item from 1 to 5:
Total score = Σ(Individual score × Weight)
The benefit of this approach is that you won’t overlook the truly important long-distance requirements just because one spec looks impressive.
6. Practical Interpretation: Who Should Choose a Higher Stack, and Who Should Choose a More Direct Rear End?
| Rider Type | Recommended Direction |
|---|---|
| Primarily 4-6 hour endurance riding | Higher Stack, more stable wheelbase, can accommodate wider tires |
| Average flexibility, lower back tightens easily | Don’t overextend Reach; prioritize sustainable chest and pelvis position |
| Decent power but prone to shoulder/neck soreness | Prioritize adjusting front-end height and handlebar width; don’t blame the frame for being too soft first |
| High power, frequently climbs out of the saddle | Can accept higher bottom bracket zone stiffness, but still preserve cockpit comfort |
The most common misjudgment here is equating professional race geometry with your own optimal geometry. The front-end drop, torso angle, and upper-body support capacity that pros can tolerate are typically built on extremely high training volume, joint mobility, and recovery resources. Most long-distance riders who directly copy it will only find themselves riding in compensatory positions after hour three.
7. The Three Most Common Misguided Purchasing Concepts
1. Only Looking at Frame Weight, Not Allowable Tire Width or the Cost of Maintaining Position
If a frame is 200 grams lighter but forces you to use narrower tires, higher tire pressure, and a more aggressive front-end setup, the total cost over long distances is actually higher.
2. Only Looking at “Vertical Absorption” Marketing Copy, Not Whether the Pedaling Zone Feels Loose
Comfort isn’t a wobbly rear end. If the force flow in the bottom bracket area and chainstays isn’t handled well, comfort turns into a sluggish feeling.
3. Attributing All Efficiency Problems to the Frame
Many people blame the frame when “this bike doesn’t feel fast to pedal,” but dirty chains, poor chainline, unreasonable gear ratios, and incorrect cadence strategy are often the real culprits.
8. Conclusion: The Golden Rule of Carbon Frames Is Putting the Rider Back at the Center of the System
For long-distance endurance users, the best frame is never the stiffest, lightest, or best-storytelling one, but the one that allows you to maintain a sustainable position, preserve directness in the pedaling zone, reduce unnecessary vibration fatigue, and let the drivetrain work under reasonable conditions over extended periods.
If this article could be condensed into one sentence, it would be:
First use geometry to determine whether you can last, then use stiffness to determine whether you can stay stable, and finally use compliance and drivetrain details to determine whether you can go fast.
This is the true golden rule for long-distance carbon frames.
Related Reading
- 【Equipment Analysis】Full-Marathon Advanced Essentials: Carbon Frame Geometry and Stiffness Selection Metrics, Drivetrain Efficiency, and Quantitative Vertical Compliance Assessment (Part 2) Practical Guide
- In-Depth Carbon Road Frame Review: Comprehensive Comparison of Stiffness, Weight, and Vibration Absorption
- Road Bike Carbon Frame Buying Guide: Balancing Stiffness, Weight, and Budget
- Frame Stiffness and Vibration Absorption: The Mechanical Principles of Carbon Fiber Structural Design
CT 喇低賽) 武嶺牽車 才是王道 西進牽車四小時內秘訣 攝手位置 如何判斷 防抽筋小秘訣
7 年前
Unaas X50 全碳纖幅條輪 數據實測對比PK | Lun Hyper 的高階版 | 板輪爬坡也可以很厲害? ! 武嶺2小時大師一起親測! CP值超高 | 公路車 | CT Yeh
4 年前
再一組! 全碳幅條 碟煞/無內胎輪組 開箱! 到底好騎嗎? UNAAS X40 | 公路車 | CT Yeh
4 年前
西進武嶺 自製新版AI配速表產生器 x 賽前攻略 抱佛腳! 沒有功率計也可以產生配速表嗎?有什麼其他眉角賽前要注意的呢? | 西進武嶺 / 東進武嶺 KOM 攻略 | 公路車 | CT Yeh
4 年前
換車囉! TIME ADH 2023 全內線碟煞公路車 開箱實錄!/ Dyneema 碳纖維真的太猛了 / 曜越單車 / CT Yeh
3 年前
#公路車 #西進武嶺 配速配瓦實驗 坡度分析 四小時內攻略 建大盃 NeverStop #西進武嶺攻略
6 年前
西進武嶺各路段 前8000名 大數據分析 配速攻略/功率/心律/推力比/維持率/踏頻/踏瓦比/牽車率 大公開 | 建大盃 NeverStop 可參考 | 公路車 | CT Yeh
5 年前
Nepest NOVA 碳條輪組:輕量、空力、舒適一次滿足!/ 公路車 / CT Yeh
7 個月前