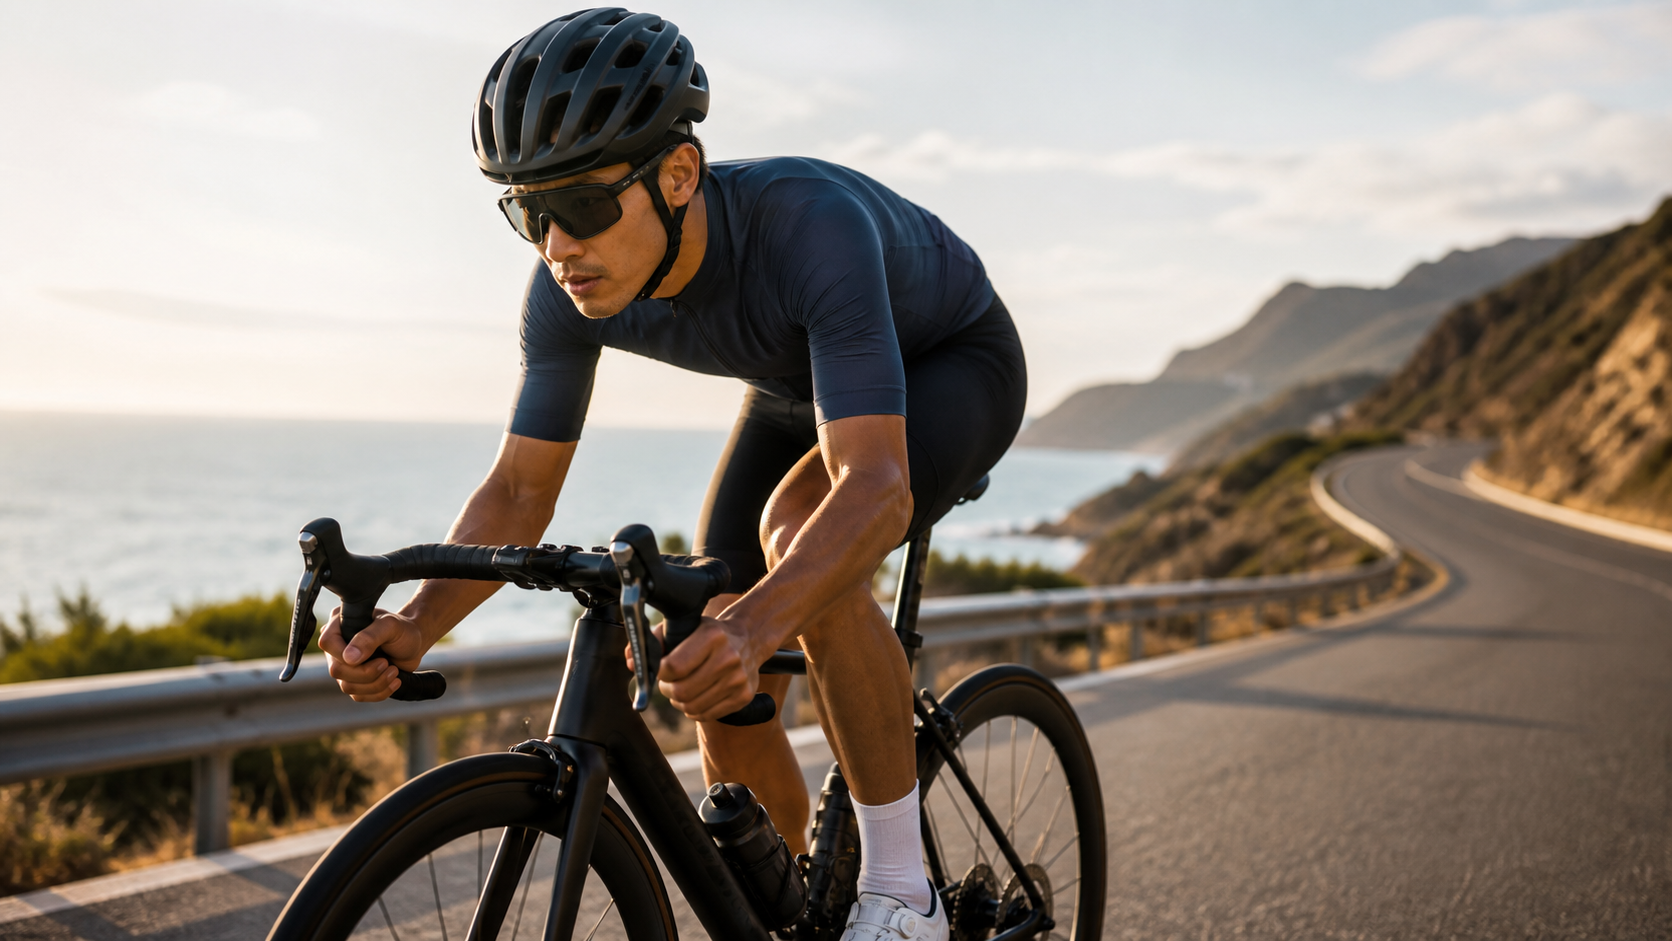
Coach’s Opening: From “Riding Hard on Feel” to “Letting Numbers Speak”
Fifteen years into coaching athletes, the sentence I hear most often during initial consultations is: “Coach, I push hard on climbs, so why is my performance stuck?”
Behind this sentence lies a common dilemma shared by most amateur riders—training intensity is based entirely on feel, and feel can deceive you. One of my students, A-Zhe, who works at a science park in Hsinchu, is a classic example. He rides 300 kilometers a week, regularly attacks Fengguizui and Beiyi on weekends, and considers his intensity plenty hard—yet his bike split in the 226 Ironman has barely improved in two years. I had him install a power meter, and when we reviewed the data together after his first test, he was stunned: “So my normal cruising pace was already in the near-explosion zone. No wonder I’m wrecked after a ride and have zero energy to run the next day.”
This is the most brutal yet fascinating aspect of a power meter—it converts your “perceived effort” into “actual output,” leaving you nowhere to hide. Heart rate drifts due to sleep, caffeine, temperature, and dehydration; perceived exertion changes day to day. Only power is the most honest, real-time feedback at the pedal. If you push 200 watts, that’s 200 watts—it won’t become 250 just because you’re in a good mood today.
In this article, I want to lay out the three core pieces of power training from a hands-on coaching perspective: how to measure your FTP, how the seven power zones are defined, and how to use those zones to build a logically structured weekly workout plan. Whether you’re a first-time triathlete who just bought your first power meter or a seasoned rider looking to break through a plateau, you’ll be able to apply this directly after reading.
Foundational Concepts: What Exactly Is FTP, and Why Is It the Anchor for Everything
Defining FTP
FTP (Functional Threshold Power) refers to the highest average power you can sustain in a near-steady state for approximately one hour without reaching exhaustion, measured in watts (W). In other words, if your FTP is 250 watts, theoretically you can hold an intensity close to 250 watts for a full hour; once you exceed it significantly, the rate of lactate accumulation in your body outpaces the rate of clearance, and you’ll blow up within minutes.
This “maximum sustainable power for one hour” matters because it sits right around the lactate threshold—the physiological red line where your body shifts from “aerobic-dominant, sustainable for long durations” to “anaerobic share increases sharply, fatigue accumulates rapidly.” FTP is the quantified coordinate of that red line in terms of power.
All power training zones are defined as percentages of FTP. So if your FTP is inaccurate, every workout intensity that follows will be off. That’s why I require every athlete to do a proper test first.
Why Not Just Ride for One Hour to Measure?
Theoretically, the most accurate method is to find a closed, flat stretch of road and ride all-out for a full 60 minutes, taking the average power. But in practice, this is nearly impossible:
- In Taiwan, finding a safe one-hour stretch without traffic lights or needing to dodge cars is extremely difficult
- Going all-out for an hour is a massive psychological ordeal; most people can’t pace evenly and blow up in the first half
- It’s so exhausting that the day is effectively wasted, making it hard to fit into regular training
So the smart approach is to estimate FTP using a shorter submaximal test. This leads to the two most mainstream methods.
Practical Method One: 20-Minute Test vs. Ramp Test
The 20-Minute Test (Classic Coggan / Allen Protocol)
This is the most widely circulated protocol, popularized by Andrew Coggan and Hunter Allen. The core logic is: ride all-out for 20 minutes, take the average power, and multiply by 0.95 to get your FTP.
Why 95%? Because Allen and Coggan observed that the power a person can sustain in a 20-minute all-out effort is roughly 5% higher than what they can sustain in a one-hour all-out effort; multiplying by 0.95 offsets the reduced fatigue accumulation from the shorter duration, “converting” the 20-minute result back to a level close to one hour.
The full protocol is as follows:
| Stage | Duration | Intensity Description |
|---|---|---|
| Warm-up | ~15-20 minutes | Gradually build from easy, with 2-3 short sprints mixed in to wake up the nervous system |
| 5-minute all-out pre-burn | 5 minutes | Ride hard to “empty” the body, simulating the fatigue state before the actual test |
| Recovery | ~10 minutes | Spin easy to bring heart rate down |
| Official test | 20 minutes | All-out! But pace evenly—no surging in the first half |
| Cool-down | 10+ minutes | Spin easy to help clear lactate |
Calculation example: If your 20-minute average power is 263 watts, then FTP = 263 × 0.95 ≈ 250 watts.
The advantage of the 20-minute test is that it simulates a sustained effort close to racing, making it especially valuable for events like triathlon and hill time trials that demand “long-duration steady output.” The drawback is that it requires good pacing skills—many beginners don’t know how to distribute effort, blow their load in the first five minutes, then fade miserably, producing a number that’s skewed low and inaccurate.
The Ramp Test (Incremental Test)
The Ramp test has become very popular in recent years on indoor trainers (such as the TrainerRoad platform). The approach: after warming up, start at a base power (e.g., 100 watts), then increase by a fixed step (e.g., 20 watts) every minute, riding until you can no longer hold the target power and reach exhaustion.
Calculation method: take 75% of your best one-minute average power as your FTP.
Calculation example: If you hold on until the end and your best one-minute average power is 333 watts, then FTP = 333 × 0.75 ≈ 250 watts.
The advantages of the Ramp test are clear:
- No pacing skill required at all—the trainer increases watts for you step by step; you just hold on until you can’t, removing pacing as a variable
- Lower psychological burden—the pain is gradual, unlike the 20-minute test where you’re grinding from start to finish
- Short duration, faster recovery—the core test segment typically ends within about ten minutes
The drawback is that it tends to reflect your maximal aerobic capacity (VO2max end). For “explosive” riders with particularly strong anaerobic capacity but average aerobic endurance, the FTP from a Ramp test can sometimes come out too high, making longer workouts feel disproportionately hard.
How to Choose Between the Two? My Recommendation
| Comparison Item | 20-Minute Test | Ramp Test |
|---|---|---|
| Pacing requirement | High, requires self-pacing | Almost none |
| Mental suffering | High (all-out effort throughout) | Moderate (gradually increasing pain) |
| Time cost | Long (about 1 hour including warm-up) | Short (core portion is just over ten minutes) |
| Ability bias | Threshold/endurance type | Maximal aerobic type |
| Best suited for | Experienced, endurance-oriented riders | Beginners, indoor trainers |
| Venue requirement | Needs a safe long stretch of road or a trainer | Trainer is ideal |
Practical advice for different riders:
- Complete beginners: Do the Ramp test first. No need to worry about pacing, the pain is more tolerable, and it helps build confidence.
- Triathletes: I usually do both. Use the Ramp test to establish a starting value for your training plan, then verify with the 20-minute test a few weeks later—because the bike leg of a 226/113 is all about sustained, steady output, and the 20-minute test is closer to your real-world race performance.
- Tracking progress: Always retest using the same protocol, equipment, and environment. You can’t do a Ramp test one time, a 20-minute test the next, and then compare the numbers to claim improvement—that’s comparing apples to oranges.
My athlete A-Zhe’s first Ramp test gave an FTP of 238 watts; four weeks later, the 20-minute test gave 231 watts. He briefly thought he had gotten worse, but it was actually just the inherent difference between the two protocols. This is why “sticking to one protocol” matters more than the “absolute value of the number.”
Power Zone Definitions: Full Breakdown of the Seven Zones
Once you’ve measured your FTP, we can divide training intensity into different zones. The most widely used model in the industry is Coggan’s seven-zone model, where each zone is defined as a percentage of FTP. Here’s a complete reference table—you can plug in your own FTP to calculate the actual wattage.
| Zone | Name | %FTP Range | Physiological Meaning & Feel |
|---|---|---|---|
| Zone 1 | Active Recovery | < 55% | Extremely easy, can chat and sing comfortably, used for recovery days |
| Zone 2 | Endurance | 56–75% | Aerobic base, can hold a conversation but needs slightly focused breathing |
| Zone 3 | Tempo | 76–90% | Moderately hard, speech becomes short phrases, feels like marathon-pace effort |
| Zone 4 | Lactate Threshold | 91–105% | Very hard, near FTP, can only squeeze out a few words |
| Zone 5 | VO2max | 106–120% | Extremely painful, rapid breathing, typically sustainable for 3-8 minutes |
| Zone 6 | Anaerobic Capacity | 121–150% | Short explosive efforts, 30 seconds to 2 minutes of sprinting |
| Zone 7 | Neuromuscular Power | > 150% | All-out sprint, maximal burst lasting seconds to about ten-plus seconds |
Making the Numbers Concrete with a Real Example
Assuming an athlete with an FTP of 250 watts, their zone wattages would be:
- Zone 1 (Recovery): < 138 W
- Zone 2 (Endurance): 140–188 W
- Zone 3 (Tempo): 190–225 W
- Zone 4 (Threshold): 228–263 W
- Zone 5 (VO2max): 265–300 W
- Zone 6 (Anaerobic): 303–375 W
- Zone 7 (Neuromuscular): > 375 W
The Title Says “Five Zones”—Why Are Seven Listed Here?
Good question. In practical training plan design, the zones we work with most often and find easiest to communicate verbally are the five core intensity bands: Recovery (Z1), Endurance (Z2), Tempo (Z3), Threshold (Z4), and VO2max (Z5). These five zones cover 95% of endurance training needs. As for Z6 and Z7—the higher anaerobic/sprint zones—they’re mainly reserved for special scenarios like short explosive efforts, criterium sprint finishes, and breakaways. For the vast majority of triathletes and long-distance road cycling enthusiasts, the training focus actually falls between Z2 and Z5.
So here’s how to think about it: The seven zones are the complete physiological map; the five zones are the core territory you actually train in day in and day out. The sample training plan later in this article will focus on combining these five core zones.
A Sample Weekly Training Plan Based on Zones
Enough theory—here’s something you can actually paste into your training log. Below is a typical weekly plan I designed for an intermediate athlete targeting a 113 half-ironman, with an FTP of 250 watts and 8-10 hours per week of training availability. I’ve labeled the target zone for each session; you can convert the wattage based on your own FTP.
Intermediate Triathlete Weekly Power-Based Training Plan
| Day | Session Content | Primary Zone | Duration | Training Purpose |
|---|---|---|---|---|
| Monday | Complete rest or easy swim | Recovery | — | Neuromuscular and muscle repair |
| Tuesday | Threshold intervals: after warm-up, 3 × 10 min @ Z4, with 5 min rest between each | Zone 4 | 75 min | Raise FTP, boost lactate clearance |
| Wednesday | Easy recovery ride | Zone 1-2 | 60 min | Active recovery, flush fatigue |
| Thursday | VO2max intervals: 5 × 4 min @ Z5, with 4 min rest between each | Zone 5 | 70 min | Raise maximal oxygen uptake, lift the ceiling |
| Friday | Complete rest | Recovery | — | Store energy for the weekend long ride |
| Saturday | Long endurance ride, with 2 × 20 min @ Z3 embedded | Zone 2-3 | 3-4 hours | Aerobic base, race-pace feel |
| Sunday | Moderate endurance ride (can add a short run for a brick session) | Zone 2 | 90 min | Accumulate aerobic mileage, transition adaptation |
Here’s the design logic behind this plan, broken down for you:
-
Hard and easy sessions alternate (Hard-Easy principle): Tuesday’s threshold work and Thursday’s VO2max work are the two “tough blocks,” and there’s always a recovery or rest day sandwiched between them. Progress happens during recovery, not during the workout itself. Piling on hard sessions without rest will only drive you into chronic fatigue.
-
The bulk of the volume is Zone 2: Notice how Saturday’s and Sunday’s long rides are primarily in the endurance zone? That’s the essence of what’s called polarized training—a large volume of low-intensity base work paired with a small amount of high-intensity stimulus. For a long-distance sport like triathlon, the Zone 2 aerobic foundation is the bedrock; Z4/Z5 are just the decorations on the roof.
-
Tempo segments embedded in the weekend long ride: A purely Zone 2 long ride can easily become “junk miles,” so I’ve inserted Zone 3 tempo segments to simulate the cruising intensity you need to maintain during a race, training your body to hold pace even when it’s somewhat fatigued.
A Condensed Version for Time-Strapped Office Workers (5-6 Hours per Week)
Many of my athletes, like A-Zhe, are engineers in Hsinchu Science Park who simply can’t find time for long rides during the week. In these cases, I switch to high-efficiency trainer workouts:
| Day | Workout | Primary Zone | Duration |
|---|---|---|---|
| Tuesday | Trainer Threshold: 2 × 12 min @ Z4 | Zone 4 | 50 min |
| Thursday | Trainer VO2max: 6 × 3 min @ Z5 | Zone 5 | 55 min |
| Saturday | Outdoor Long Ride (Fengguizui or Datun Mountain range) | Zone 2-3 | 2.5-3 hours |
| Sunday | Recovery Ride or Rest | Zone 1 | 45 min |
Use the trainer to knock out high-intensity sessions on weekdays, then head outdoors to bank miles on the weekend. This way, even with just 5-6 hours per week, training smart matters more than training a lot. In Taiwan’s summer, afternoon thunderstorms are frequent in June and July, and it’s humid and hot—weekday evenings simply aren’t suitable for high-intensity outdoor training. The trainer is actually the most stable and controllable option.
How to Gauge the “Dosage” for Each Zone’s Workout?
Many people know which zone to train but don’t know how long each interval should be or how many sets to do. Here’s a dosage reference table I commonly use, so you have a baseline when planning your sessions:
| Target Zone | Single Set Duration | Sets | Rest Between Sets | Recommended Weekly Frequency |
|---|---|---|---|---|
| Zone 2 Endurance | 60-240 min | Continuous | — | 2-3 times |
| Zone 3 Tempo | 15-30 min | 2-3 sets | 5-8 min | 1-2 times |
| Zone 4 Threshold | 8-20 min | 2-4 sets | 3-6 min | 1-2 times |
| Zone 5 VO2max | 3-5 min | 4-6 sets | Equal or slightly shorter | 1 time |
| Zone 6 Anaerobic | 30 sec-2 min | 4-8 sets | Full (2-3 times the work duration) | As needed |
A few key principles: The total accumulated time in Zone 4 threshold work is the engine of progress—generally aim for 20-40 minutes of accumulated threshold time (e.g., 3 × 10 min = 30 min); Zone 5 VO2max sessions are extremely painful, so give yourself enough rest between sets—if you don’t rest enough, the next set will drop out of the zone and become an ineffective session; and the focus of Zone 2 is total duration, not intensity—it’s meant to be easy and long, so don’t ride Z2 like Z3.
An Often-Overlooked Variable: Cadence
Power is the product of “force × cadence.” To output the same 250 watts, you can push a big gear at a low cadence (e.g., 70 rpm) or spin lightly at a high cadence (e.g., 95 rpm). Low cadence tends to recruit fast-twitch fibers and places a heavy load on leg strength; high cadence shifts the load to the cardiovascular system and demands greater neuromuscular coordination. I usually ask triathletes to deliberately practice a high cadence of 85-95 rpm during endurance rides, because they need to transition straight into a run after the bike leg—if their legs are stiff from grinding a big gear, running will feel like wading through lead. Occasionally, I also schedule low-cadence muscular endurance sessions (e.g., 55-60 rpm climbing), but that’s an advanced menu item. Beginners should first master smooth, high-cadence pedaling.
Common Mistakes and How to Fix Them
Having coached so many athletes, there are a few mistakes almost everyone makes. Let me point them out one by one and give you the corrections.
Mistake 1: Inflating Your FTP, Turning Your Training Plan into a Disaster
This is the most common one. Many people don’t truly go all out during testing, or they use an overly generous protocol, resulting in an overestimated FTP. The consequence is that every session’s target wattage is too high—Zone 4 becomes Zone 5, and within a few weeks you’re overtrained, your immunity drops, and you start catching colds.
Fix: Better to be conservative with your FTP. If you can’t complete two consecutive threshold sessions and your wattage drops significantly, it’s not a lack of effort—it’s that your FTP is set too high. Drop it by 5-10 watts and re-plan your training.
Mistake 2: Training Everything in the “Middle Gray Zone”
This was A-Zhe’s original problem—riding in the Zone 3 tempo range every single day. It’s not easy enough to recover from, and not hard enough to effectively stimulate threshold or VO2max. You’re stuck in the middle, accumulating the most tiring yet least effective “junk miles.”
Fix: Polarize your intensity. On easy days, truly go easy—down to Zone 2 or below (many people accidentally ride Z2 too fast). On hard days, commit fully to Z4/Z5. Spend as little time as possible in the middle.
Mistake 3: Only Watching Instantaneous Power, Ignoring Normalized Metrics
Beginners often stare at the fluctuating real-time wattage on the screen and get anxious at every spike or dip. But climbs, headwinds, and road conditions all cause instantaneous power to swing wildly.
Fix: Learn to read Normalized Power (NP) and Training Stress Score (TSS). NP smooths out the fluctuations, giving you a number closer to the actual physiological load your body is experiencing. TSS quantifies the total stress of each session, helping you manage fatigue and avoid over-accumulation.
Mistake 4: Never Retesting, Still Training with a Three-Month-Old FTP
Your fitness changes. After 6-8 weeks of serious training, your FTP typically rises. But if your zone wattages aren’t updated accordingly, your training intensity becomes relatively lighter, stimulation is insufficient, and progress stalls.
Fix: Retest your FTP every 4-6 weeks (using the same protocol) and update your zones. During a good training block, it’s normal for FTP to increase by 5-15 watts each time.
Actionable Advice for Athletes at Different Levels
Beginner Triathletes / Just Bought a Power Meter
- Start with a Ramp Test to remove pacing as a variable and reduce testing frustration
- For the first three months, spend 80% of your time on Zone 2 endurance rides to build your aerobic foundation—don’t rush into high-intensity work
- Schedule at most one high-intensity session per week (choose either Z4 or Z5); everything else should be easy to moderate
- Start by learning to read “Average Power” and “NP” only; leave the advanced metrics for later
Intermediate Athletes / Looking to Break Through a Plateau
- Do both types of tests to cross-validate your FTP
- Adopt the weekly training structure from this article and strictly follow the Hard-Easy alternation
- Start paying attention to TSS and use it to manage weekly training load, rather than estimating fatigue by “feel”
- Make sure your weekend long rides include embedded tempo segments—don’t let them turn into casual cruising
Advanced Athletes / Preparing for A-Priority Races
- Do specificity training based on the power demands of your target event: for hilly races (like Wuling or Yangjin P-Style Mountain Road), focus on long Z4 efforts; for flat time trials, focus on steady Z3-Z4 cruising
- Enter a taper period 2-3 weeks before the race, reducing volume while maintaining intensity to let your body absorb the prior training
- Do specific power sessions on your race bike and in your race position (TT aero bars), because your sustainable power output in the aero position is lower than on the road handlebars—you need to train the ability to “produce power while tucked”
Local Taiwan Additions: Putting Power Training into Our Riding Environment
Taiwan’s training environment has several characteristics worth noting for power riders:
- Hot, humid climate: From May to September in summer, afternoon heat combined with humidity means that even at the same power output, your heart rate will be higher and it will feel harder than in winter. Don’t assume you’ve regressed just because your heart rate spikes in summer—look at power for accuracy. Remember to replenish fluids and electrolytes.
- Classic climbing routes are natural power classrooms: Fengguizui, Beiyi, Yangjin P-word, the Datun Mountain range, and even the ultimate Wuling westbound ascent are all excellent long-duration Zone 3-4 training grounds. Power is most stable and easiest to hold in a target range when climbing, making these golden terrain for threshold work.
- Convenient post-ride food options, but choose wisely: Taiwan’s high density of convenience stores and local eateries is an advantage for recovery nutrition after long rides. Consuming carbs plus protein within 30 minutes after a long ride is important—an onigiri with unsweetened soy milk, or a bowl of braised pork rice with blanched greens, are both affordable and effective recovery meals. Don’t let hard training go to waste due to poor recovery. During long rides you burn roughly 500-800 kcal per hour, so don’t forget to fuel while riding—don’t wait until you’re hungry to eat.
Advanced Concept: Power-to-Weight Ratio (W/kg), the Real Decisive Factor in Climbing
If you ride in Taiwan, you’ll eventually face climbing—whether it’s weekend Fengguizui or the ultimate dream of Wuling. At that point, looking at absolute power (watts) alone isn’t enough; what you need is power-to-weight ratio (W/kg), meaning “how many watts you can output per kilogram of body weight.”
The logic is straightforward: when climbing, your main opponent is gravity. A rider with an FTP of 250 W weighing 80 kg (3.1 W/kg) will lose on climbs to a rider with an FTP of 250 W weighing only 62 kg (4.0 W/kg), even if their absolute power is identical. This is why professional climbing specialists tend to be lean.
Calculation: W/kg = FTP ÷ body weight (kg). Using our example athlete with an FTP of 250 W and a weight of 68 kg: 250 ÷ 68 ≈ 3.68 W/kg.
For amateur riders, here are the reference thresholds I give: if you can sustainably hold above 3 W/kg, long climbs won’t be too miserable; reaching 4 W/kg counts as a fairly solid amateur level; and if you can get above 4.5 W/kg, you’ll be near the front in most citizen-category climbing races. To improve this number, you have two paths: raise the numerator (build your FTP) or lower the denominator (lose excess body fat)—doing both together works best, but weight loss must be gradual. Don’t sacrifice muscle and training quality for the sake of a number.
The 5 Most Frequently Asked Questions from Beginners (FAQ)
Q1: Do I really need to buy a power meter? Can’t I just train with heart rate?
Heart rate can certainly be used for training, but it has an inherent lag—after you push hard, your heart rate takes dozens of seconds to catch up, and it drifts significantly with sleep, stress, temperature, and dehydration. Power is “immediate, real-time, objective” output. Ideally, use both together: power to gauge current intensity, heart rate to see how your body is responding and how fatigued you are. If budget is limited, building a foundation with heart rate is fine, but if you’re serious about breaking through, a power meter is a worthwhile investment.
Q2: How do I choose between crank-based, pedal-based, and hub-based power meters?
For amateur riders, the most important thing isn’t “which is most accurate” but “the numbers must be consistent and repeatable.” All three types work—pick one, install it, and don’t keep switching—because different power meters can differ by a few percentage points, and switching means recalibrating all your zones. If you have multiple bikes and want to share one unit, pedal-based is the easiest to transfer; if you stick with one bike, crank-based or hub-based are both very stable.
Q3: Can the FTP I measure on an indoor trainer be directly applied outdoors?
It can serve as a starting point, but note that indoor heat dissipation is poorer and it feels stuffier—many people measure an FTP indoors that’s a few watts lower than outdoors. Ideally, test once indoors and once outdoors, and build zones separately. If you can only test one way, stick with it consistently, and make sure all workouts are done in the same environment so the numbers remain comparable.
Q4: Should I taper before an FTP test? How should I prepare on the day?
Yes. Don’t schedule a hard workout the day before the test; get enough sleep and maintain normal hydration and carb intake. On test day, avoid a sudden spike in caffeine (if you don’t normally drink it, don’t load up on test day). Warm up thoroughly—if your body isn’t activated, the numbers will be severely low. Mentally, you also need to prepare for “today is going to hurt.”
Q5: My FTP keeps stalling—am I just not talented?
Don’t rush to blame talent. Ninety percent of plateaus come from three things: insufficient recovery (training too much, sleeping too little), wrong intensity distribution (riding in the gray zone every day), or needing to retest but not retesting. Check these three first—execute Hard-Easy properly, accumulate enough Zone 2 volume, and do enough threshold work—and most people still have plenty of room to improve. The real ceiling is far higher than you think.
Conclusion: Make Every Watt Count
Back to A-Zhe’s story from the beginning. After introducing power training and fixing his “gray zone every day” problem, his FTP improved from 238 W to 271 W in eight months, and his bike split at the 113 half-ironman the following year was nearly twelve minutes faster—more importantly, he finally had enough energy left after the ride to run a good result.
A power meter won’t make you stronger; it makes your effort “measurable and optimizable.” It turns training from superstition into science, letting you know whether today should be hard or easy, and confirming whether you’re actually improving rather than just feeling good about yourself.
If you’re just starting out, don’t be intimidated by the numbers. Start with a proper test, find your FTP, pin your workouts to those five core zones, and leave the rest to time and discipline. There are no shortcuts on the training path, but with a power meter, at least you have the right map in hand.
Before your next trainer session or outdoor ride, ask yourself: What zone is today’s workout targeting? If you can answer that question clearly, you’re already ahead of most amateur riders.
Remember, power numbers are just a tool. What truly makes you stronger is training in the right zones, giving your body adequate recovery, and staying consistent over the long term. The map is in hand, but you still have to ride the road yourself, kilometer by kilometer. See you at the race.
This article is educational content and does not replace individual assessment by a physician, physical therapist, or nutritionist.
References
- Favero Blog — The FTP Test: What is it and how to do it: https://cycling.favero.com/blog/ftp-test-what-it-is-and-how-to-do-it/
- Favero Blog — Power Training Zones in Cycling: https://cycling.favero.com/blog/power-training-zones-cycling/
- TrainingPeaks — Cycling Power Zones Explained: https://www.trainingpeaks.com/blog/power-training-levels/
- TrainerRoad — Ramp Test FAQs: https://support.trainerroad.com/hc/en-us/articles/360006903031-Ramp-Test-FAQs
- TrainerRoad Blog — Ramp Test Makes FTP Testing More Efficient and Less Stressful: https://www.trainerroad.com/blog/new-ramp-test-makes-ftp-testing-more-efficient-and-less-stressful/
Related Reading
- Power Training for Beginners: Understanding FTP, TSS, and Training Zones from Scratch
- The Science Behind Power Training Zones: FTP and the Six Training Zones Explained
- The Science of Power Training: From Cycling to Running Power, Advantages, Controversies, and Application Limits
- Common Misconceptions in Power Training: The Blind Spots of Over-Reliance on Numbers
西進武嶺 8000名單車友數據分析 PART1 | 從新手到高手數量/瓦數/推力比/FTP推力比/功率計使用率 大解析 | 公路車 | CTYeh
5 年前
RAMP FTP Test 直播 究竟能撐到幾瓦 訓練台 Gravat Zwift
6 年前
西進武嶺 免費訓練分析服務 Intervals | 練不夠還是練過頭?你哪一種類型選手?AI模型告訴你! | 備戰神器 | 公路車 訓練 | CT Yeh
4 年前
車友來我家測FTP...好硬啊🤣 #cycling #公路車
2 年前
單車AI教練!全新 ChatGPT4o 幫你分析訓練成果!排武嶺課表,分析騎車姿勢! 太神了! / 公路車 / CT Yeh / feat. 緯緯
2 年前
西進武嶺配速器 3.0更新 / NEW 免功率FTP估算! / 大數據xAI體能模型 / 如何模擬人止關前集團效應 / 配速儲存功能 / AI全台自行車賽事行事曆 / 公路車 / CT Yeh
1 年前
全台首發!邁金P715踏板功率計!市場價格撼動者再出招 / 功率對比實測 / FAVERO ASSIOMA 可參考! / 公路車 / CT Yeh
1 年前
西進武嶺 自製新版AI配速表產生器 x 賽前攻略 抱佛腳! 沒有功率計也可以產生配速表嗎?有什麼其他眉角賽前要注意的呢? | 西進武嶺 / 東進武嶺 KOM 攻略 | 公路車 | CT Yeh
4 年前