Pingxi Shifen Waterfall Direction Climbing Practical Guide: Full Analysis of 4.0 km, 264 m Elevation Gain, and 6.5% Gradient Data
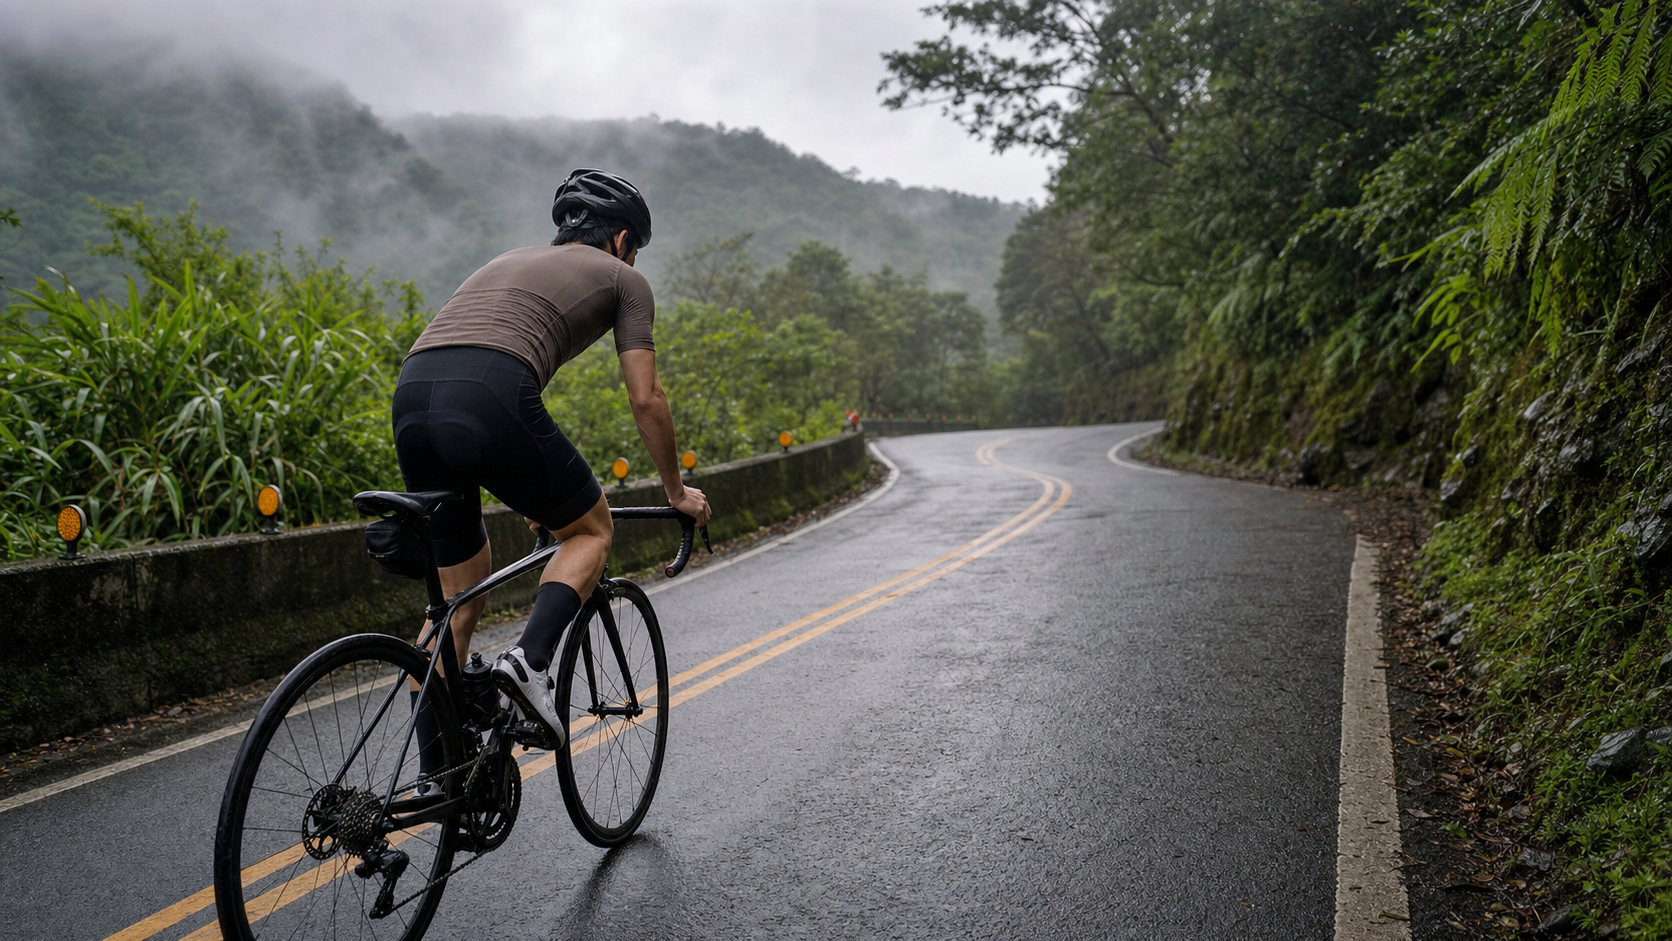
Distance 4.0 km, elevation gain 264.2 m, average gradient 6.5%, classified as Category 2 on Strava—this is a mountain climb heading toward Shifen Waterfall in Pingxi District, New Taipei City. Let’s break down the numbers first: 264.2 m divided by 4026.4 m yields an average gradient of 6.56%, almost exactly matching Strava’s 6.5% figure. This indicates the segment data is quite clean, with no obvious GPS capture errors or route-matching issues, making it a reliable baseline for pacing planning.
Compared to the entry-level gentle climbs mentioned earlier, a 6.5% average gradient enters the “needs to be taken seriously” tier—not something a beginner absolutely cannot handle, but also not a road you can spin over while chatting. Combined with Pingxi’s unique terrain and humid, rainy climate, the difficulty of this route includes not just the gradient itself but also the added variable of “wet surface management.” This article will break the 4 km into functional segments, explaining pacing logic, gear selection, and fueling strategy segment by segment, while offering specific recommendations for Pingxi’s distinctive rainy microclimate, concluding with a target time reference table for riders of different levels.
1. Understanding the Data First: What a 6.5% Average Gradient Means
Category 2 in Strava’s classification system is already a level that requires careful energy allocation planning, typically corresponding to segments that are “not overly long but with consistently steep gradients”—and this Pingxi section is a textbook example. At 4.0 km with 264.2 m of elevation gain and a 6.5% average gradient, this figure already exceeds the threshold of most suburban climbs near urban areas (gentle climbs typically fall between 3% and 5%), meaning there are virtually no true recovery sections throughout. Riders need to sustain output near Tempo to Threshold intensity for the entire duration.
In terms of power profile, the 6.5% gradient range is best suited for practicing “critical intensity tolerance”—maintaining output near the lactate threshold without fully blowing up for extended periods. This differs from the gentle climb training logic mentioned earlier: gentle climbs build aerobic endurance and cadence stability, while this mid-grade route trains the body’s ability to endure sustained high load and pacing discipline.
| Distance Segment | Gradient Characteristics | Recommended Heart Rate Zone (based on individual LTHR) | Recommended Cadence |
|---|---|---|---|
| 0–1.3K | Opening section, gradient gradually increasing | Zone 3 (78%–88% LTHR) | 80–90 rpm |
| 1.3–2.8K | Steepest section of the entire route, dense gradients | Zone 4 (88%–95% LTHR) | 65–80 rpm |
| 2.8–4.0K | Easing finish, adjustable based on feel | Zone 3–4 (82%–92% LTHR) | 80–95 rpm |
If you have a power meter, set the overall target power at 85%–95% of FTP. Brief surges to 100%–110% FTP are acceptable at the steepest part of the middle section, but be sure to settle back within a few tens of seconds. Avoid spending the entire segment on the anaerobic edge, as that can easily cause a sharp slowdown or even force you to dismount after the 2.8K mark.
2. Segment-by-Segment Strategy: Three-Part Breakdown, Gradient and Breathing Rhythm
Segment 1 (0–1.3K): The opening section—bring your body into the working zone. The gradient at the start of this section typically increases progressively rather than hitting you with the steepest pitch immediately. This is the critical transition period for the body to switch from flat-road cruising to climbing mode. Keep cadence at 80–90 rpm and shift one to two gears easier in advance to avoid muscling into the climb with a heavy flat-road gear. This is also your last chance to confirm equipment status—tire pressure, shifting feel, and bottle caps should all get a final check here, because once you enter the steep middle section, you won’t have the spare attention to deal with equipment issues.
Segment 2 (1.3–2.8K): The hardest core section of the entire route. This is the main reason the overall average gradient is elevated. This roughly 1.5 km stretch features dense, sustained gradients, with instantaneous pitches potentially surging past 8%–10% at times. This is the decisive battleground that determines whether you can complete the route steadily. The pacing strategy here is not “power through” but “hold back output, lengthen your breathing”—actively drop cadence to 65–80 rpm, trade torque for stability, and avoid burning excessive glycogen by being forced to stand and grind because cadence fell too fast. Many riders get anxious seeing the gradient numbers keep climbing in this section and reflexively speed up their pedaling rhythm to “just get through it,” only to blow past the anaerobic threshold before their heart rate even peaks. From there, they can only suffer at extremely low speeds or end up walking—this is the most typical pacing error on this route and the one most worth preventing in advance.
Segment 3 (2.8–4.0K): Gradient eases—time to cash in on your effort. Entering the final 1.2 km, the gradient typically drops back to near or slightly below the segment average. This is the moment to verify whether your earlier pacing strategy was sound. If the first two segments were managed well, you should still have something in reserve here, allowing you to nudge output up slightly and finish near Zone 4 intensity. If your legs feel noticeably heavy and your heart rate stays high while speed drops, it means your middle-section pacing was either too conservative or too aggressive—both worth adjusting on your next ride. After each ride, take a minute to record a Rate of Perceived Exertion (RPE) score, cross-reference it with your computer data over time, and gradually calibrate a pacing curve that works best for you.
3. Gear and Equipment Recommendations
For a 6.5% average gradient with occasional 8%–10% short steep pitches in the middle, road riders using a standard crankset (53/39T) should pair it with at least an 11-30T cassette. Riders with average fitness or those wanting to preserve energy are strongly advised to use a compact crankset (50/34T) with an 11-32T or even 11-34T cassette, allowing a sustainable cadence on the middle steep sections and avoiding the need to stand and grind, which drains energy quickly. The increasingly common 1x systems (single chainring with a wide-range cassette) are also well suited to this type of gradient distribution, offering intuitive gear changes—a good fit for riders who plan to use this route as a regular training segment.
For tire selection, given that Pingxi’s mountain roads are occasionally damp with patches of moss buildup, choose training tires with better grip (25c–28c) and moderately reduce tire pressure for improved surface conformity. For a rider around 70 kg, setting the front tire at 85–90 psi and the rear at 90–95 psi—slightly lower than typical dry asphalt settings—will boost cornering confidence on wet sections.
Regarding braking systems, since the middle section has dense gradients and some sections have limited sightlines due to terrain, hydraulic disc brakes are the preferred choice for more immediate and stable braking response. If you use traditional rim brakes, be sure to brake early and intermittently on the descent back, to avoid heat fade on long downhills. Regardless of brake type, check pad wear before every ride—especially in Pingxi’s rainy, humid conditions, where brake components wear faster than in drier regions.
4. Fueling and Hydration Strategy
For a 4.0 km mid-distance climb with an average ascent time of roughly 18–30 minutes (depending on rider ability), a single ascent typically doesn’t require additional food intake. However, because the gradient is consistently steep and places significant load on the cardiovascular system, make sure your bottle is completely full before departure, and take 3–5 minutes after reaching the top or finishing the segment to take small sips of water and electrolytes, reducing the risk of cramping from high-intensity output.
If you’re incorporating this segment into a longer route covering the Pingxi, Shifen, and Jingtong mountain road network, plan your fueling around the “entire ride” rather than the “single segment.” Pingxi’s mountain terrain is rolling and continuous, and this 4 km climb is likely just one portion of a longer day—over-focusing on a single segment can cause you to neglect overall energy distribution.
5. Weather and Seasonal Recommendations: Pingxi’s Distinctive Rainy Microclimate
Pingxi District sits on the windward side of New Taipei’s mountain area. Due to a pronounced orographic effect, it has one of the highest rainfall probabilities in Taiwan. Even on days when other regions are sunny, Pingxi’s mountains are often shrouded in drizzle or fog. This characteristic has a direct impact on this climb—the likelihood of wet road surfaces is far higher than on typical routes. Especially on the dense-gradient middle section, grip and braking distance are significantly compromised in wet conditions, so heightened vigilance is essential.
In winter (November through February), the northeast monsoon directly affects the Pingxi area, making cold, drizzly rain almost the norm. During winter rides, lower your overall pacing target by 15%–20%, wear windproof and water-repellent jerseys and bibs, and carry an insulating layer to cope with mountain temperature swings. Spring (March–April) still sees high rainfall frequency, but temperatures recover, making it a relatively comfortable training window. Summer afternoon convective showers are common on mountain routes anyway, and combined with Pingxi’s naturally rainy conditions, check real-time radar imagery before heading out. If fog rolls in or the sky darkens, prioritize turning back rather than pushing through. Autumn (September–October) sees slightly lower rainfall frequency than other seasons, making it the most suitable time of year for this route, though it’s still wise to carry rain gear and a spare jersey at all times.
6. Common Mistakes and DNF Risk Assessment
Although this segment isn’t long, the 6.5% average gradient combined with dense steep sections in the middle does carry a real risk of riders with insufficient fitness or experience abandoning mid-route. Here are the most common execution errors:
- Underestimating the density of the middle-section gradient: Many riders see “6.5% average” and assume the gradient is uniform throughout. In reality, the middle 1.5 km is noticeably steeper, and without pre-allocated energy reserves, it’s easy to crack right there.
- Insufficient gear preparation: Shifting down only upon entering the steep middle section risks chain skip or drop under high tension. Complete your shifts one gradient change point ahead of time.
- Ignoring wet road surfaces: Pingxi’s rainy climate makes wet roads the norm rather than the exception. Slow down significantly on the descent, especially at corner insides and drainage grate seams.
- Overlooking changing mountain visibility: Pingxi’s mountains are prone to fog, and visibility can drop dramatically in a short time. Wear a reflective vest and mount a rear blinking light to improve your visibility to others.
- Poor fueling timing: When incorporating this climb into a longer Pingxi–Shifen–Jingtong route, it’s easy to overlook overall fueling rhythm because this segment alone is short. Plan around the full ride duration.
7. Target Time Reference by Rider Level
The following times are for reference only; actual performance will vary with wind conditions, road wetness, and equipment weight:
| Rider Level | Estimated Completion Time | Average Power Reference (70 kg rider) |
|---|---|---|
| Advanced / Race level | 11–15 minutes | 4.2–4.8 W/kg |
| Intermediate / Consistent trainer | 16–22 minutes | 3.2–3.8 W/kg |
| Beginner / Recreational rider | 23–32 minutes | 2.2–2.8 W/kg |
For riders just starting to tackle mid-grade steep climbs, treat this segment as a “critical intensity test route.” Re-ride it periodically and record completion time and heart rate response—it’s the most intuitive way to gauge your progress in lactate tolerance.
8. Road Conditions and Traffic Safety Reminders
The Pingxi area is a popular tourist destination, especially around Shifen Old Street and Shifen Waterfall Park on weekends and holidays. Roads in that direction may see a mix of tour buses, shuttle vehicles, and self-driving tourist traffic. Combined with narrow, winding sections, ride with heightened awareness, stay to the right, and anticipate blind spots at corners well in advance. Avoid peak holiday crowds and instead ride on weekdays or early mornings, when traffic is lighter and you can also avoid the dense fog and convective showers that often develop in the mountains during the afternoon.
Regarding road surface conditions, since Pingxi is mountainous and naturally rainy, some sections are prone to potholes, moss buildup, or accumulated fallen leaves. If time permits before riding, check recent road condition reports through local cycling community groups. Especially after typhoons or heavy rain, mountain roads are more susceptible to rockfalls or roadbed erosion—for safety, avoid riding for a day or two after extreme weather events.
9. Incorporating This Segment into Your Training Cycle
If you’re planning a systematic climbing training cycle, this segment fits well into the “intensity building phase” of your training plan, used to practice sustaining output near critical intensity for extended periods. Riders in the base phase can first complete it at lower intensity to familiarize themselves with the gradient distribution, then gradually raise the target power range. Advanced riders can use it as a natural venue for interval intensity training, using the steepest middle section to simulate the feel of a mid-race climb surge.
For riders preparing to tackle longer, harder routes (such as the Beiyi Highway or the Shuangxi mountain road network), this segment also serves as an excellent “pre-race test” venue—short in distance and relatively straightforward in road conditions, allowing you to repeatedly verify gear ratios, saddle height, or fueling strategies in a single training session.
10. Equipment Check List: Final Confirmation Before Departure
Before heading out, complete the following checks: confirm tire pressure is set according to the day’s weather and your body weight, lowering it moderately for wet conditions; confirm shifting and braking feel are normal, especially whether the rear derailleur skips under high-load climbing; confirm your bottle is full and carry a lightweight rain shell to cope with Pingxi’s naturally rainy climate; confirm front and rear lights have sufficient battery, as visibility drops significantly when mountain fog rolls in; confirm your phone is fully charged with offline maps downloaded, as signal can be unreliable in some mountain sections.
These seemingly trivial checks are the key to safeguarding both riding safety and completion rate on a route with dense gradients and highly variable weather.
11. Data Recording Tools and Training Tracking Recommendations
To truly turn this segment into an effective training tool, pair it with a GPS cycling computer or sports watch to record detailed data from every ride, including segment splits, heart rate curves, power output, and cadence changes. Over time, accumulating this data lets you clearly see your performance curve on the steepest middle section and reverse-engineer a personalized pacing strategy—far more precise than riding purely by feel. Additionally, after each ride, briefly note the day’s weather conditions (especially whether it rained and how slippery the road was) and equipment settings. These contextual details are often the most critical clues when reviewing data later.
12. Mental Preparation for First-Timers Tackling This Steep Climb
If this is your first time seriously facing a route with an average gradient above 6%, the breathlessness and burning sensation in your legs during the dense middle section are completely normal physiological responses. The key to climbing has never been “not breathing hard” but “learning to coexist with the breathing”—focusing on breathing rhythm rather than speed numbers often helps you push through the toughest 1.5 km. The length of this segment provides a relatively safe “margin for failure”—even if your pacing slips and you need to stop to catch your breath, it takes less than half an hour to regroup and finish.
13. Difficulty Positioning Compared to Nearby Segments
Placing this segment within the broader New Taipei mountain road network, its difficulty positioning is quite clear—compared to the entry-level gentle climbs connecting from riverside bike paths (average gradients mostly between 3% and 5%), this 6.5% route has crossed into a tier requiring disciplined pacing. But compared to long, grueling climbs like Wuling or Beihang, which stretch 20–30 km, its short distance makes it accessible enough for most riders with some foundation to repeatedly attack it within a single training session to verify their condition. This “short but solid” character makes it well suited as an “advanced gateway”—if you can consistently complete this segment within your target time with heart rate under control, you’ve demonstrated the baseline lactate tolerance needed to take on longer, steeper routes. Conversely, if you clearly crack in the middle, it’s a clear signal to go back and strengthen your critical intensity training.
It’s worth noting that the mountain roads around Pingxi and Shuangxi are interconnected, and this segment is rarely the sole content of a single ride. More often, it’s incorporated into composite routes covering multiple peaks and tens of kilometers. When planning training or rides, treat this climb as the “intensity peak” of the overall mileage, conserving energy before reaching it rather than treating it as the warm-up opening section.
14. Braking and Cornering Techniques on the Descent
When planning this route, most riders focus all their attention on the uphill pacing strategy while overlooking that the descent demands equal care. With a 6.5% average gradient and local pitches of 8%–10% in the middle, the acceleration on the descent is pronounced. Combined with Pingxi’s year-round damp road surfaces, cornering grip is noticeably reduced compared to dry roads. On the descent, use “intermittent braking”—release speed early and in stages before entering corners rather than braking hard mid-corner, which can cause the tires to slide out on wet surfaces. Shifting your body weight slightly outward through corners and looking ahead toward the exit is the most fundamental and important safety principle on wet mountain roads.
On longer continuous descents, alternate between front and rear brakes rather than dragging the rear brake alone for extended periods—this not only prevents heat fade but also distributes weight more evenly for better handling. Carrying spare brake pads or regularly checking pad wear is an essential maintenance routine for riders who include this segment in high-frequency training. Additionally, approach the descent with a different mental state than the climb—on the way up, focus entirely on output and breathing rhythm; on the way down, shift attention to road reading and braking timing. This mental switch requires deliberate practice, especially when your heart rate is still elevated right after a hard climb, as reduced focus can easily lead to misjudging cornering speed—a common contributing factor to the higher accident rate on mountain climbing routes.
15. Additional Considerations for Racing and Group Rides
If you’re tackling this segment with a group ride or race simulation mindset, there are more variables to consider than riding solo. On the dense-gradient middle section, if group riders have significant ability gaps, the group can easily split, and sudden decelerations increase the risk of rear-end collisions. Agree in advance that at the steepest sections, the group will adopt an “everyone rides their own pace, regroup at the summit” strategy rather than forcing a paceline. In a race simulation context, if treating this segment as a time trial (TT) effort, complete a thorough warm-up beforehand—at least 15–20 minutes of progressive warm-up to bring your cardiovascular system and muscles near working intensity before the actual effort. This is especially important for a short, high-intensity segment like this; rushing in cold can ruin your rhythm within the first kilometer and directly compromise your overall time.
17. Power and Heart Rate Cross-Analysis: Using the Pacing Table More Precisely
The segment pacing table above provides heart rate and cadence baselines, but to truly extract precise training value from this route, cross-reference power and heart rate data rather than staring at a single metric. A power meter reflects “current output” with virtually no delay; heart rate, due to physiological response mechanisms, typically lags actual output by 10–30 seconds before catching up. This time lag is especially critical on sustained climbs like this 6.5% route—if you pace solely by heart rate, you can easily misjudge yourself as “still comfortable” in the opening section because your heart rate hasn’t risen yet, pushing power output too high too early. By the time your heart rate catches up, it’s already too late to pull back.
Specifically, divide the segment into three operational zones based on power: in the opening section (0–1.3K), target power at 80%–88% of FTP, giving your heart rate ample time to catch up; in the core section (1.3–2.8K), raise power to 90%–98% of FTP—even if your heart rate hasn’t yet entered Zone 4, don’t deliberately suppress power, because this is where the route’s highest output concentration should be; in the finishing section (2.8–4.0K), switch to a “conservative power, heart rate verification” logic—if your heart rate is approaching your personal maximum but power is dropping noticeably, it means your earlier pacing was too aggressive. In that case, actively let go of some power targets and prioritize finishing over hitting impressive numbers. Accumulating cross-referenced power and heart rate data across these three sections over time will reflect your true limits on this route far better than looking at average power alone.
18. Bike Maintenance Priorities for Wet-Season Riding
Pingxi’s naturally rainy climate wears down bicycle mechanical systems far faster than typical routes in drier regions—a factor often overlooked when planning long-term training frequency on this route. The drivetrain bears the brunt—chains, cassettes, and chainrings exposed to prolonged moisture and mud lose their lubricant film quickly. Without timely maintenance, not only does tooth wear accelerate, but you may also experience noise or even chain skip, which is especially dangerous under heavy load on the middle steep sections. After wet rides, be sure to re-lube the chain once it’s completely dry, and prioritize wet-specific lubricants (Wet Lube), which have higher viscosity and better wash-off resistance—even at some cost to drivetrain efficiency, they significantly extend component life.
The braking system also needs extra attention. While hydraulic disc brakes offer more stable braking response in wet conditions, brake pads absorb mud and water, reducing their friction coefficient. After rain, inspect pads for abnormal wear or embedded grit, and clean the rotors with dedicated cleaner if necessary to prevent oil or mud residue from compromising braking performance on your next ride. For wheels, wet riding can allow water into hubs and bearings—increase maintenance frequency, especially if this segment is a regular training venue. Perform a hub lubrication check at least once a month to prevent bearing rust and seizure from prolonged water ingress. Also regularly wipe mud residue from frame and cable housing junction points—some sections of Pingxi’s mountain roads are damp enough to approach year-round humidity, and neglecting maintenance can cause premature corrosion and creaking on an otherwise well-maintained bike.
19. Visiting Shifen Old Street and the Railway: Fitting the Climb into a Day Trip
If you’re not just looking to attack the climb but want to weave this route into a full Pingxi day trip, there’s a natural itinerary to plan. After completing this 4.0 km climb, many riders choose to park their bikes at a suitable location and switch to walking mode to enter Shifen Old Street—this old street, built along both sides of the still-operating Pingxi Line railway, is itself a famous attraction, offering an up-close experience of the unique atmosphere where tracks and old houses intertwine (for actual parking locations and routes, defer to on-site signage and official information). Shifen Waterfall Park is within walking distance of the old street—switching to walking mode to feel the spray of the waterfall up close is a worthwhile extension beyond the ride itself.
For riders looking to stretch the day trip even further, the Pingxi Line railway towns of Houtong, Wanggu, Lingjiao, and Jingtong each have their own character. If fitness and time allow, treat this climb as one segment of a larger composite route connecting surrounding mountain roads, experiencing three distinct travel textures in one outing: climbing training, railway nostalgia, and mountain-town old streets. When planning such composite rides, build in generous time and fueling buffers—Pingxi’s mountain weather is highly variable, and leaving extra margin lets you absorb both the satisfaction of the climb and the leisurely pace of old-street wandering in a single journey.
20. Scenic Spots and Photography Suggestions Along the Route
Although this climb is best known for its data and training value, the mountain scenery and shifting clouds and fog along the way are well worth capturing on camera. The steepest middle section typically offers limited views, so focus your photography on the opening and finishing sections—the opening section can capture the sense of depth as the mountain road winds upward before the fog clears; the finishing section opens up to broader vistas, and looking back into the valley, if clouds and fog happen to roll over the opposite ridgeline, it makes for a highly layered composition. Given Pingxi’s damp, rainy conditions, carry a simple waterproof pouch or a water-repellent phone case to protect your gear. If the lens fogs up, wipe it with a dry cloth rather than touching it with your fingers, which can degrade image quality.
If time allows, schedule photography for early morning or the window after rain clears—these periods typically offer the softest mountain light, and moisture evaporating from the damp air combined with angled sunlight often produces more atmospheric images than harsh midday sun. Of course, safety always takes priority over getting the shot—any stop for photos should be at a wide shoulder with good visibility that doesn’t obstruct other road users.
21. Summary: Fitting This Segment into Your Training Blueprint
Looking back over this entire guide, this climb in Pingxi heading toward Shifen Waterfall features clean data and a solid gradient—a mid-weight challenge in New Taipei’s mountains that deserves serious attention but isn’t intimidating enough to deter riders. Whether you’re an advanced rider looking to build critical intensity tolerance or a beginner taking your first step toward tackling genuinely steep climbs, this 4.0 km route with a 6.5% average gradient can find its place in your training blueprint. Master the middle-section pacing discipline, prepare in advance for Pingxi’s rainy climate, and factor in wet-season maintenance and route extensions—this segment will be your most solid data-verification lesson before moving on to harder routes.
Related Reading
- Pingxi Wufen Mountain Guide: Full Analysis of a Tough 4 km Short Climb in Ruifang with 257 m Elevation Gain and 6.4% Average Gradient
- Pingxi North County Road 47 Practical Guide: Full Pacing Analysis of a Serene 8.3 km Long Gentle Climb with 376 m Elevation Gain
- Wufen Mountain Guide: The 10.28 km, 577 m Elevation Gain Rhythm Riding Textbook
- Pingjing Street Climbing Practical Guide: Complete Breakdown of the 4.66 km, 6.3% Average Gradient Prelude to Lengshuikeng
台北闊瀨陡坡 騎旅 / 日本單車雜誌編輯車友臨時加入!/ 髮香才是最強的 / feat. 北迴歸線小隊 / 公路車 CT Yeh
6 個月前
單車 梅山36灣 坡度介紹 路段介紹 空拍 (相關遊記影片,請參考說明或我的頻道喔,歡迎訂閱)
6 年前
半日 小台灣 極限單車路線挑戰實錄
7 年前
#公路車 #西進武嶺 配速配瓦實驗 坡度分析 四小時內攻略 建大盃 NeverStop #西進武嶺攻略
6 年前
公路車 爬坡 破PR 紀錄 小技巧 分享
6 年前
96聯賽 桃園市長盃 歷屆各路段大數據攻略 從菁英組到新手組的平均瓦數、均速、平均時間 x 賽前探路
5 年前
西進武嶺 8000名單車友數據分析 PART1 | 從新手到高手數量/瓦數/推力比/FTP推力比/功率計使用率 大解析 | 公路車 | CTYeh
5 年前
西進武嶺各路段 前8000名 大數據分析 配速攻略/功率/心律/推力比/維持率/踏頻/踏瓦比/牽車率 大公開 | 建大盃 NeverStop 可參考 | 公路車 | CT Yeh
5 年前