Full Analysis of the 113km North Route to Wuling: The Hidden Wuling Challenge Starting from Taiya Bridge — Fiercer or Gentler Than the East Route?
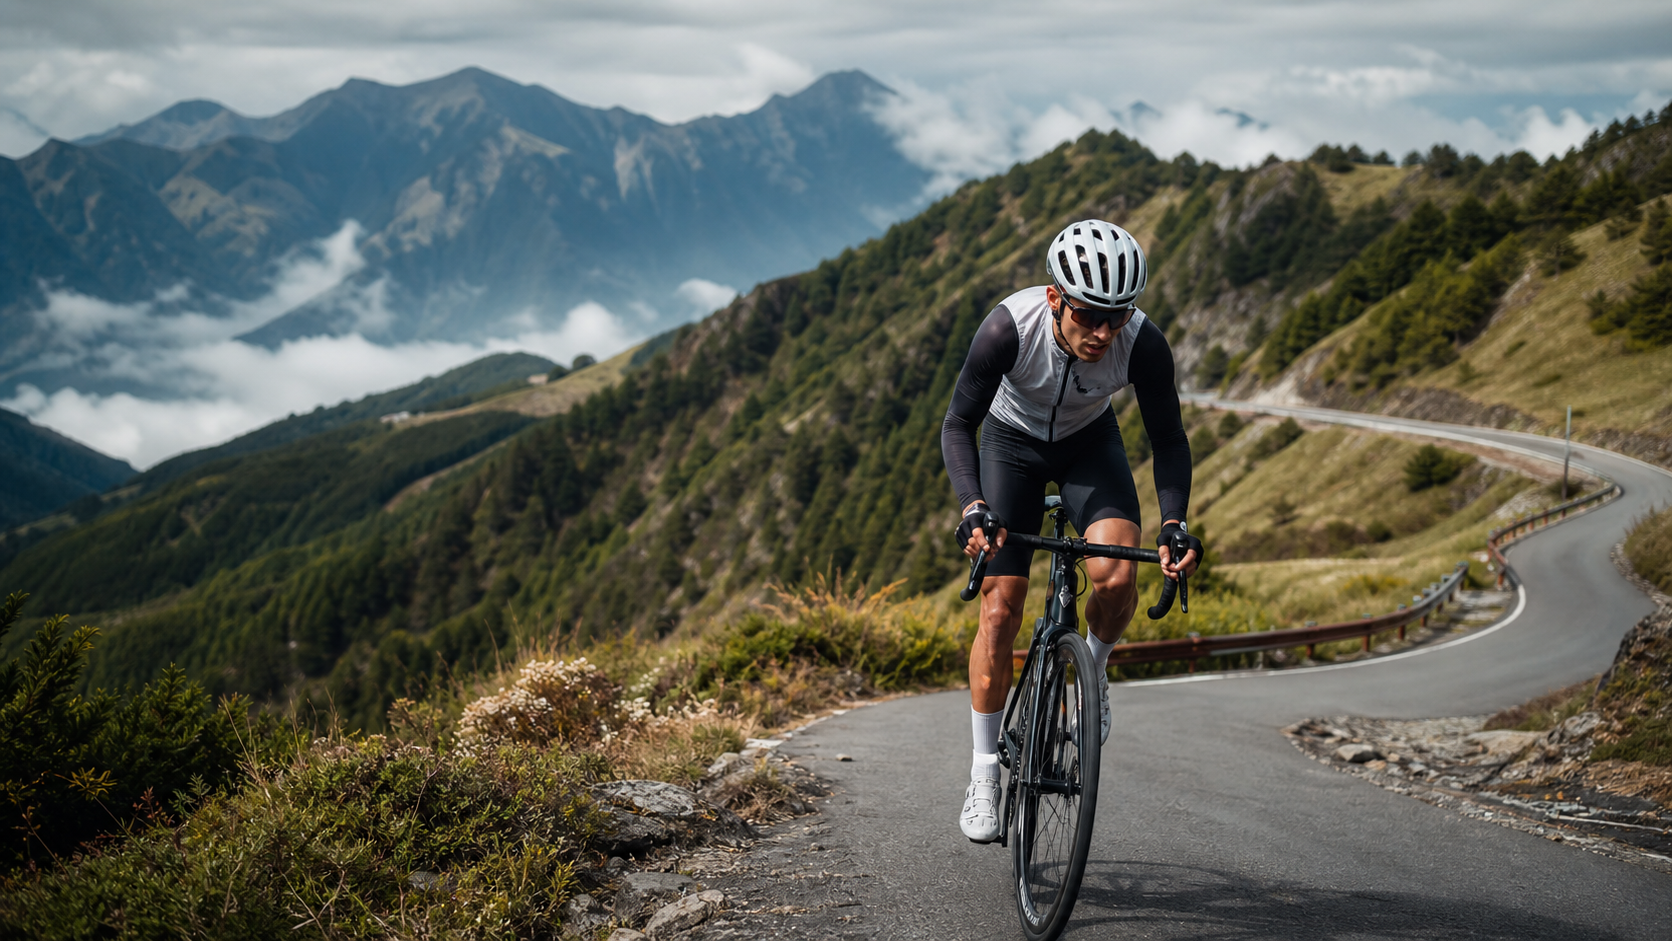
Full Analysis of the 113 km Northern Route to Wuling: The Hidden Wuling Challenge Starting from Taiya Bridge – Fiercer or Gentler than the Eastern Route?
Route Overview and Data Interpretation: First, Figure Out Which Wuling You’re Taking On
Every time someone mentions “Wuling” in a cycling group, nine out of ten people picture the famous Taiwan KOM Challenge eastern route along the Qingshui Cliff in Hualien and the Pacific coast. But the route we’re breaking down today – the “Northern Route to Wuling, starting from Taiya Bridge” – is a completely different road. The riding direction, starting conditions, and climbing structure are all different. If you confuse the feel, fueling strategy, or even your mental expectations between the two routes, you could pay a heavy price halfway through.
Let’s lay the data out clearly first. This route covers a total distance of 113,908 meters, or 113.91 kilometers. Total elevation gain reaches 3,926.8 meters. The official average gradient is listed at 2.5%. It’s classified as Category 0, meaning the highest difficulty HC (Hors Catégorie, or beyond categorization) level in the system. The starting point is “Taiya Bridge,” located in Yilan County, and the route label clearly reads “Northern Route to Wuling KOM” – that “Northern” is crucial, meaning the riding direction pushes southward from the Yilan mountains inland, ultimately conquering Wuling, rather than heading west-to-east from the Pacific coast in Hualien.
Let’s first clarify the basic facts about Wuling itself: Wuling is the highest point in Taiwan’s highway system, at 3,275 meters above sea level, located in the Hehuan Mountain area on the border between Nantou County and Hualien County, geographically adjacent to the highest section of Provincial Highway 14A. No matter which direction you ride up from, the finish line is the same geographic coordinate at Wuling, but the terrain, climbing rhythm, potential rest stops, and weather risk windows along the way differ fundamentally depending on your approach route. This is why veterans familiar with the eastern route often feel disoriented on their first ride up the northern route – same finish line, completely different journey.
The most important thing for all prospective challengers to note is the seemingly contradictory numbers between total elevation gain and average gradient. Using the simplest calculation, if you only look at “finish elevation minus start elevation” divided by “total distance,” the resulting average gradient will usually be much lower than the actual climbing intensity – because over a long-distance route, it’s nearly impossible to climb continuously without interruption; there will always be undulations and even descents. This route has a total gain of 3,926.8 meters. If you simply divide that by the 113.91 km total distance, the theoretical average gradient would fall around 3.4% to 3.5%, but the system lists the average gradient as 2.5%. This discrepancy precisely illustrates one thing: this route contains a considerable amount of descending and flatter sections in between, which pulls down the perceived average gradient figure. But the energy a rider actually expends requires climbing all 3,926.8 meters “for real.” The descents in between won’t reduce a single meter of climbing – they only add an extra burden of cardiovascular and muscular switching between climbs. In other words, 2.5% average gradient sounds like a gentle incline, but this is a numerical trap. The real riding intensity is far more brutal than the surface numbers suggest. Any rider who treats this route as “2.5% average, should be easy” is likely to suffer in the later stages.
Comparing it to the well-known eastern Taiwan KOM Challenge gives you a better sense. The eastern route is about 105 km long with roughly 3,275 meters of total gain (equal to the finish elevation, since the start is nearly at sea level), averaging about 3.1% – a route that is “almost pure climbing to the top,” with a relatively simple and straightforward rhythm: just keep going up, with little in the way of descending sections for recovery. This northern route, at 113.91 km with 3,926.8 meters of gain, is longer in distance and larger in total elevation gain, but because of the undulations in between, the rhythm is more complex, and the corresponding pacing strategy is completely different. In distance, the northern route is nearly 9 km longer than the eastern route, and the elevation gain is over 650 meters more. This isn’t simply “riding the same mountain from a different direction” – it’s a longer, more demanding long-distance challenge.
Section-by-Section Strategy: A Three-Phase Rhythm of Low, Mid, and High Altitude
Facing a 113 km route with nearly 3,927 meters of total gain, rather than memorizing every place name, it’s better to understand the riding rhythm through a macro three-phase framework. That way, even if actual road conditions differ from what you imagined, your energy allocation logic still holds.
Phase 1: Low-Altitude Start Section (Around Taiya Bridge to the Mountain Entrance). This is the warm-up period of the entire challenge. Elevation is relatively low, road conditions are generally flatter, and the riding environment is still mainly in the Yilan mountain foothills. The key task in this phase isn’t to push speed, but to wake the body up, confirm fueling and equipment status, and lock in a comfortable cadence. Many riders go too fast here because it feels easy and adrenaline is high, pushing heart rate close to the lactate threshold – a major mistake for a 113 km ultra-long challenge. In this section, it’s recommended to keep heart rate between 65% and 72% of your maximum, and power output between 60% and 70% of FTP, saving your body’s energy reserves for where they’re truly needed later.
Phase 2: Mid-Altitude Climbing Section (Entering the Main Mountain Climb). As elevation gradually rises, the route enters the core zone of this course – a long climbing stretch along Yilan mountain highways pushing toward the high mountains. This is where the feeling that “total gain far exceeds the average gradient number” begins to show: the section features alternating continuous climbs and brief descents, forcing the rider’s cardiovascular system and muscles to constantly switch between “sustained effort” and “brief recovery followed by restart.” This kind of switching is actually more draining on neuromuscular coordination and mental endurance than a steady, uninterrupted climb. In this phase, it’s recommended to use a “segmented goal method,” breaking the section into smaller targets every 10 to 15 km. After completing each small goal, reassess your feel, fueling status, and time progress to avoid mental collapse from not seeing the finish. Power output can gradually increase to 70% to 80% of FTP, but be sure to leave a buffer, because the high-altitude section in the later stages is where the real battle is decided.
Phase 3: High-Altitude Challenge Section (Straight Up to Wuling). This is the hardest part of the entire route and the ultimate test of willpower. Elevation keeps rising, oxygen concentration in the air drops, temperatures drop noticeably by about 0.6 degrees Celsius for every 100 meters of elevation gain, and perceived fatigue is amplified by the thin air. In this phase, it’s recommended to proactively lower your target power or heart rate values. Better to ride slower and maintain a steady cadence than to force higher output and risk premature, irreversible muscle fatigue or cramping. A common mistake riders make in this phase is seeing the finish line in sight and wanting to sprint, only to run out of steam before reaching the Wuling archway. It’s recommended to reassess your remaining energy before the final 5 km – better to be conservative than to gamble. The moment you reach the Wuling archway, at 3,275 meters, the highest point on Taiwan’s highway system, the sense of accomplishment is the most direct reward for all the suffering that came before.
Gearing and Equipment Setup: For Ultra-Long Distance Plus High Mountains, Warmth and Drivetrain Are Both Essential
113.91 km plus 3,926.8 meters of total gain makes the demands on the drivetrain and gearing setup very clear: you need a light enough gear to survive a long, high-gain ride, and your equipment list must put “high-altitude cold” as a core consideration, not an afterthought.
Gearing Recommendations. For the vast majority of amateur riders facing a route with a seemingly 2.5% average gradient that actually hides steep climbs and prolonged climbing demands, a compact crankset (50/34T) paired with an 11-32T or 11-34T rear cassette is a relatively safe choice. If your fitness leans toward endurance and you don’t have a strong base of climbing training, it’s recommended to go even lighter – for example, a sub-compact crankset (48/32T) with a wide-range cassette (11-34T or even 11-36T) – so your easiest gear provides close to a 1:1 or even lighter gear ratio. This ensures that in a prolonged, oxygen-deprived high-altitude environment, you can still maintain power output with a higher cadence, rather than being forced to grind climbs with low cadence and high torque, which would dramatically accelerate the onset of muscular and cardiovascular fatigue.
Layering Plan. This is the biggest equipment difference between the northern route to Wuling and a typical flatland long ride. From the humid, stuffy low altitude of Yilan to the high-altitude cold near 3,275 meters at Wuling, the temperature difference can exceed 15 degrees Celsius, and wind speeds in mountain areas are typically higher than on flat ground, making the perceived temperature even lower due to wind chill. A layering strategy is recommended: for the base layer, choose moisture-wicking, quick-drying jersey and bibs; for the mid layer, prepare a lightweight long-sleeve thermal jersey or vest; and for the outer layer, be sure to carry a lightweight windproof and waterproof jacket that packs down small enough to fit in a jersey pocket or small waist pack. For your hands, bring full-finger or thermal gloves as backup, because at high altitude, fingertips can lose dexterity due to cold, affecting braking response and shifting precision. Head insulation is equally important – a lightweight skull cap or headband can effectively reduce heat loss on descents or high-altitude sections.
Tires and Braking System. For a 113 km long ride with high-altitude descents (if your plan includes the descent), it’s recommended to use tires at least 25c wide, balancing rolling resistance and comfort, and to ensure tire pressure is adjusted appropriately based on your weight and road conditions to avoid puncture risk from prolonged riding. For braking, hydraulic disc brakes perform significantly better than traditional rim brakes for long-distance descent control and wet conditions. If your bike setup allows, this route is ideal for hydraulic disc brakes to show their advantage, especially in the fog or brief rain that frequently occurs around Wuling.
Tools and Power. For a long high-altitude challenge, be sure to carry a complete tool kit: two spare tubes, CO2 cartridges or a mini pump, a multi-tool, and a quick link. For electronics, plan conservative battery estimates for your GPS computer and lights, because high-altitude cold accelerates lithium battery drain. Confirm everything is fully charged before departure and carry a power bank as backup, especially if your estimated riding time exceeds 6 hours.
Fueling and Hydration Strategy: A 113 km Long Ride Can’t Be Pushed Through on Feel Alone
The fueling plan for a long, high-gain route follows completely different principles from a typical short climb. The core logic is “preventive fueling” rather than “fuel when you feel hungry,” because once obvious hypoglycemia or dehydration symptoms appear, it’s often too late to fully reverse them with fueling, and the remaining road only gets more painful.
Calorie Intake Rhythm. For a challenge of 113.91 km with an estimated duration of many hours, it’s recommended to consume 60 to 90 grams of carbohydrates per hour, alternating between energy gels, energy bars, bananas, and other solid and liquid sources to avoid gastrointestinal distress or flavor fatigue from a single form. A full meal should be completed 2 to 3 hours before departure to ensure adequate glycogen stores. Thirty minutes before riding, take an easily digestible energy gel or banana to pre-load energy for the early climbs.
Hydration and Electrolyte Management. 113 km plus heavy climbing will cause significant sweating, especially in the humid low-altitude sections. It’s recommended to drink 500 to 750 ml of water per hour, adding electrolytes to prevent sodium and potassium loss from prolonged sweating, which can lead to cramping. As elevation rises and temperatures drop, sweat output decreases, but respiratory water loss and the dry mountain air still cause hidden dehydration. Many riders mistakenly think that if it’s not hot in the mountains, they don’t need to drink – this is a common misconception. You must maintain your hydration rhythm and not stop fueling just because you don’t feel hot.
Rest Stop Planning. Given the long mileage and high elevation gain of this route, it’s strongly recommended to plan at least 2 to 3 clear rest stops in advance – convenience stores, gas stations, or legal mountain rest areas – where you can replenish solid food, hot drinks (especially near the high-altitude sections close to Wuling, where warm beverages greatly help maintain core temperature and mental state), and check equipment. Don’t pin all your fueling hopes on stores that “should be there” along the way – mountain shop hours are unpredictable. It’s recommended to carry at least enough emergency fuel to support 3 to 4 hours of riding, just in case.
The Fueling Trap on Descents. Many riders overlook a key point: while long descents don’t require much muscular effort, the wind chill effect, sustained hand fatigue from braking, and continuous mental focus all still require fueling and brief rest. It’s recommended to confirm your fueling status before descending and take appropriate breaks in safe spots, stretching your hands and shoulder/neck muscles, to avoid the increased accident risk from declining focus during long descents.
Weather and Seasonal Considerations: Mountain Weather Is the Biggest Variable on This Route
The high-altitude climate around Wuling has always been famous for being “changeable,” and this northern route likewise demands that weather risk be placed at the very top of your planning priorities. Any challenger who ignores the forecast and sets off with a “it’ll be fine” attitude could encounter unexpected danger halfway.
Day-Night Temperature Variation and Altitude Temperature Difference. In the Hehuan Mountain area around Wuling, even in summer, early morning and late night temperatures can drop to single digits, and in winter there’s even a chance of near- or below-freezing temperatures and icy conditions. Combined with the environmental lapse rate of about 0.6 degrees Celsius per 100 meters, starting from the humid heat of the Yilan lowlands and riding to Wuling at nearly 3,275 meters, temperature differences of over 15 degrees Celsius are the norm. This is why thermal gear was listed as a hard requirement in the earlier section, not an optional item.
Fog and Rain Risk. Mountain terrain easily generates localized fog or afternoon convective rain due to orographic lifting effects, especially in summer afternoons when mountain rain probability rises significantly and visibility can drop dramatically in a short time. Challengers should develop the habit of checking the Central Weather Bureau’s mountain forecasts and real-time observation data before departure, avoiding high-altitude sections during periods of strong afternoon convection, and always carrying lightweight rain gear as backup. Even if the forecast says sunny, mountain weather changes on a dime – being prepared is always the right principle.
Wind Speed and Wind Chill. Wind speeds on mountain ridgelines and open sections are typically stronger than on flat ground, especially in the alternating windward and leeward terrain around Wuling, where riders may experience dramatic wind shifts. Strong wind not only increases riding resistance and consumes more energy, but also makes the perceived temperature far lower than the actual air temperature through wind chill. This is why a windproof outer layer is listed as a necessity rather than an option in the equipment list.
Seasonal Recommendations. In terms of overall climate stability and riding comfort, spring and autumn (roughly March to May and September to November) are generally the ideal seasons to take on this route, with moderate temperatures and relatively lower rain probability. Still, it’s recommended to avoid the unstable weather windows of the plum rain season and typhoon season. Summer challenges require special attention to afternoon thunderstorms and the heat load of intense sun on low-altitude sections, while winter demands strict precautions against low temperatures, ice, and even brief snowfall threatening safety on high-altitude sections. Before departure, be sure to double-check real-time road conditions and closure information around Wuling.
Common Mistakes and DNF Risk Assessment
A 113.91 km, 3,926.8-meter-gain long-distance high-altitude challenge carries a far higher DNF (Did Not Finish) risk than typical short climbs. Below are several key mistakes that most commonly lead to failure – recognizing them in advance is the best way to avoid them.
Mistake 1: Losing Pace Control in the Early Stages. As mentioned in the section-by-section strategy, the low-altitude start section feels easy, and many riders unconsciously ride too fast, pushing heart rate and power too high. By the time they reach the true core high-altitude climbs, they no longer have enough energy reserves to handle the even harder conditions ahead. It’s recommended to use a heart rate strap or power meter for objective monitoring throughout, rather than relying solely on subjective feel to judge whether your pace is reasonable.
Mistake 1 Addendum: Ignoring the Trap of the Gap Between Total Gain and Average Gradient. As analyzed in detail earlier, the 2.5% average gradient figure on this route easily leads to misjudging the difficulty. If you look only at the average gradient and assume it’s an “easy long-distance cruise,” without mentally and physically preparing for the real 3,926.8 meters of climbing, that’s one of the most common cognitive errors leading to mid-route abandonment. Be sure to assess the true intensity of this challenge based on total elevation gain, not the average gradient figure.
Mistake 2: Insufficient Fueling or Poor Fueling Timing. If you wait until you clearly feel hungry or thirsty to fuel, your body has already entered an energy deficit. Especially in a high-altitude, oxygen-deprived environment, the body’s ability to recover energy is reduced. Once hypoglycemia symptoms appear, it often takes much longer rest to regain the ability to ride, and in severe cases, you may have to terminate the challenge early.
Mistake 3: Underestimating Warmth Needs. When departing from flat ground in warm weather, many riders downplay the cold risk around Wuling and fail to carry adequate thermal gear. As a result, they’re forced to slow down or even stop on high-altitude sections due to hypothermia. Hypothermia not only affects riding performance but is a serious safety risk that absolutely cannot be taken lightly.
Mistake 4: Insufficient Preparation for Mechanical Issues. On a long mountain challenge, if you don’t carry enough spare tubes, tools, and the knowledge to handle problems, a flat tire or mechanical failure won’t just slow your finish time – the time cost and risk of waiting for rescue in remote high-mountain sections are far greater than in typical urban riding. Be sure to complete a full bike inspection before departure, including brakes, shifting, tire pressure, and tire condition.
Mistake 5: Insufficient Mental Endurance Preparation. A 113 km challenge lasting many hours tests mental toughness as much as physical load. Many riders experience strong urges to quit mid-route because they can’t see the finish and fatigue compounds. It’s recommended to set segmented goals before the ride, ride with companions, or use rest stops as psychological milestones to help maintain forward momentum.
Target Time Planning for Riders of Different Levels
Considering the characteristics of this 113.91 km, 3,926.8-meter-gain, highest-difficulty HC route, the time ranges below are for reference only. Actual finish times will vary significantly based on individual fitness, weather conditions, and rest duration. Challengers are advised to honestly assess based on their own training foundation.
Elite/Advanced Challengers (with a solid climbing training base and FTP-to-weight ratio of 4.0 W/kg or above): Pure riding time is roughly 6 to 7 hours; with fueling and rest stops factored in, approximately 7 to 8 hours total to complete the challenge.
Advanced Recreational Riders (with some long-distance riding experience and regular climbing training): Pure riding time is roughly 7 to 9 hours; with fueling and rest stops, approximately 8 to 10 hours total.
General Challenger-Type Riders (with experience finishing 100 km or more, but without sufficient climbing training volume): Pure riding time is roughly 9 to 11 hours; with fueling and rest stops, approximately 10 to 12 hours total. Riders in this category are strongly advised to start early to ensure ample daylight to complete the full route, strictly evaluate their energy reserves for the high-altitude sections in the later stages, and have a mental plan and backup strategy for potentially stopping early if necessary.
First-Time High-Altitude Long-Distance Riders: It’s strongly recommended to first accumulate experience and a training base on shorter, lower-gain climbing routes before considering an HC-level route of 113 km or more with nearly 4,000 meters of total gain. Charging in recklessly not only means a low chance of finishing but also exposes you to multiple risks – weather, mechanical, and physical – due to inadequate preparation.
Regardless of which level you belong to, the northern route to Wuling with its 113.91 km and 3,926.8 meters of total gain is a high-difficulty long-distance challenge that demands thorough preparation and must never be taken lightly. It is a completely different road from the eastern Taiwan KOM Challenge, with its own unique rhythm and logic of challenge. Only by correctly understanding this route’s true data and risk structure can you safely and solidly put Taiwan’s highest highway point – Wuling – beneath your wheels.
Related Reading
- Northern Route to Wuling: Starting from Taiya Bridge, Another Wuling 113 km Away
- Eastern Route vs. Western Route to Wuling: Which Is More Challenging?
- Western Route to Wuling Complete Riding Guide: A Four-Section Pacing Map of 53 km and 2,889 Meters of Climbing
- Wuling Climbing Guide: Challenge Strategies and Fueling Plans for Taiwan’s Highest Highway
大禹嶺 到 武嶺牌樓 全程前後實況錄影 | 北進武嶺 | 東進武嶺 | KOM | 訓練台 | 坡度分析 | Taiwan KOM Last 10 km HARD | 公路車
6 年前
台北闊瀨陡坡 騎旅 / 日本單車雜誌編輯車友臨時加入!/ 髮香才是最強的 / feat. 北迴歸線小隊 / 公路車 CT Yeh
6 個月前
2023 夏季KOM 參賽實況 / 穿越空拍視角 / 整車都凸台 / 太魯閣峽谷x合歡山絕美大景 / 東進武嶺 / Taiwan KOM Challenge / 公路車 / CT Yeh
3 年前
西進武嶺 世界紀錄挑戰!破2:30 ?!一群人推著一個夢上山 直播精華版 / ft. 張翰允 & 台視主播魏于恬 & KPLUS / #cycling 公路車 CT Yeh
2 個月前
#北橫 + #北進武嶺 最硬的員工旅遊 EP1 | #公路車 #拉拉山 | 明池 | 武嶺 | 武陵農場 | 雲海 | Taiwan Cycling Route Wulin
6 年前
一日KOM直播攝影師 / 東進武嶺Live有多困難? / 2023 台灣登山王挑戰 / Taiwan KOM Challenge / 公路車 / CT Yeh
2 年前
#公路車 #西進武嶺 配速配瓦實驗 坡度分析 四小時內攻略 建大盃 NeverStop #西進武嶺攻略
6 年前
#東進武嶺 全程實況錄影 5小時半 #夏季KOM #太魯閣 Taiwan KOM Challenge Reality Video Taroko scenery
7 年前