Wulai Baoqing Temple Full Analysis: 7.6 km, 464 m of Climbing—How to Ride This "Xindian Backyard" Without Blowing Up
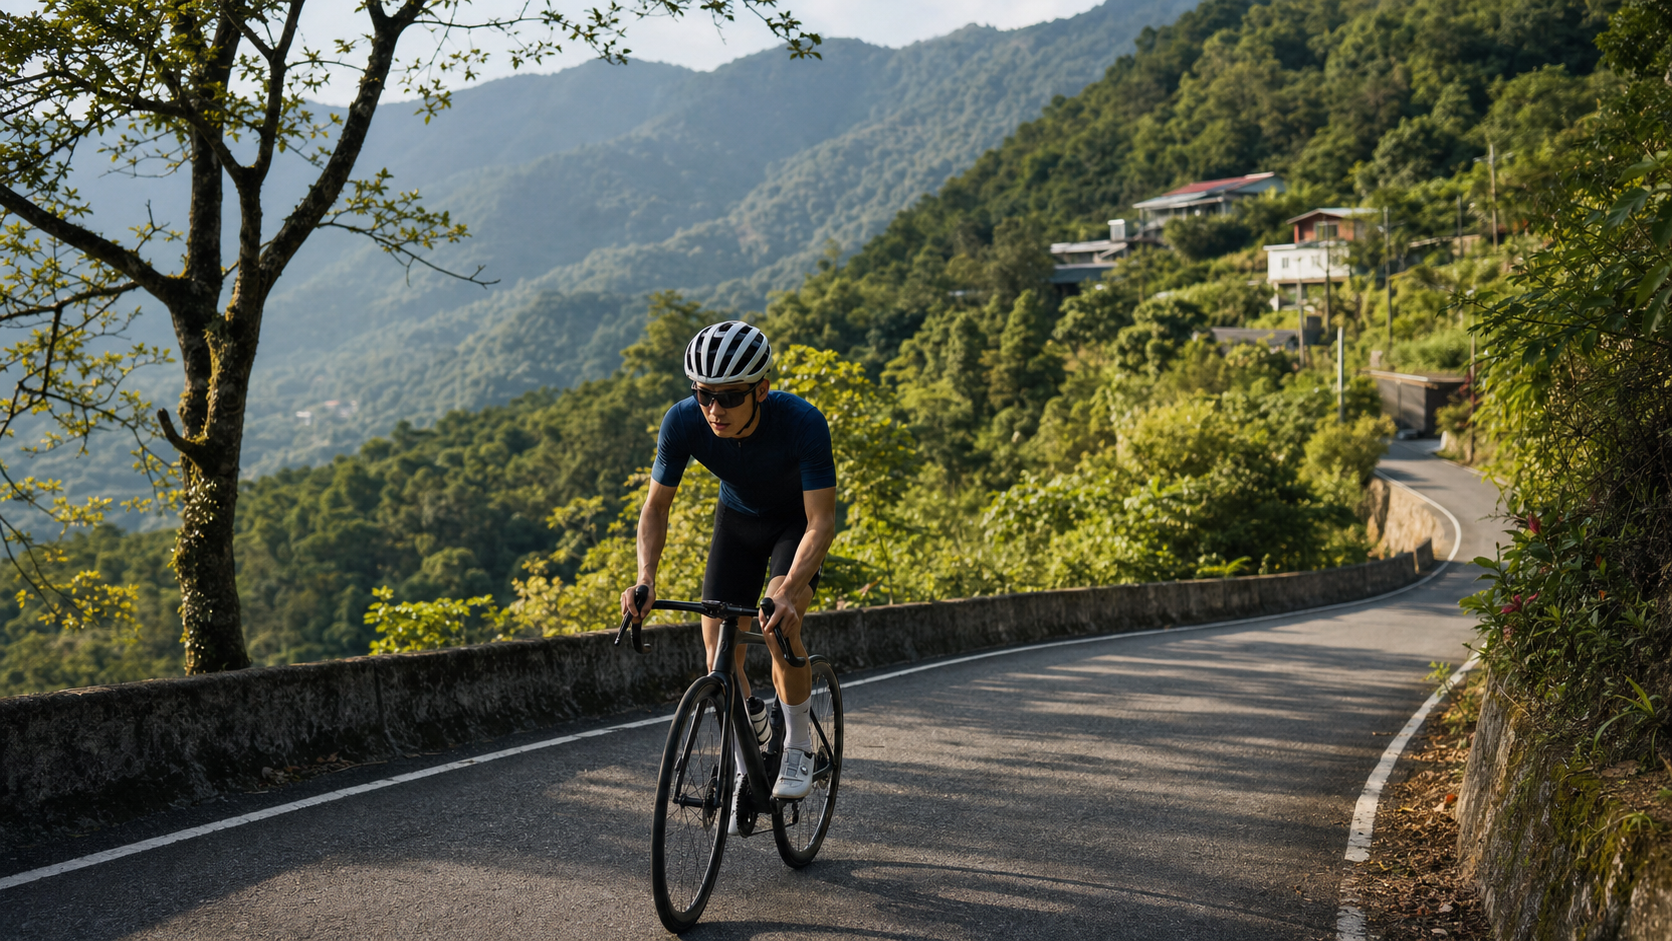
Full Analysis of Wulai Baoqing Temple: 7.6 km, 464 m of Climbing—How to Ride This “Xindian Backyard” Without Blowing Up
Foreword: Get the Numbers Straight First, Then Talk Tactics
The Wulai Baoqing Temple climb is a route that almost every rider in the Greater Taipei area has heard of when it comes to “leg training,” but not everyone has actually studied the numbers in earnest. According to public records on the Strava segment (ID 2300992), the route is 7,589.58 meters long, which works out to 7.59 km; total elevation gain is 464.2 meters; average gradient is 6.0%. Running the physics backward once: 7,589.58 meters multiplied by 6.0% gives a theoretical gain of about 455 meters, within 2% of the official 464.2 meters—which means the internal logic of this data is self-consistent and can be used directly for training and pacing plans without worrying that something was measured wrong.
Compared with other well-known climbs in Greater Taipei, Baoqing Temple’s specs are actually quite “textbook”—the distance is neither too short nor too long, and the average gradient sits right around that “noticeable but not crushing” six percent mark, making it ideal for a weekly interval-climb day or as a mid-term benchmark before tackling longer climbs like Yangjin or Fengguizui. It doesn’t require a full-day plan like the western approach to Wuling, which easily exceeds 100 km with 3,000 meters of climbing, nor does it end in two or three minutes like some short, steep pitches (e.g., certain sections of Zhongshe Road) without building aerobic endurance. At 7.59 km and 464 meters of climbing, riding it at a typical club-group pace takes roughly 25 to 40 minutes—a time cost that fits neatly into an after-work evening ride or as one segment of a weekend morning ride. That’s also why riders from Xindian, Xinzhuang, and Banqiao have long kept it on their “shortlist.”
This article will take an engineer’s approach, breaking the route into several key sections, analyzing gradient changes, pacing strategy, gear selection, and nutrition planning section by section, while honestly laying out reasonable target times and common failure modes for riders of different levels. The goal is to give you a clear “battle map” in your head before you ride—rather than charging in on feel until your legs blow up, only to realize half the route is still ahead.
Route Overview and Terrain Structure Breakdown
The start of the Baoqing Temple route is typically set near the intersection of Xinwu Road (Provincial Highway 9A) and Huanshan Road, climbing along Huanshan Road into the Wulai mountain area, with the finish at the open space in front of Baoqing Temple’s courtyard. The entire route can be conceptually divided into three sections:
Initial Gentle Climb (approx. 0–2 km): The gradient at the start is relatively mild, sitting around 3–4%, with adequate road width and views passing several homes and orchards. This is the buffer zone where your body transitions from flat-road riding mode to climbing mode.
Middle Main Climb (approx. 2–5 km): This is the core section where the gradient is most sustained and where cardiovascular and muscular endurance are truly tested. Most sections fall between 6–8%, and some corners can even spike to nearly 10%—this is the part most likely to make riders feel “betrayed,” because the gentle first two kilometers can mislead riders who haven’t done their homework into underestimating the overall difficulty.
Final Approach (approx. 5–7.6 km): The gradient gradually eases, and the final stretch even includes brief flat or slight downhill sections to catch your breath, giving riders a chance to recover before the short, steep kick up to Baoqing Temple’s courtyard.
This “gentle, steep, gentle” three-part structure has a direct impact on pacing strategy: if you ride the initial gentle section at near-lactate-threshold heart rate, the middle main climb will exact a price; conversely, if you start too conservatively and then hesitate to push the pace in the middle, you’ll feel on the flatter section that you “wasted energy without putting it to good use.” The next section offers pacing advice for each of these three parts.
Section-by-Section Pacing Guide: Rhythm Management from the Start to Baoqing Temple
Section 1 (0–2 km, gentle warm-up climb): For this section, adopt a strategy of “conservative heart rate, comfortable gearing,” aiming to keep your heart rate around 75–82% of your lactate threshold heart rate (LTHR)—what’s commonly called Zone 2 to the low end of Zone 3. The focus here isn’t speed; it’s letting your body properly complete the transition from flat-road riding posture to climbing posture—including shifting your weight forward on the saddle and gradually transitioning cadence from around 90 rpm on flat roads to the 75–85 rpm typical of climbing. A common mistake riders make here is seeing the mild gradient and charging ahead with the high-torque, big-gear style used on flats, only to find their leg muscles already fatigued by the time they hit the steeper middle section.
Section 2 (2–5 km, core climb): This is where the route is won or lost. With gradients of 6–8% and even occasional double-digit pitches, aim to push your heart rate to around 88–95% of LTHR—the Zone 4 range—and be sure to manage your cadence: maintain roughly 70–80 rpm, avoiding the trap of being forced into “mashing” because your gearing isn’t light enough. That style of riding looks powerful in the short term, but it can easily deplete muscle glycogen before you reach the finish, leading to cramps or a severe slowdown in the second half. For this section, adopt the mental tactic of “chunking”: break the 3 km climb into smaller targets of 500 m to 1 km each, and give yourself a small psychological reward after completing each one, so you don’t lose your composure from not being able to see the finish.
Section 3 (5–7.6 km, final push): The gradient eases and even offers brief recovery points—this is your chance to recover a bit of energy and let your heart rate drop back toward Zone 3, preparing for the short, steep kick to Baoqing Temple’s courtyard. Many experienced riders deliberately “pretend to be relaxed” here while actually storing glycogen and neuromuscular readiness for the final sprint, because the last 200–300 meters before the temple courtyard often features a gradient rebound—if your energy is completely spent, that stretch can become the most painful memory of the entire ride.
Gear and Equipment Recommendations: What Setup to Use on This Climb
Given the specs of a 6.0% average gradient with local sections near 10%, Baoqing Temple isn’t a route that requires “mountain-bike-grade” ultra-light gearing to complete, but for casual riders or heavier cyclists, the right gear setup can dramatically reduce the suffering index of the whole ride.
| Rider Level | Recommended Front/Rear Gearing | Notes |
|---|---|---|
| Advanced/Racing | Front 50/34, Rear 11-28 or 11-30 | Can maintain higher cadence on middle steep sections, trading speed for time |
| General Club Level | Front 50/34, Rear 11-32 or 11-34 | Balances sustainability on middle steep sections with efficiency on the final stretch |
| Beginner/Heavier Rider | Front 46/30 or lighter compact setup, Rear 11-34 or higher | Prioritize knee protection, avoid excessive out-of-saddle riding due to insufficient gearing |
Out-of-the-saddle riding on a mid-distance climb like Baoqing Temple is best used “briefly, not as a long-term crutch”—on the middle steep sections, you can stand for two or three pedal cycles at corners where the gradient spikes to break through a sticking point, but if you rely on standing for the entire route, your heart rate will spike far faster than seated riding, and you risk draining your anaerobic system before reaching the finish. As for wheels, this route places little demand on aerodynamics; what matters more is the combined weight of bike and rider plus the rear hub’s climbing stiffness. Standard training aluminum wheels are more than sufficient—there’s no need to swap in high-end carbon climbing wheels just for this climb.
Nutrition, Hydration, and Weather/Season Considerations
At 7.59 km and 464 meters of climbing, a typical pace completes the route in about 25–40 minutes, so in theory no mid-ride refueling is needed—this is something many riders overlook, yet they often either over-prepare or under-prepare. The right approach is “eat before, replenish after”: finish a proper meal 1 to 2 hours before departure, top up with an energy gel or a small banana 15–20 minutes before starting, and rely primarily on water or electrolytes from your bottle during the ride. It’s not advisable to stop and eat solid food mid-climb, because once your heart rate drops, the cost of rebuilding rhythm—both mentally and physically—is significant.
For hydration, given that average temperatures on this route are lower than in Taipei’s urban area and mountain shade partially blocks sunlight, actual sweat loss will be less than riding the same duration on flat city roads, but it’s still recommended to carry at least one 500–750 ml bottle; in hot, humid summers, bring two, with one containing electrolyte mix. The Wulai area has a mountain microclimate, with afternoon thunderstorms common and fog frequently forming in the Nanshi River basin. Morning rides are the preferred option, and be sure to check real-time rainfall radar before departing. Once rain hits mountain roads, the surface becomes slippery and combined with the many corners, the risk on descents rises noticeably.
Seasonally, spring and autumn (March–May, October–November) offer mild temperatures and relatively stable humidity, making them the best seasons to tackle this route; in summer (June–September), afternoon thunderstorm probability is high, so aim to depart before 6 a.m. to complete the main climbing section; in winter (December–February), under the influence of the northeast monsoon, mountain temperatures can be significantly lower than in the city, and with heavy road moisture, be sure to carry a windproof jacket and slow down on descents.
Common Mistakes and DNF Risks: Why Some Riders Give Up Mid-Route
The Baoqing Temple climb may not look particularly intimidating on paper, but every year a number of riders end up dismounting and walking in the middle main climb, or even turning back entirely. Here are the most common failure modes:
Gear Miscalculation: Many riders see “average gradient 6.0%” on Strava and intuitively think “that shouldn’t be too bad,” while overlooking the steeper sections hidden behind the average (locally near 10%). Without switching to a sufficiently light rear cassette in advance, cadence can drop below 50 rpm on the middle steep sections, causing knee stress to spike or even cramping.
Pacing Too Fast Early: The gentle gradient of the initial section makes it tempting to “charge out for momentum,” but by the time you hit the core climb, your heart rate is already near or above threshold, forcing your body into anaerobic metabolism where lactate accumulates far faster than it can be cleared—resulting in severe slowdown or even forced stops before reaching the finish.
Insufficient Hydration and Electrolytes: Although the total time is short, if you had poor sleep the night before, didn’t hydrate properly that day, and it’s hot and humid in summer, mild dehydration symptoms (dizziness, pre-cramp signs) can appear on the middle climb. Once that happens, pushing through is often the direct cause of a DNF.
Underestimating Route Length Psychologically: 7.59 km sounds short, but when the gradient holds at 6–8% for more than 3 km, for riders with insufficient training volume and little experience sustaining prolonged output, the psychological fatigue weighs far heavier than the numbers suggest. Before your attempt, use an indoor trainer or a gentler climb to simulate sustained output of similar duration, building a mental foundation.
Reasonable Target Times for Riders of Different Levels
The time ranges below are estimated based on empirical rules accumulated from club group rides and amateur races; actual performance will vary with individual weight, daily condition, wind, and temperature. They are for training planning reference only and do not represent any official race standard:
| Rider Level | Reasonable Target Time | Average Speed Equivalent |
|---|---|---|
| Competitive/Elite | Approx. 16–20 min | Approx. 22.8–28.5 km/h |
| Advanced Club Level | Approx. 22–28 min | Approx. 16.3–20.7 km/h |
| General Recreational Rider | Approx. 30–40 min | Approx. 11.4–15.2 km/h |
| Beginner/First Attempt | Approx. 40 min or more | Depends on individual condition |
One important note: “time” should not be a beginner’s first goal. Completing the ride safely, feeling how your body responds to sustained climbing, and building an understanding of your own heart rate and gear setup are the most valuable takeaways from a first attempt at Baoqing Temple. After accumulating two or three rides and gaining a clear grasp of your body’s responses, then start seriously chasing a personal best with a timer—that’s a healthier and more sustainable training mindset.
Transportation Connections and Route Planning: How to Fit Baoqing Temple into Your Ride
For riders living in Taipei’s urban area or other New Taipei districts, the biggest advantage of the Baoqing Temple route is its “accessibility.” Starting from Xindian’s urban area, heading south along Xinwu Road (Provincial Highway 9A), the drive or ride isn’t long—which is why it’s often included in “Xindian-style” training route combinations, such as a day trip of “Xinwu Road warm-up + Baoqing Temple main climb + Wulai Old Street return,” totaling roughly 30–50 km round trip, making it ideal as the core segment of a half-day weekend ride.
If you’re starting from Taipei’s urban area, factor the round-trip distance to Xinwu Road into your energy budget—many riders make the mistake of saving all their effort for the Baoqing Temple climb itself while overlooking that simply riding to the start already consumes a certain portion of energy and glycogen. A more conservative approach is to deliberately keep intensity low on the stretch before reaching the Huanshan Road intersection, riding at near-warm-up heart rate, and save the “real effort” for after you turn onto Huanshan Road.
In terms of route planning, many riders also choose to link Baoqing Temple with other nearby climbs to create a “multi-climb day” training combination—for example, continuing toward the Xinzhan direction branch, or tackling other nearby gradients after descending. These linked routes are excellent segmented simulation training for riders preparing for long-distance endurance events (such as the Wuling series or Huadong Zongheng level), but for general recreational riders, it’s advisable to first ride Baoqing Temple solo until you’ve mastered your pacing rhythm before considering adding other segments—avoid stretching recovery time the next day by taking on too much climbing at once, which can disrupt training consistency.
As for parking and meeting points, Xinwu Road generally has scattered roadside parking outside weekday peak hours; on weekends, it’s recommended to arrive early or use carpooling or public transit, to avoid compressing warm-up time while hunting for parking. Wulai’s weekend traffic is already heavy due to hot-spring tourism and Old Street crowds, and with some sections having narrow lanes and limited corner visibility, stay alert throughout the ride—especially on mixed-traffic sections with cars and scooters. Always follow the rule of riding on the right and use hand signals in a timely manner to indicate turns and side-by-side situations.
Safety Reminders and Brake Rhythm Management for the Descent
Many guide articles focus on “how to climb up” but often overlook “how to ride down safely”—in fact, the risk on the descent from Baoqing Temple is no less than the physical challenge of the climb, especially for riders who have just completed a high-intensity ascent and whose legs are already fatigued; reaction speed and brake control on the descent are both affected.
On the descent, adopt “pulse braking” rather than “continuous squeezing”—that is, apply brake force early and briefly before entering a corner to bring speed down to a safe range, then release the brakes after the apex to let the wheels spin freely, avoiding prolonged continuous braking that overheats the brake pads and causes gradual brake fade (commonly known as “thermal fade”). This is especially dangerous on mountain descents with consecutive hairpin turns. The descent corresponding to the middle main climb has gradients of 6–8% and even locally near 10%, and with some corners’ sightlines blocked by roadside vegetation, keep your descent speed within a range where you can come to a complete stop within 3 seconds. Don’t try to “earn back some satisfaction” on the descent just because the climb was hard.
Tire pressure and tread condition are also critical to descent safety. Before riding, confirm tire pressure matches the day’s temperature and road moisture conditions (after rain, consider slightly lowering pressure to increase grip), and check brake pad wear—riders who regularly ride mountain routes will find brake pads wear much faster than on flat roads, so make it a habit to check monthly. If descending in a group, maintain adequate spacing and communicate hand signals and verbal cues at the meeting point beforehand, to avoid rear-end collisions from sudden braking by the rider ahead.
Advanced Training Application: Turning Baoqing Temple into Your FTP Testing Ground
For riders using a power meter or heart rate monitor for structured training, Baoqing Temple’s specs make it an excellent regular climbing ability test segment. With a distance of 7.59 km and estimated completion times mostly in the 20–40 minute range, it fits neatly into the time frame of the commonly used “20-minute Functional Threshold Power (FTP) test” in exercise physiology. It’s well suited for scheduling an all-out effort every 4 to 6 weeks, recording your average power, average heart rate, and completion time to track training progress.
The specific approach: on test day, first complete at least 15–20 minutes of progressive warm-up to bring heart rate and muscle temperature up near the working range, then start from the beginning and ride the entire route at an intensity that is “hard but sustainable,” maintaining steady output rather than a front-loaded surge followed by a fade. After the test, record your average power (if you have a power meter) and completion time, and compare with previous test results. Typically, after one to two months of consistent training, heart rate at the same pace will drop slightly, or power at the same heart rate will rise slightly—both are concrete signs of fitness improvement.
One reminder: these all-out tests should be limited to no more than one or two per month, avoid high-intensity training the day before, and schedule adequate recovery afterward (at least one full rest day or an extremely easy recovery ride is recommended), to avoid frequent all-out testing disrupting the fatigue management of your normal training cycle—a net loss.
Equipment Check List: Final Confirmation Before Departure
Beyond gear setup, a pre-ride equipment self-check is also a key step in reducing DNF risk. Here’s a simple pre-ride checklist for riders preparing to tackle Baoqing Temple:
- Tire Pressure and Condition: Confirm front and rear tire pressure matches the day’s temperature and road conditions; check for embedded debris or sidewall cracks.
- Brake System: Confirm brake pad thickness is sufficient and lever travel is normal; for hydraulic disc brakes, confirm no fluid leaks.
- Drivetrain: Confirm front and rear shifting is smooth, especially that the largest rear cog (the climbing bailout gear) engages reliably, to avoid getting stuck in the wrong gear on steep sections.
- Bottles and Fuel: At least one bottle filled with water or electrolytes, plus a spare energy gel or snack.
- Lights and Reflectives: Even if departing in daylight, shaded mountain sections are dim; keep front and rear lights on throughout to improve visibility.
- Phone and Navigation: Confirm phone battery is sufficient and download offline maps in case mountain signal is unreliable.
- ID and Emergency Contact Info: Carry identification and ensure emergency contact details are accessible to riding partners or family.
This list may look basic, but based on years of club ride-leading experience, most mountain riding incidents or premature turnarounds are not caused by insufficient fitness but by incomplete pre-ride equipment checks—one flat without a spare tube, one set of brake pads worn to the limit, and a well-planned training ride turns into an unpleasant experience. Spending five minutes on a pre-ride check is one of the highest-return training preparation actions you can take.
Conclusion: Fitting Baoqing Temple into Your Training Cycle
The reason Baoqing Temple has stayed on Greater Taipei riders’ shortlist for so long comes down to its specs being “just right”—not so short that you can’t build endurance, not so long that it requires a full-day plan. The combination of 7.59 km, 464 meters of climbing, and a 6.0% average gradient lands precisely in the sweet spot where most amateur riders can improve step by step through repeated attempts and clearly feel their growth curve. Whether you treat it as a short after-work climbing session or one segment of a weekend group ride, as long as you master section pacing, gear setup, and fueling rhythm, this route will be an excellent starting point for understanding your climbing ability and building a baseline of training data. Next time you turn off Xinwu Road onto Huanshan Road, take a moment to review the three-section pacing strategy from this article in your mind before setting off to chase your own personal best at Baoqing Temple.
Related Reading
- Zhulu Mountain Practical Guide: 6.89 km, 546.2 m of Climbing, 7.9% Average Gradient—Are You Ready for This Hardman-Level Long Climb in the Wulai Mountains
- Sweat and the Scent of Fireworks: A 7.6 km Mountain Ride to Wulai Baoqing Temple
- Full Analysis of Wulai Fushan Tribe: 14.4 km Riverside Forest Trail—What Terrain Traps Lie Behind the 1.4% Average Gradient
- Full Guide to the Xindian Shitoushan South Side Climb: 7.64 km, 499 m of Climbing—Section-by-Section Tactics from Beginner to Advanced
台北闊瀨陡坡 騎旅 / 日本單車雜誌編輯車友臨時加入!/ 髮香才是最強的 / feat. 北迴歸線小隊 / 公路車 CT Yeh
6 個月前
大禹嶺 到 武嶺牌樓 全程前後實況錄影 | 北進武嶺 | 東進武嶺 | KOM | 訓練台 | 坡度分析 | Taiwan KOM Last 10 km HARD | 公路車
6 年前
大武山20%魔王陡坡【JJSC南台灣遊騎Day2】!屁股真的要裂開了...凡士林抹滿也沒用?神秘金教堂還有超便宜夜市
3 個月前
新竹羅平 x 天湖部落 大禹嶺級變態陡坡! 4K超高畫質 空拍 | 公路車
5 年前
爬坡ITT實境)台中 魔王 松鼠坡 首航 6:12 大肚山 大三元 科福路
8 年前
#公路車 #西進武嶺 配速配瓦實驗 坡度分析 四小時內攻略 建大盃 NeverStop #西進武嶺攻略
6 年前
單車 梅山36灣 坡度介紹 路段介紹 空拍 (相關遊記影片,請參考說明或我的頻道喔,歡迎訂閱)
6 年前
大武山後門26%歡樂陡坡!JJSC南台灣單車行Day2 / 被颱風追著跑 / 公路車 / CT Yeh
2 年前