Bicycle Drivetrain Cleaning: The Correct Way to Wash Your Chain, Cassette, and Chainring
The drivetrain is the core of a bicycle’s efficiency. A dirty chain doesn’t just make shifting feel vague — it acts like an abrasive that accelerates gear wear. Learning to clean your drivetrain properly is an essential skill for every serious rider.
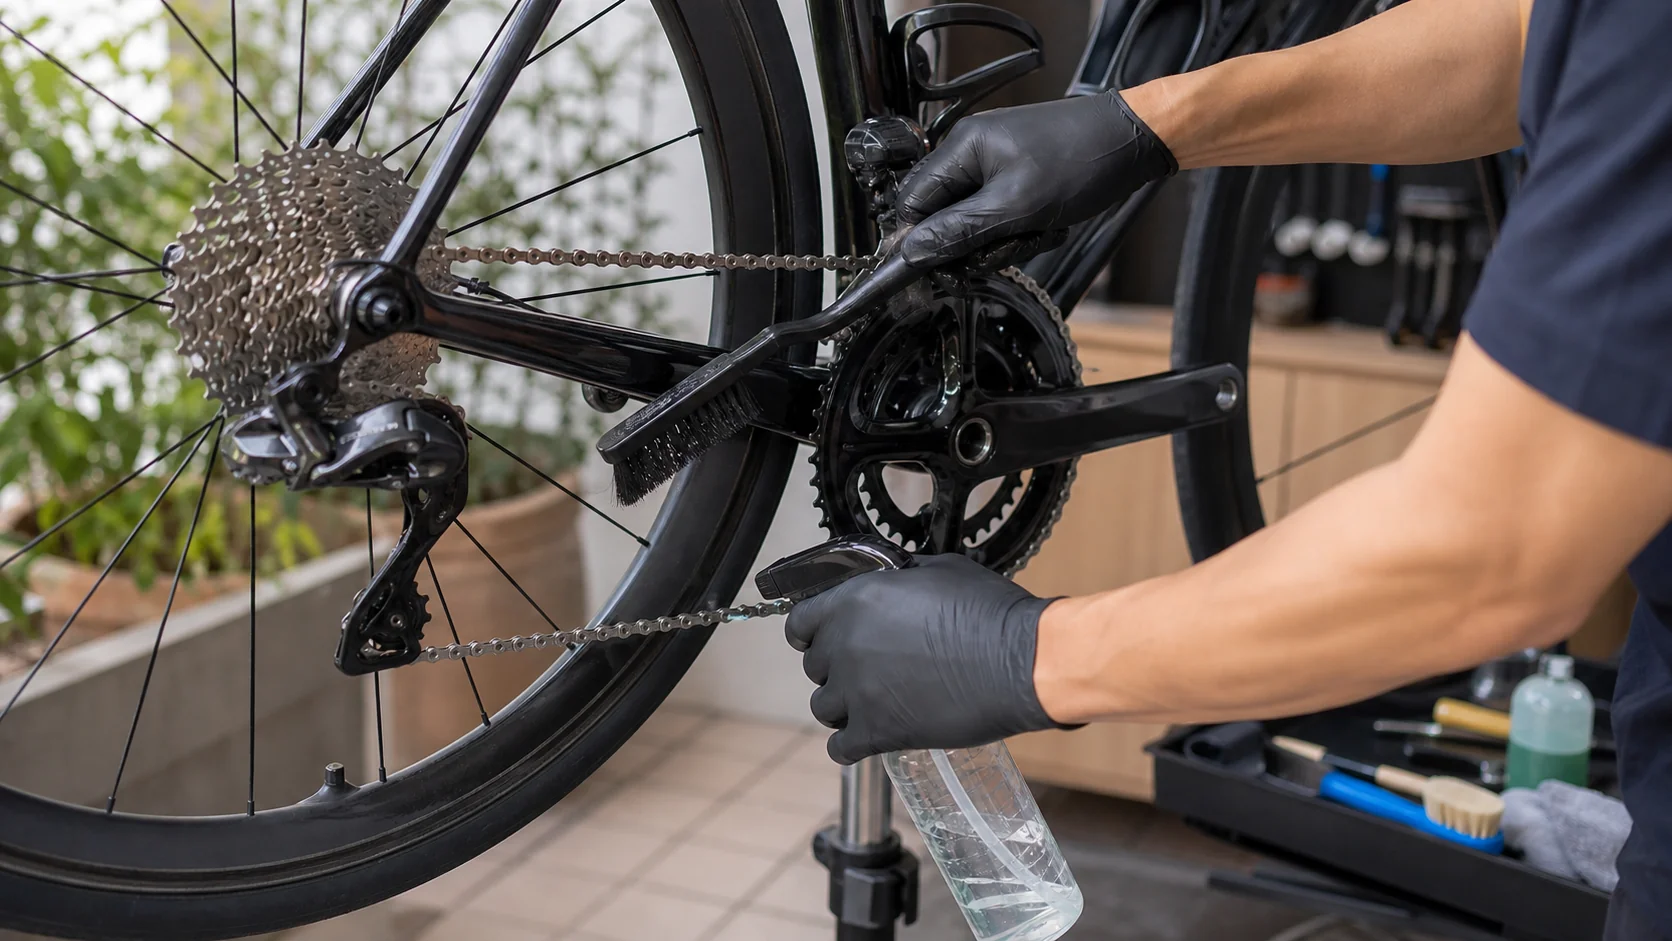
Tools and Supplies You’ll Need
Before you start cleaning, prepare the following items:
- Chain cleaning device: A rotating-brush cleaning box works best when used together with degreaser
- Chain cleaner / degreaser: Biodegradable solvents from brands like Muc-Off or Finish Line
- 2 old toothbrushes: One for the cassette, one for the chainring
- Rags or old T-shirt scraps: For drying
- Cassette scraper / cassette cleaning brush: A thin brush that can reach into the gaps between cassette cogs
- Chain lube (wet or dry, depending on your riding environment)
- Gloves: To avoid skin contact with solvents
Step 1: Clean the Chain
Method 1: Chain Cleaning Device (Recommended)
- Clip the chain cleaning device onto the lower section of the chain (the slack section between the front and rear gears).
- Pour an appropriate amount of chain cleaner into the device (about 1/3 full).
- Slowly pedal backward so the chain passes through the rotating brushes inside the device, repeating for 10–15 revolutions.
- Discard the blackened cleaner and repeat the process until the solvent no longer darkens significantly.
- Finally, rinse the chain with clean water and pinch it with a dry cloth, working it back and forth to absorb moisture.
Method 2: Rag Method (Quick Daily Cleaning)
Fold a rag soaked in degreaser and pinch it around the chain, then pedal backward so the chain slides through the cloth, repeating several times until the grime is removed. This method isn’t as thorough as using a cleaning device, but it’s practical as a quick maintenance step after every ride.
Precautions
- Avoid blasting the chain with a high-pressure water jet — water can seep into the chain links and cause rust.
- Always let the chain dry completely before applying lube. Otherwise, the lubricant gets diluted and its protective effect is greatly reduced.
Step 2: Clean the Cassette
The gaps between the cogs on the cassette (rear gear cluster) are where grime accumulates most easily, so they need targeted cleaning.
Cleaning Steps
- Spray on degreaser: Spray the entire cassette with cleaner, letting the solvent penetrate the gaps between the cogs. Let it sit for 1–2 minutes to soften the grime.
- Scrape with a cassette brush: Insert a thin cassette brush between the individual cogs and move it back and forth to clear out the accumulated grime in the gaps. This step requires patience — every gap needs to be thoroughly cleaned.
- Scrub the cog faces with a toothbrush: Brush along the sides of the cogs with an old toothbrush to remove residual grime on the tooth surfaces.
- Rinse with water: Rinse away the solvent and remaining grime with an appropriate amount of water, avoiding solvent residue that could corrode the metal surface.
- Dry: Wipe off as much water as possible with a dry cloth, then let it air-dry or use a gentle hairdryer to help it dry faster.
Advanced Method: Removing the Cassette for Cleaning
If the grime buildup is severe, it’s recommended to use a cassette removal tool (cassette lockring tool + chain whip) to take the cassette off the hub and soak it in degreasing solvent for the most thorough clean. After cleaning, check that the hub threads are undamaged, then reinstall and tighten to the specified torque.
Step 3: Clean the Chainring
The front chainring is relatively easy to clean, but grime buildup here also affects shifting efficiency.
Cleaning Steps
- Spray degreaser onto both sides of the chainring.
- Scrub the tooth surfaces with a toothbrush or cloth, paying special attention to the tooth tips and inner grooves.
- Check whether the chainring bolts are loose, and tighten them with the appropriate tool if needed.
- At the same time, clean the front derailleur’s inner/outer cage plates and pulley.
- Rinse with water and dry.
Step 4: Re-lubricate the Chain
After cleaning, wait until the entire drivetrain is completely dry (at least 15–30 minutes) before re-lubricating.
-
Choose the right chain lube:
- Dry lube: Suitable for dry, low-rain environments; doesn’t attract dust easily.
- Wet lube: Suitable for rain or muddy conditions; higher viscosity and better water resistance.
- Wax-based lube: Requires more careful pre-cleaning, but lasts longer and offers the highest drivetrain efficiency.
-
Applying the lube: Apply one drop at a time onto each chain link’s pin, slowly turning the pedals so the lubricant penetrates into the link.
-
Wipe off excess lube: Pinch the chain with a dry cloth and turn the pedals so the chain slides through the cloth, removing excess lubricant from the surface. Excess lube only attracts dust and accelerates wear.
Recommended Cleaning Frequency
| Riding Conditions | Recommended Cleaning Frequency |
|---|---|
| Daily commuting on dry pavement | Every 200–300 km |
| Long mountain rides | Every 150–200 km |
| After riding in the rain | After every ride |
| Dirt roads / off-road | After every ride |
The investment needed to keep your drivetrain clean is small, but the impact on your riding experience and component lifespan is significant. Build the habit of regular cleaning, and every shift will click into place more crisply and precisely.
Related Reading
- The Complete Guide to Road Bike Chain Cleaning: Make Your Drivetrain Run Like New
- The Complete Chain Maintenance Guide: Cleaning, Lubrication, Replacement Timing, and Common Mistakes
- The Complete Road Bike Chain Maintenance Guide: Cleaning, Lubrication, and Replacement Timing
- The Complete Guide to Chain Cleaning and Lubrication: Restore Your Drivetrain to Factory Condition
洗單車神器 吹水機! 實際洗車用用看 暴力洗鍊條大法 | 公路車 | CT Yeh
4 年前
自助洗車場 洗單車 50元有找 清鍊條大法 居然還有小小兵
7 年前
碟煞公路車 銑面器 !? 原來銑完差這麼多! 降低蹭碟機率! | TIME 公路車 保養小記錄 | CT Yeh
3 年前
鉅齒紋輪組!? ControlTech MEG-T50 EVO 碳纖維幅條輪組/ 功率對比實驗 / 公路車 / CT Yeh
2 年前
靠單車減肥35公斤 心得分享與整理
7 年前
#公路車 #Fitting 靠人工智慧APP 幫你調整單車
6 年前
公路車 BB培林大升級! / 備戰海鷗繞圈賽 Canyon Aerod & TIME 一起改 / MIT大廠 CEMA對鎖式陶瓷培林BB & 導輪 / 公路車 / CT Yeh
2 年前
把帶被我推爛,換新的防推爛款💪 #cycling #公路車 #曜越單車
2 年前