Bicycle Brake Adjustment: Setup Techniques for Rim Brakes and Disc Brakes
Whether you ride a traditional road bike with rim brakes or a modern bike equipped with disc brakes, making sure your braking system works correctly is one of the most important safety checks before every ride. This article covers adjustment methods for both rim brakes and disc brakes, so you can handle basic brake maintenance yourself.
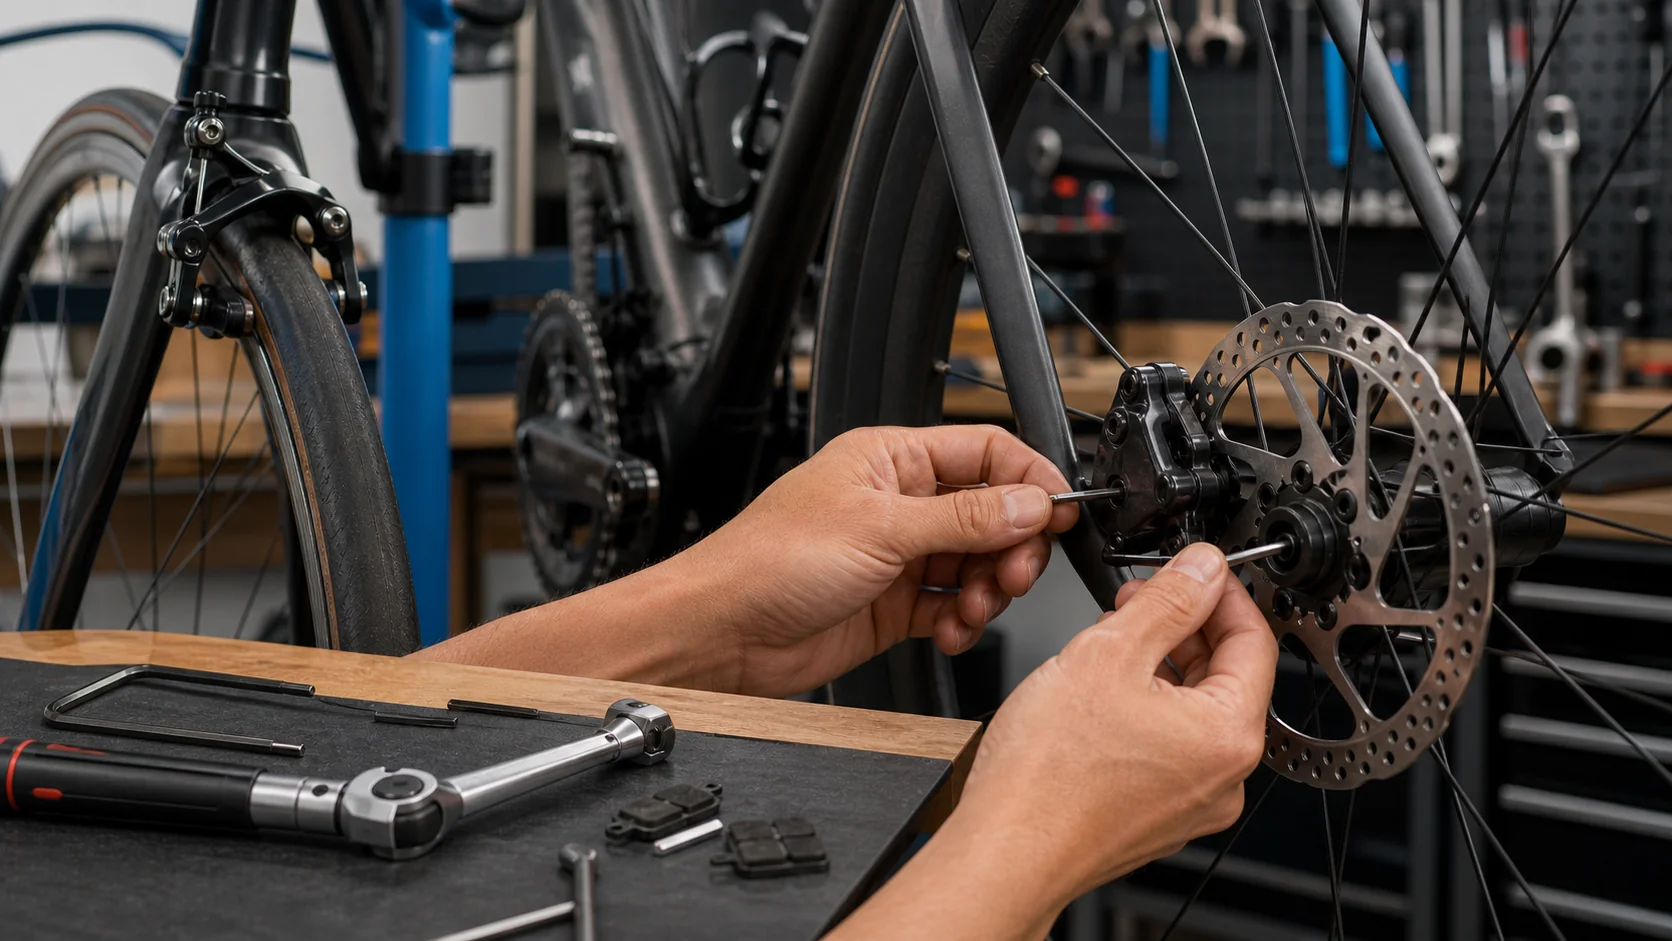
Rim Brake Adjustment
Rim brakes (including caliper-type and V-brake-type) work by squeezing brake pads against the rim to generate stopping power. The key adjustment points are: pad position, cable tension, and caliper centering.
Tools Needed
- 4mm and 5mm hex (Allen) wrenches
- Flathead and Phillips screwdrivers
- Cable cutters
- Sandpaper (for cleaning the rim braking surface)
Step 1: Adjust Pad Position
- Loosen the pad fixing bolt (typically a 5mm hex bolt) so the pad can move.
- Align with the rim braking surface: The pad should sit entirely within the rim’s braking surface (the flat metal sidewall) — it must not touch the tire, and must not sit below the bottom edge of the rim.
- Set toe-in (slight forward angle): Place a piece of paper behind the pad so the front of the pad contacts the rim slightly before the rear. This reduces squealing during braking and is especially important for V-brakes.
- While tightening the fixing bolt, press the pad firmly against the rim with your finger, then secure the bolt.
Step 2: Adjust Cable Tension
- Screw in the barrel adjuster: First thread the barrel adjuster at the lever or caliper fully in (turn clockwise) to leave room for later fine-tuning.
- Loosen the pinch bolt and pull the cable taut: Use your fingers or needle-nose pliers to pull the cable until the pads sit about 1–2mm from the rim (road bikes) or 2–4mm (mountain bikes), then tighten the pinch bolt.
- Fine-tune tension: Squeeze the brake lever to test — the lever should engage the brakes within about two-thirds of its travel. If it’s too loose, turn the barrel adjuster counterclockwise to add tension; if too tight, turn it clockwise to loosen.
Step 3: Center the Caliper
The brake caliper should sit exactly centered over the rim. If it’s off to one side, adjust the spring tension using the caliper centering screw on the back of the caliper, or fine-tune by rotating the caliper’s mounting bolt.
To check: squeeze the brake and observe whether both pads contact the rim evenly and at the same time. If one side touches first, adjust that side’s spring tension accordingly.
Disc Brake Adjustment
Disc brakes come in two types — mechanical (cable-actuated) and hydraulic. Here’s how to adjust each:
Mechanical Disc Brake Adjustment
The adjustment logic for mechanical disc brakes is similar to rim brakes. The key is the gap between the brake pad and the rotor, and avoiding rubbing.
- Adjust the fixed-side pad: Locate the adjustment screw on the side of the caliper and set the inboard (fixed) pad to about 0.2–0.3mm from the rotor.
- Adjust cable tension: As with rim brakes, use the cable pinch bolt and barrel adjuster to set proper lever travel. The outboard pad moves in response to cable pull.
- Align the caliper: Loosen the caliper mounting bolts (don’t remove them completely), squeeze the brake lever gently so the pads clamp the rotor, and tighten the mounting bolts while holding the lever. Release the lever and confirm the rotor spins freely without rubbing.
Hydraulic Disc Brake Adjustment
Hydraulic disc brakes automatically compensate for pad wear via the hydraulic system, but the following adjustments are still needed periodically:
-
Caliper alignment:
- Loosen the caliper mounting bolts (about 1/4–1/2 turn, don’t remove completely)
- Hold the front/rear brake lever so the pads clamp the rotor
- While still holding the lever, tighten the mounting bolts
- Release the lever and confirm the rotor spins freely without rubbing
-
Check rotor trueness: Spin the wheel and visually check for rotor wobble. Minor warping can be corrected with a disc trueing tool; severely bent rotors should be replaced.
-
Bleeding: If the lever feels spongy or has reduced power, air has likely entered the hydraulic system, and bleeding is needed (using mineral oil or DOT fluid, depending on the brand’s specification). It’s recommended to have bleeding done by a professional bike shop, or to follow the manufacturer’s tools and instructions.
Troubleshooting Brake Noise
| Noise Type | Likely Cause | Fix |
|---|---|---|
| High-pitched squeal | Pads not toed-in | Set toe-in |
| Metallic scraping | Worn-out pads or bent rotor | Replace pads or true the rotor |
| Low rubbing sound (when not braking) | Caliper misaligned | Re-align the caliper |
| Spongy disc brake feel, long lever travel | Air in the hydraulic line | Bleed the brakes |
Good braking performance is the bottom line for riding safety — checking that your brake system works properly should be a mandatory step before every ride. If adjustments still don’t achieve the expected results, it’s best to have a professional mechanic perform a detailed diagnosis.
Related Reading
- Disc Brakes vs. Caliper (Rim) Brakes Adjustment: A Complete Maintenance Guide to Both Braking Systems
- Brake System Adjustment: The Complete Guide to Disc Brake Centering and Caliper Adjustment
- Bicycle Brake Adjustment: Gap Calibration Methods for Disc Brakes and V-Brakes
- The Complete Guide to Replacing and Adjusting Brake Pads: Covering Both Rim and Disc Brakes
碟煞公路車 銑面器 !? 原來銑完差這麼多! 降低蹭碟機率! | TIME 公路車 保養小記錄 | CT Yeh
3 年前
碟煞公路車 優缺點?換車一年半實際經驗分享 / 公路車 / CT Yeh
2 年前
再一組! 全碳幅條 碟煞/無內胎輪組 開箱! 到底好騎嗎? UNAAS X40 | 公路車 | CT Yeh
4 年前
#公路車 #Fitting 靠人工智慧APP 幫你調整單車
6 年前
SRAM FORCE E1 首發!/ 改成短腿了 / 煞車升級有感嗎? / TIME ADH 變速大升級 / 公路車 / CT Yeh
1 年前
公路車 BB培林大升級! / 備戰海鷗繞圈賽 Canyon Aerod & TIME 一起改 / MIT大廠 CEMA對鎖式陶瓷培林BB & 導輪 / 公路車 / CT Yeh
2 年前
單車胎壓觀察到的有趣現象,SRAM Quarq TyreWiz 2.0 無內胎胎壓計 / 裝了有哪些幫助? / Tubeless / 公路車 / CT Yeh
1 年前
DJI OSMO 360單車攝影 教學&技巧分享 / 概念、攝影手法、架設、後製 / 公路車 / CT Yeh
10 個月前