Road Bike Tire Repair in Practice: Roadside Fixes for Tubular and Tubeless Tires
Every cyclist will face a flat tire sooner or later. Handling it quickly and effectively is an essential skill for long-distance rides and races. This article takes an in-depth look at roadside repair methods for the three main systems: traditional inner tubes, tubular tires, and tubeless.
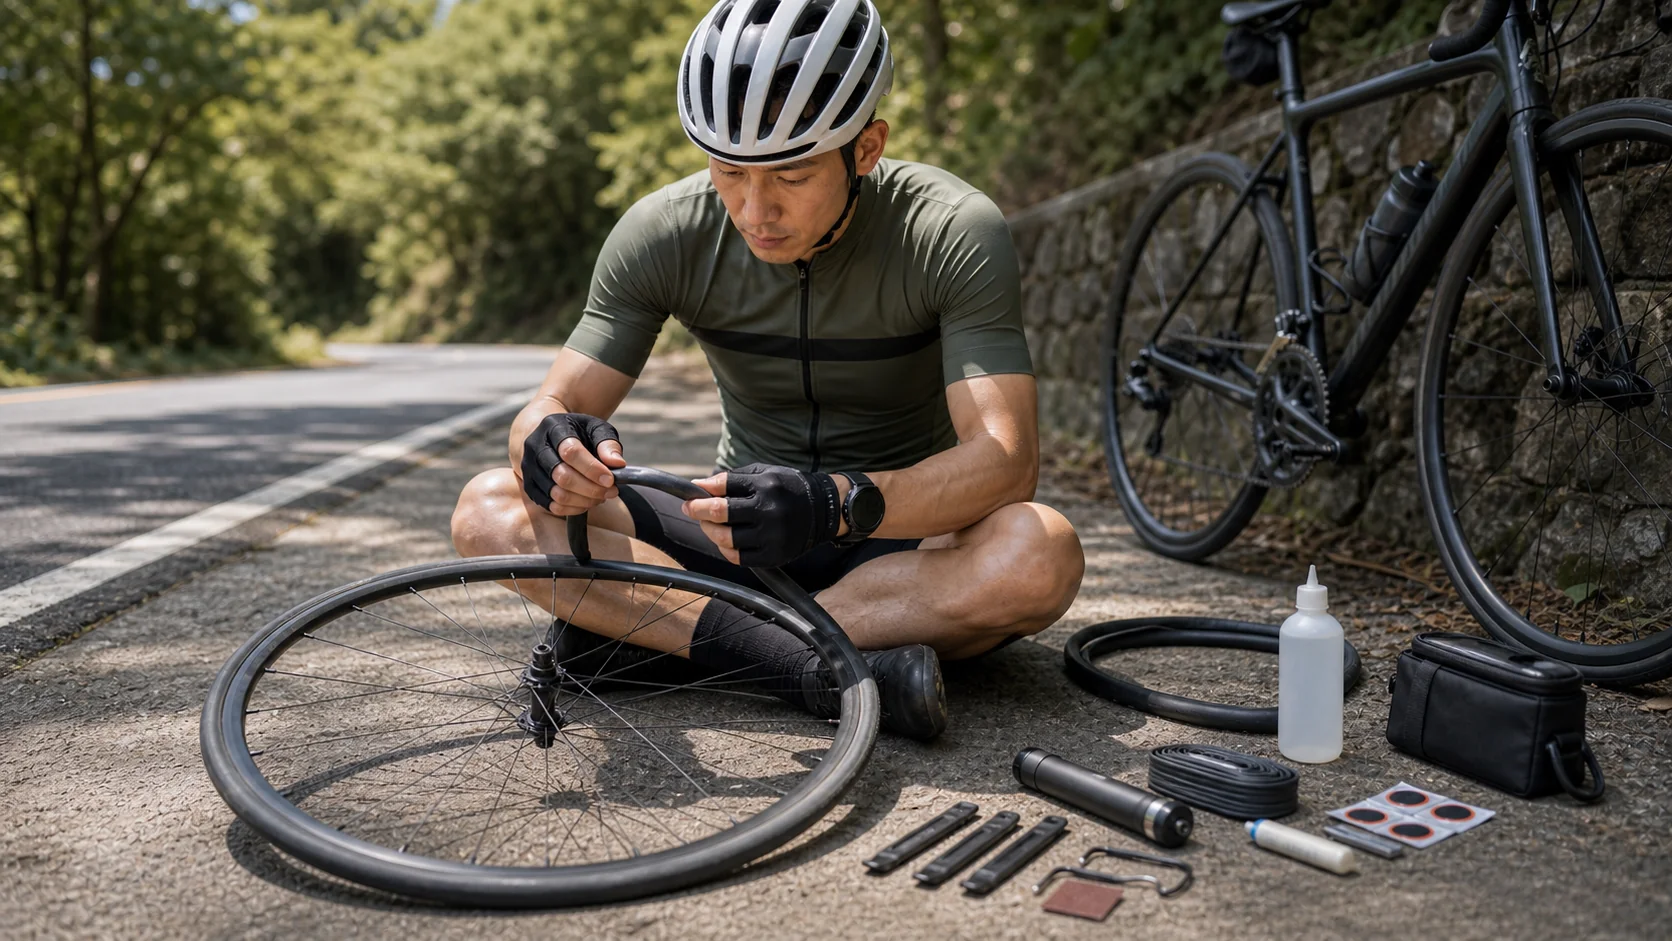
System 1: Traditional Clincher (Inner Tube) System
This is the most common system, and its repair process is also the most standardized.
Tool Checklist
- Spare inner tubes (recommend carrying 2)
- Tire levers (2-3, rim-friendly type)
- Portable pump (or CO₂ inflator)
- Multi-tool (including hex wrenches)
Tire Change Steps (Target time: 3-5 minutes)
- Pull over and confirm you’re in a safe location
- Remove the wheel: Open the quick release, noting the difference between front and rear wheels
- Release remaining air pressure: Press the valve core
- Pry open one side of the tire: Use tire levers, starting opposite the valve
- Remove the old inner tube
- Inspect the inside of the tire: Run your fingers along the inside of the tire to locate the puncturing object
- Install the new inner tube: Insert the valve first, then place the tube around the circumference (don’t twist it)
- Reseat the tire bead: Use your fingers as much as possible (avoid pinching the new tube with the levers)
- Inflate to the appropriate pressure
- Reinstall the wheel, confirming the disc brake/brake position is correct
Most Common Mistakes
- Twisting the new tube during installation: Make sure the tube is evenly distributed inside the tire
- Pinching the new tube with the lever: Push the last section of the tire bead in with your thumbs whenever possible
- Forgetting to remove the puncturing object: This causes the new tube to blow immediately
System 2: Tubular Tires
Tubular tires are the traditional choice in high-end racing. The construction is completely different — the inner tube is sewn inside the tire casing, and the whole tire is glued onto the rim.
Emergency Handling During a Race
A full tubular replacement (with proper gluing) is nearly impossible to do trackside, so the standard race-day strategy is:
- Carry a spare tubular: Roll the new tubular up, fold it into an S-shape, and secure it to the frame or saddle bag with rubber bands
- Steps after a flat:
- Pull over and remove the wheel
- Peel the punctured tubular off the rim
- Quickly clean off the residual glue on the rim
- Mount the new tubular dry (no glue — glue it properly after the race)
- Make sure the bead is centered before inflating
Important reminder: A dry-mounted tubular must be glued down properly immediately after the race, or it risks rolling off the rim during high-speed cornering.
Preventing Flats on Tubular Wheels
- Regularly check the condition of the glue bond, especially whether the tire edges are lifting
- Reassess whether the glue needs to be reapplied each season
System 3: Tubeless
Small Punctures (under 3mm)
In most cases, sealant will automatically seal the puncture. To confirm it has sealed:
- Pull over and locate the leak (look for sealant spraying out or listen for the hissing sound)
- Rotate the wheel so the puncture faces downward (so sealant pools at the hole)
- Wait 30-60 seconds for the sealant to seal the puncture
- Reinflate to restore pressure
- Continue riding
Larger Punctures or Cuts
When sealant alone can’t fix it, use a tubeless repair plug:
- Remove the puncturing object (if still lodged in the tire)
- Use the plug insertion tool to push the plug into the hole
- Withdraw the tool, leaving the plug in the hole
- Trim off the excess plug material (leave about 2mm above the surface)
- Reinflate to restore pressure
Common tools: Dynaplug, Lezyne Tubeless Plug Kit, and similar products
Sealant Completely Depleted or a Large Gash
Last resort — insert an inner tube:
- Remove the valve (unscrew and remove the tubeless valve)
- Wipe excess sealant from the tire bead area (this won’t affect installation)
- Insert a standard inner tube
- Inflate (with an inner tube installed, you don’t need to inflate quickly to achieve a seal)
Practicing Your Repair Skills
Don’t wait until you’re stranded on the road to learn tire changing for the first time. Practice at home:
- Timed practice: Set a 5-minute timer and practice the full tire-change process
- Blind practice: Simulate nighttime or bad-weather conditions (with your eyes half-closed)
- Speed goals: Pro riders can change a tire in under 2 minutes; amateurs should aim for 5 minutes
A well-practiced tire-changing technique isn’t just a backup plan for emergencies — it’s a real source of confidence on every ride.
Related Reading
- Complete Guide to Roadside Flats and Repairs: Inner Tube Replacement, Tubeless Repair, and a Carry-Kit Checklist
- Complete Guide to Replacing Inner Tubes and Tire Repair: From Tools to Technique
- Repair Techniques Explained: Fixing Tubular, Clincher, and Tubeless Tires
- Basic Road Bike Maintenance: Tire Changes, Gear Adjustment, and Brake Tuning
碟煞公路車 銑面器 !? 原來銑完差這麼多! 降低蹭碟機率! | TIME 公路車 保養小記錄 | CT Yeh
3 年前
再一組! 全碳幅條 碟煞/無內胎輪組 開箱! 到底好騎嗎? UNAAS X40 | 公路車 | CT Yeh
4 年前
單車胎壓觀察到的有趣現象,SRAM Quarq TyreWiz 2.0 無內胎胎壓計 / 裝了有哪些幫助? / Tubeless / 公路車 / CT Yeh
1 年前
碟煞公路車 優缺點?換車一年半實際經驗分享 / 公路車 / CT Yeh
2 年前
公路車 BB培林大升級! / 備戰海鷗繞圈賽 Canyon Aerod & TIME 一起改 / MIT大廠 CEMA對鎖式陶瓷培林BB & 導輪 / 公路車 / CT Yeh
2 年前
摔車後補裝備: 好市多新款單車安全帽& Specialized Romin 北高整路屁股都不痛的坐墊 | 一千元居然有MIPS | CT Yeh | 公路車
4 年前
#公路車 #西進武嶺 配速配瓦實驗 坡度分析 四小時內攻略 建大盃 NeverStop #西進武嶺攻略
6 年前
Canyon 公路車斷把手 五年老車特規還能修嗎? 維修保養全記錄 feat. 501單車監理站 | 公路車 | CT Yeh
4 年前