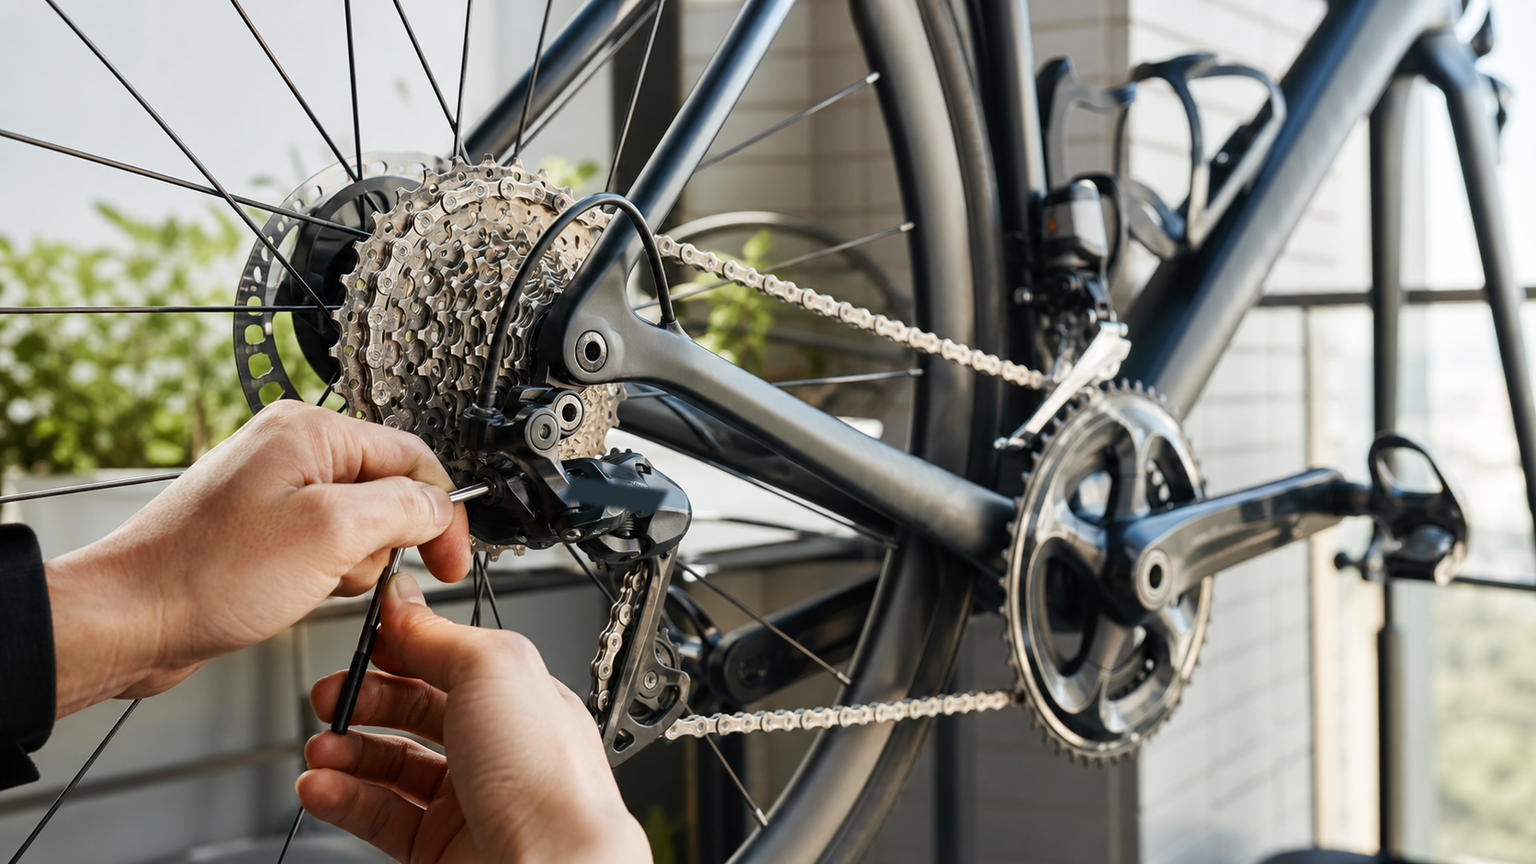
Introduction
The drivetrain is the mechanical system that most affects the feel of riding a road bike. A precisely adjusted derailleur makes shifting silky smooth, while a poorly adjusted one turns every shift lever throw into a chore. Riders in Taiwan often run into problems like “the chain drops when I shift onto the big chainring” or “the rear derailleur bounces back automatically after hitting the largest cog.” Most of these issues can actually be fixed with a bit of DIY adjustment.
This article uses the Shimano 105 (R7000) series as an example, but the same steps apply to Tiagra, Ultegra, and other Shimano road drivetrains.
Rear Derailleur (RD) Adjustment
Before You Start Adjusting
Before adjusting the rear derailleur, rule out the following issues first:
- The shift cable is not rusted or frayed
- The rear derailleur hanger is not bent
- The chain is not severely worn (an overly worn chain will still skip gears even after the rear derailleur is perfectly adjusted)
A bent derailleur hanger is the most common yet most overlooked problem. On Taiwan’s mountain roads, an occasional backward roll or a bike tipping over while parked can slightly bend the hanger, which will undermine your adjustment efforts no matter how carefully you tune everything else. You can check it with a Derailleur Alignment Gauge.
Step 1: Set the L Limit Screw (Largest Cog Limit)
- Shift to the largest cog on the cassette (lightest gear), then loosen the cable fixing bolt to fully release cable tension.
- Manually push the rear derailleur so the guide pulley lines up directly with the largest cog.
- Adjust the screw marked L until the center line of the guide pulley aligns with the center line of the largest cog.
- If it’s set too far inward, the chain can fall into the spokes; if set too far outward, the chain won’t shift smoothly onto the largest cog.
Step 2: Set the H Limit Screw (Smallest Cog Limit)
- Shift the rear derailleur to the smallest cog (heaviest gear).
- Adjust the screw marked H so the guide pulley aligns with the smallest cog without extending past the outer edge of the cassette (otherwise the chain could fall off toward the frame side).
Step 3: Adjust the B-Tension Screw
The B screw controls the overall distance between the rear derailleur and the cassette. With the chain on the largest cog, the gap between the guide pulley (the upper jockey wheel) and the cog teeth should be about 5–6 mm. Too small a gap causes friction noise; too large a gap causes sluggish shifting.
Step 4: Adjust Cable Tension
- Thread the cable through and tighten the fixing bolt with just finger tension.
- Shift to the second-smallest cog, then turn the barrel adjuster to smooth out the shift.
- If upshifting (moving toward larger cogs) feels sluggish, turn the barrel adjuster clockwise (increase tension).
- If downshifting (moving toward smaller cogs) feels sluggish, turn it counterclockwise (decrease tension).
| Symptom | Solution |
|---|---|
| Sluggish shift toward larger cogs | Increase cable tension (turn barrel adjuster counterclockwise) |
| Sluggish shift toward smaller cogs | Decrease cable tension (turn barrel adjuster clockwise) |
| Skipping gears | Chain or cassette wear — consider replacement |
| Excessive rear derailleur wobble | Bent hanger — needs realignment |
Front Derailleur (FD) Adjustment
Adjusting the front derailleur takes more patience than the rear, since it involves three variables: height, chainring angle, and limit screws.
Height Setting
The bottom edge of the front derailleur cage should sit about 1–3 mm above the tallest tooth of the big chainring. Too high causes an overly long shift throw; too low and the cage will scrape the chainring.
Angle Setting
The outer plate of the front derailleur cage should run parallel to the big chainring, with no more than a 1° deviation.
L/H Limit Screw Settings
- H screw: with the chain on the big chainring and smallest cog, the gap between the outer plate and the chain should be about 0.5 mm.
- L screw: with the chain on the small chainring and largest cog, the gap between the inner plate and the chain should be about 0.5 mm.
Cable Tension Adjustment
Front derailleur tension affects how responsive the shift is between chainrings. If shifting from the small to the big chainring feels sluggish, increase tension; if shifting from the big to the small chainring feels sluggish, decrease tension.
Practical Tips
- For your first adjustment, it helps to use a bike stand at home, or simply flip the bike upside down, so you have enough room to observe the guide pulley position. Lightweight bike stands are widely available in Taiwan’s bike shops and online, typically priced around NT$800–2,000.
- Replace the outer cable housing every 2–3 years. As housing ages, internal friction increases, and even a perfectly adjusted rear derailleur will start to feel heavy when shifting.
- Electronic shifting (Di2) works on similar principles, but is calibrated using the E-Tube Project software instead of mechanical adjustment. Authorized dealers in Taiwan can perform firmware updates for you.
Conclusion
Derailleur adjustment is a skill that takes feel and patience to master. Your first adjustment might take 30–60 minutes, but once you’re familiar with the process, it can be done in about 10 minutes. Riders are encouraged to practice at home a few times — not only will this let you fix issues on the road in an emergency, it will also give you a deeper understanding of your bike’s drivetrain, making every ride smoother and more precise.
Related Reading
- Road Bike Drivetrain Adjustment: Fine-Tuning Front and Rear Derailleurs
- DIY Shifting Adjustment: Detailed Steps for Front and Rear Derailleurs
- Rear Derailleur Adjustment Masterclass: Mastering Precise Shifting from Scratch
- Front Derailleur Adjustment Tutorial: The Most Overlooked Part of the Drivetrain
DJI OSMO 360單車攝影 教學&技巧分享 / 概念、攝影手法、架設、後製 / 公路車 / CT Yeh
10 個月前
SRAM FORCE E1 首發!/ 改成短腿了 / 煞車升級有感嗎? / TIME ADH 變速大升級 / 公路車 / CT Yeh
1 年前
西進武嶺 自製新版AI配速表產生器 x 賽前攻略 抱佛腳! 沒有功率計也可以產生配速表嗎?有什麼其他眉角賽前要注意的呢? | 西進武嶺 / 東進武嶺 KOM 攻略 | 公路車 | CT Yeh
4 年前
碟煞公路車 銑面器 !? 原來銑完差這麼多! 降低蹭碟機率! | TIME 公路車 保養小記錄 | CT Yeh
3 年前
#公路車 #Fitting 靠人工智慧APP 幫你調整單車
6 年前
碟煞公路車 優缺點?換車一年半實際經驗分享 / 公路車 / CT Yeh
2 年前
西進武嶺各路段 前8000名 大數據分析 配速攻略/功率/心律/推力比/維持率/踏頻/踏瓦比/牽車率 大公開 | 建大盃 NeverStop 可參考 | 公路車 | CT Yeh
5 年前
西進武嶺配速器 3.0更新 / NEW 免功率FTP估算! / 大數據xAI體能模型 / 如何模擬人止關前集團效應 / 配速儲存功能 / AI全台自行車賽事行事曆 / 公路車 / CT Yeh
1 年前