Introduction
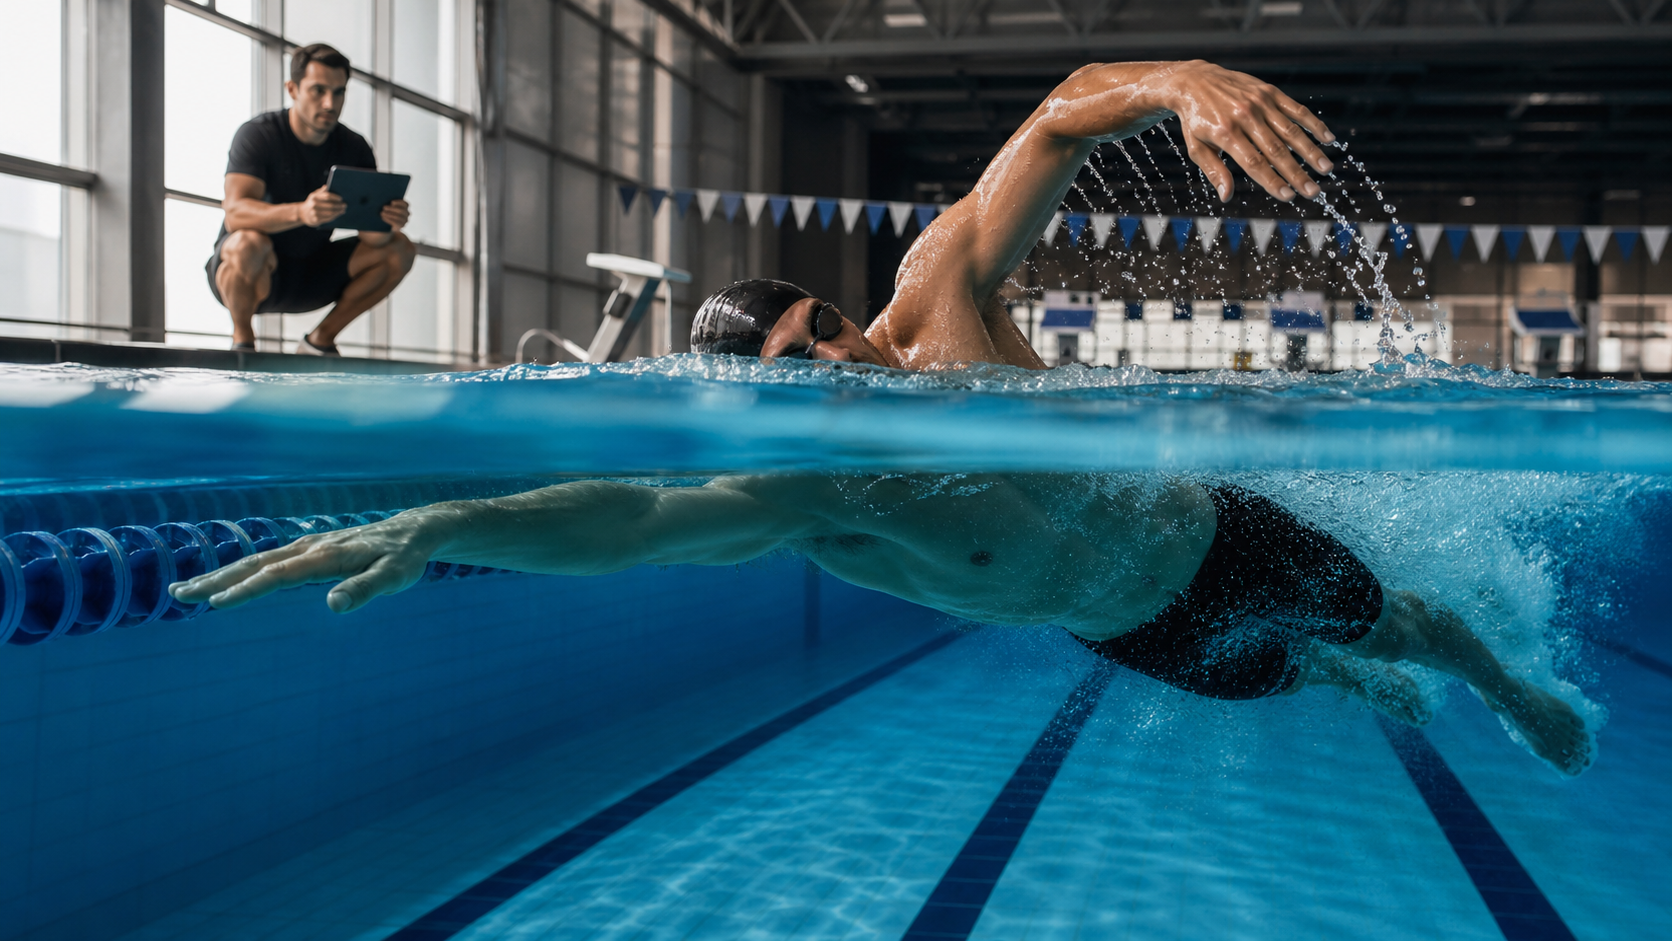
“You can only fix what you can see.” In swim training, swimmers cannot directly see their own movements while in the water, and verbal instructions from coaches are often limited in effectiveness due to issues of immediacy and accuracy. Video analysis has therefore become an indispensable tool in modern swim training, allowing swimmers and coaches to observe and diagnose technical problems from multiple angles and in slow motion after the swim.
However, “shooting the video” is only the first step—“knowing what to look for” is the key. This article provides a systematic observation framework, covering the different focal points of above-water and underwater filming.
Camera Equipment and Angle Setup
Before diving into analysis, proper camera setup is the prerequisite for ensuring the video has diagnostic value:
| Filming Angle | Best Equipment | Main Diagnostic Items |
|---|---|---|
| Side view above water (parallel) | Phone/camera mounted at the side of the lane | Head position, hip height, kick arc |
| Direct rear view above water | Phone placed in the water (waterproof pouch) | Body rotation symmetry, hand entry point |
| Side view underwater | Waterproof camera (GoPro, etc.) | Pull arc, EVF height, kick depth |
| Direct front view underwater | Waterproof camera fixed to the pool floor | Hand entry point, body midline symmetry |
It is recommended to record at least two angles per session—“side view above water” and “side view underwater”—as these two angles cover the majority of technical diagnostic items.
Key Observation Points for Above-Water Filming
Observation 1: Head Waterline Position
Does the waterline cutting across the head fall at the front hairline? If the waterline is clearly below the hairline (covering the eyes), the head is too low; if the waterline is far below the top of the head, the head is being held too high.
Observation 2: Hip Height
Are the hips near the same horizontal plane as the shoulders? If the hips are clearly lower than the shoulders, forming a tilted V-shape, this indicates a hip-sinking issue that needs to be addressed.
Observation 3: Arm Recovery Arc
Is the above-water arm recovery movement smooth, and is the elbow higher than the hand? A recovery with the elbow too low is usually a sign of insufficient shoulder flexibility.
Observation 4: Kicking Action
Are the ankles relaxed (toes pointed), and is the knee exiting the water excessively? Backstroke and freestyle kicking should pivot from the hips, with a moderate degree of knee bend.
Observation 5: Body Sway
Viewed from behind, does the body sway side to side? The lateral roll expected in freestyle (40–60 degrees) is normal, but snake-like swaying (the entire body shifting left and right off the forward line) is a problem.
Key Observation Points for Underwater Filming
Observation 1: Lateral Position of Hand Entry
Does the hand entry point fall in front of the same-side shoulder, or does it cross the midline? A crossover entry is not obvious from the underwater side view; it requires underwater front-view filming to be clearly assessed.
Observation 2: Early Vertical Forearm (EVF)
Viewed from the underwater side, does the forearm reach a vertical position shortly after the hand enters the water? If the elbow remains consistently low (low-elbow catch), this indicates the EVF technique needs improvement.
Observation 3: Pull Depth and Arc
Is the lowest depth of the hand during the pull phase appropriate (usually around shoulder depth)? Going too deep or too shallow will both affect propulsion efficiency.
Observation 4: Push Phase Completeness
At the end of the push phase, is the arm fully extended (maximizing triceps use)? Many swimmers exit the water as soon as the hand reaches the waist, losing the final 15–20% of propulsion.
Observation 5: Kick Rhythm and Depth
Is the ankle bend relaxed? In breaststroke kicking, is the ankle turn clearly visible?
Slow-Motion Analysis Techniques
- Slow the video down to 0.25x speed to observe the static posture at each key moment (the instant of entry, the start of the catch, the end of the push phase).
- Use your phone’s video editing features or free apps (such as Coach’s Eye) to draw reference lines and quantify head waterline height, body rotation angle, and more.
- Create “before-and-after” comparison clips: placing footage from before and after a technical correction side by side is the most motivating training feedback.
Practical Recommendations
- After each technique training session, spend 10 minutes analyzing that day’s footage to establish a “problem → correction → verification” technical improvement cycle.
- Build a personal list of technical issues, and focus each filming session on the single highest-priority issue on the list, avoiding the temptation to pay attention to too many details at once.
- If you have a coach, watch the footage together and discuss it to avoid subjective bias in self-analysis.
Conclusion
The value of swim video analysis lies in turning “feelings” into “facts.” The movements we think we are performing are often far from what we imagine when seen on video. Swimmers who cultivate systematic observation habits can identify technical bottlenecks more quickly and achieve breakthroughs in a shorter time. A single phone can be your best swim coach.
Related Reading
- Swim Technique Video Analysis: How to Use Underwater Filming to Find Your Own Flaws
- Self-Analysis of Swim Footage: Technical Diagnostic Methods for Above-Water and Underwater Filming
- Imagery Training for Swimmers: Practical Applications of Underwater Video Analysis
- Swim Technique Video Analysis: Using Your Phone to Identify Technical Deficiencies
[教學] Premiere 影片 手震 修正 教學 防抖 單眼 影像 GoPro 穩定 Video Stabilization
8 年前
教學) 如何做出專業 慢動作 影片 Slow Motion 120fps GoPro 7 ActionCam AX700 A99II
7 年前
iPhone 13 Pro 電影級 VLOG 實拍測試!優缺點 原理分析! 夜間效果對決 GoPro10!蘋果沒有說的超強錄影體驗!? | CT Yeh
4 年前
如何把 GoPro 影片 翻轉 批次 轉正?
6 年前
多機位拍片神器 DJI Action 2 拍出速度張力感 | 類空拍機視角 4陣列麥克風超強降風噪 實測! | 公路車 | CT Yeh
3 年前
CT 喇低賽) 單車 比賽總是沒照片? 攝影師的觀點大公開 姿勢就是力量! 請加速1.25倍收看
7 年前
類空拍神器 Feiyu Pocket 2s (有優惠連結)三軸穩定 運動攝影機 開箱!比GoPro 還強的滑順視角!三小時長時間錄影 行車記錄器 | 環花東365實測 | 公路車 CT Yeh
4 年前
下次拍照前要查清楚啦🤣 #cycling
7 個月前