A Structured Return-to-Cycling Plan: A Progressive Schedule for Getting Back on the Bike After Injury
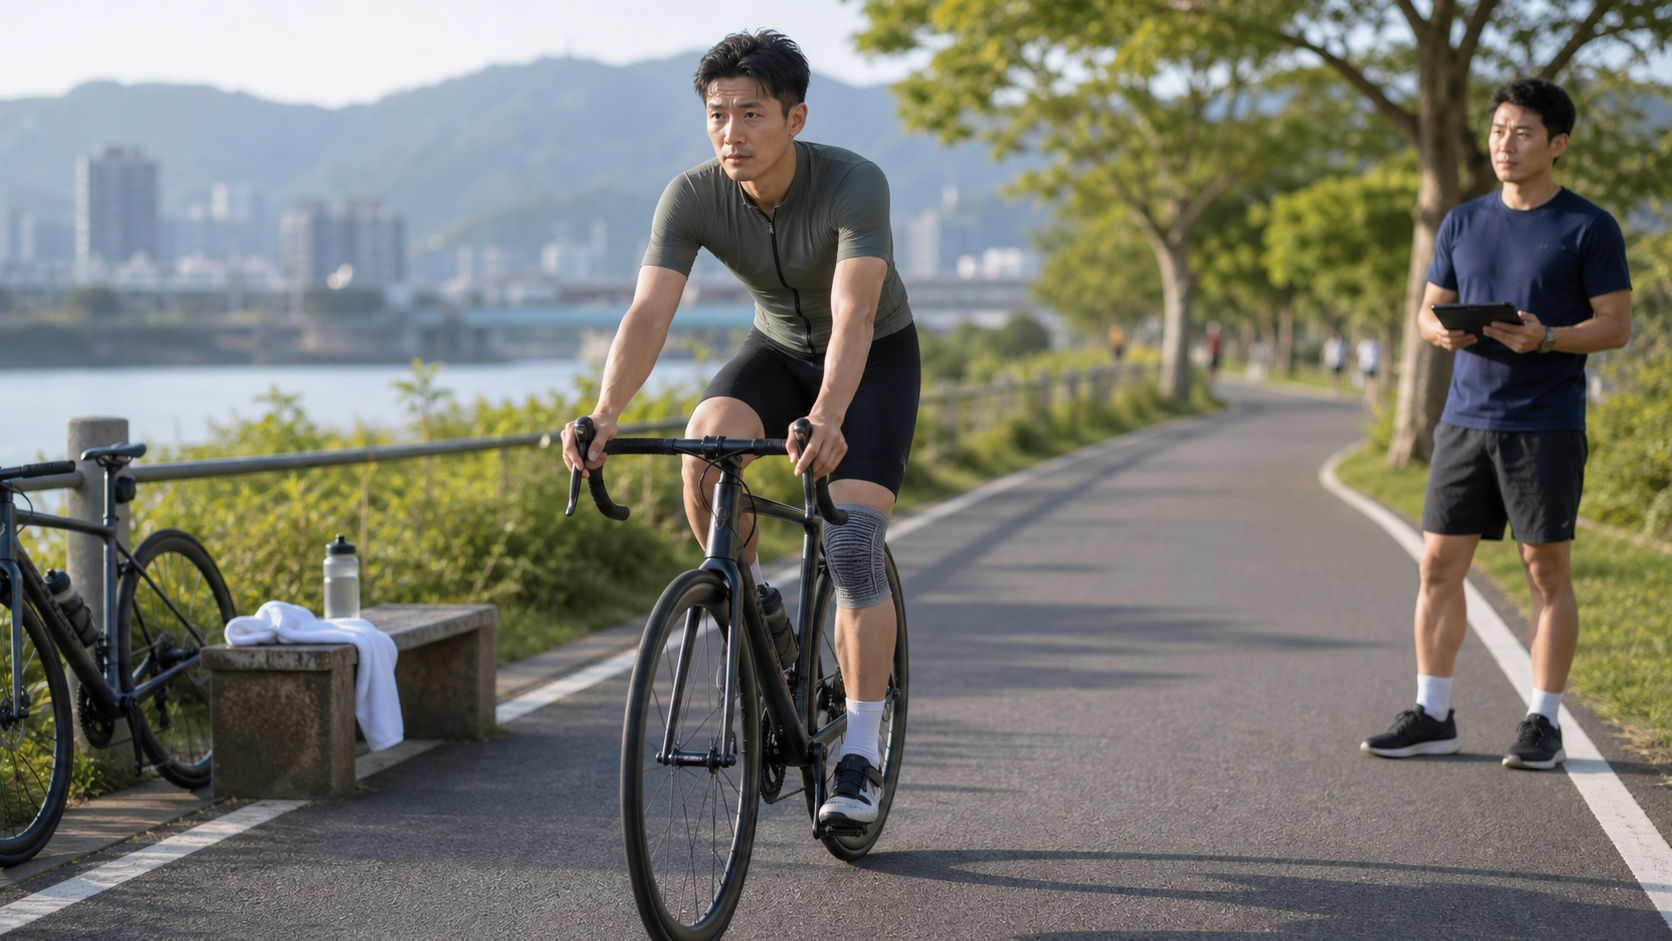
Introduction
Injury—it’s a setback that every serious athlete finds hard to completely avoid. Whether it’s a fracture from a cycling crash, iliotibial band syndrome in the knee from overuse, lumbar spine issues, or an ankle sprain, the “how to come back” after time off often tests you more than the injury itself.
Two common extremes among amateur cyclists in Taiwan: one is being overly conservative, taking months off before starting easy rides, resulting in a massive loss of fitness; the other is rushing back, jumping straight into high intensity after just three weeks off, only to suffer a re-injury and have to start over. The right return-to-training approach is finding the balance between safety and efficiency.
Fitness Loss After Injury: How Much Have You Really Lost?
Understanding the loss helps you set reasonable expectations for your return:
| Time Off | Aerobic Capacity Loss | Strength Loss | Estimated Time to Return |
|---|---|---|---|
| 1–2 weeks | Negligible | Slight | 3–5 days to re-adapt |
| 2–4 weeks | 5–8% | 5–10% | 2–3 weeks |
| 1–2 months | 10–20% | 10–20% | 4–6 weeks |
| 2–3 months | 20–35% | 20–30% | 6–10 weeks |
| Over 3 months | 40%+ | 30%+ | 12+ weeks |
Key insight: Muscle memory is real. Retraining is usually much faster than building capacity the first time—even after 3 months off, as long as there’s no structural damage, a systematic return can typically restore you to pre-injury levels within 2–3 months.
Three Core Principles of Return-to-Training
Principle 1: Get clearance from your doctor or physical therapist first
Different injuries come with different contraindicated movements and return criteria. Fractures require confirmation of callus formation; ligament injuries require passing specific joint stability tests before weight-bearing; overuse injuries require confirmation that pain is gone and function has returned to normal. Deciding on your own that “I feel fine” isn’t reliable enough.
Principle 2: Quantity before quality
In the early stages of returning, don’t think about intensity—only consider “can I complete a 30-minute ride without pain.” Once your body gets used to the movement pattern, then gradually increase intensity.
Principle 3: The 10% weekly progression rule
Increase weekly training volume (hours or kilometers) by no more than 10–15%. This is the golden rule in sports medicine for reducing overuse injuries.
Four-Phase Return-to-Training Plan
Phase 1: Mobility Restoration (Weeks 1–2)
Goal: Confirm the injured area can handle the load of the cycling motion, and build confidence.
- Ride 15–30 minutes per session, Zone 1 intensity (very easy, can hold a normal conversation)
- 3 times per week, adjust based on how your body responds
- Monitor the injured area after riding: if pain increases, stop and see your doctor
- Prioritize the trainer (you can stop immediately, no need to worry about road safety)
Special note: Taiwan’s roads have many potholes. In the early stages of injury, it’s recommended to use an indoor trainer to avoid road impact placing extra stress on healing tissue.
Phase 2: Aerobic Base Rebuilding (Weeks 3–6)
Goal: Gradually extend ride duration and rebuild the aerobic system foundation.
| Week | Ride Duration (per session) | Sessions per Week | Intensity |
|---|---|---|---|
| Week 3 | 45 minutes | 3 | Zone 1–2 |
| Week 4 | 60 minutes | 3–4 | Zone 2 |
| Week 5 | 75 minutes | 3–4 | Zone 2 |
| Week 6 | 90 minutes (long ride) + 2 short rides | 3 | Zone 2 |
If you’ve been off for more than 2 months, it’s recommended to wait until Week 6 for your first outdoor ride (on routes you’re confident about).
Phase 3: Progressive Intensity Introduction (Weeks 7–10)
Goal: Reintroduce moderate-intensity training and test the functional load-bearing capacity of the injured area.
- Weeks 7–8: Add 1 tempo ride per week (Zone 3, 10–15 minutes per interval)
- Weeks 9–10: Introduce Sweet Spot (Zone 4, 2×10 minutes)
- Monitor the injured area throughout; any pain means immediately stepping back to the previous phase
Special note for knee injuries: Climbing and pushing big gears place more stress on the knees. During the return period, use lighter gears (high cadence of 90rpm or above) to reduce joint pressure.
Phase 4: Return to Normal Training (Weeks 11–16)
Goal: Get back to pre-injury training levels and reintroduce high-intensity intervals.
This phase is close to normal training, but you still need to stay sensitive to your body’s signals: if unusual pain appears in the injured area after high-intensity sessions, step back to Phase 3 and reassess.
Return Considerations for Common Injuries by Area
Knee (ITB syndrome, patellar tendinitis):
- Avoid pushing big gears; maintain cadence at 90rpm or above
- Confirm saddle height is correct (too low increases stress on the knees)
- Start on flat roads first; delay adding climbing
Lower back pain:
- Prioritize core strengthening (planks, bridges)
- Keep your upper body relaxed while riding; don’t grip the bars excessively
- If needed, adjust handlebar height (raise the bars to reduce forward lean)
After clavicle/wrist fracture:
- Weight-bearing is not recommended during the callus formation period (usually 4–6 weeks)
- Use a trainer in the early return phase (no need to handle the bars for unexpected situations)
Practical Advice
Keep a training log: During the return period, record in detail how the injured area feels after each session (0–10 pain scale). This serves as objective evidence for tracking progress and makes it easier to communicate with your doctor or physical therapist.
Mental adjustment: Anxiety and urgency after injury are the most common reasons for a failed return. Remind yourself that “slow is smooth, smooth is fast”—an extra slow 2-week return period is far more worthwhile than stopping for another 3 months after a re-injury.
Conclusion
Injury isn’t the end—it’s an opportunity that forces you to understand your body better. Returning to training systematically doesn’t just get you safely back on the bike; it also lets you correct mistakes from your past training during the process—tight muscles, imbalanced strength, improper bike position—making you a stronger, more injury-resistant rider in the future.
Related Reading
- How to Make a Comeback from Injury: A Progressive Return-to-Training Plan for Cyclists
- Returning to Training After a Cycling Injury: A Progressive Recovery Plan for a Safe Comeback
- Rehabilitation Plan After a Cycling Fracture: Return-to-Training Timeline for Clavicle and Wrist Fractures
- The Complete Guide to a Two-Week Taper Before a Cycling Race: A Scientific Progressive Recovery Method
摔車後補裝備: 好市多新款單車安全帽& Specialized Romin 北高整路屁股都不痛的坐墊 | 一千元居然有MIPS | CT Yeh | 公路車
4 年前
靠單車減肥35公斤 心得分享與整理
7 年前
西進武嶺 免費訓練分析服務 Intervals | 練不夠還是練過頭?你哪一種類型選手?AI模型告訴你! | 備戰神器 | 公路車 訓練 | CT Yeh
4 年前
一日北高常見問題大集合 | 攻略 | 路線 | 訓練 | 補給 | 自行車 單車 | 一日雙城 | 雙塔 | TWB北高360 | 屁股痛
6 年前
滑雪新手們慘摔學習全紀錄(請開字幕),滑雪好好玩 | Snowboard + Ski | 岩原 スキー場 | 滑雪APP使用 | GoPro Max
6 年前
單車AI教練!全新 ChatGPT4o 幫你分析訓練成果!排武嶺課表,分析騎車姿勢! 太神了! / 公路車 / CT Yeh / feat. 緯緯
2 年前
單車 一日北高 ( 雙城 ) 肥宅雙人瘋狂行 紀錄片 REACTO
10 年前
2025 自行車錶排行榜 兩萬車友大數據 / Garmin Bryton 排名會大洗牌嗎? / 全新的碼表前身分析 /公路車 / CT Yeh
1 年前