Introduction
A saying circulates in Taiwan’s road bike community: “Only those who can maintain their own bike are true riders.” There’s some truth to this, but it’s also easily misunderstood. Blindly championing DIY while ignoring the expertise of professional bike shops—or completely relying on shops while knowing nothing about your own bike—are both unhealthy maintenance cultures.
The real wisdom of maintenance lies in this: clearly knowing what you can do, what you can’t do, and when you need to seek professional help. This article draws on the practical experience of Taiwanese cyclists to map out the complete landscape of road bike maintenance.
The Three Circles of Maintenance Levels
Circle One: Must-Know for Every Rider (Before and After Every Ride)
These are inspections and maintenance tasks that require no tools or only basic tools, and every rider should master them:
- Tire pressure check: Confirm before every ride; recommended road bike tire pressure is 100–130 psi (adjust based on weight and tire width)
- Brake function check: Squeeze the brake levers to confirm travel and stopping power
- Quick-release safety check: Confirm front and rear wheel quick-releases are locked tight
- Chain lubrication: Reapply chain lube every 200–300 km; shorten the interval during Taiwan’s plum rain season
- Full bike cleaning: Wipe down the drivetrain after rides to prevent grit from accelerating wear
Circle Two: Advanced DIY (Requires Tools and Learning)
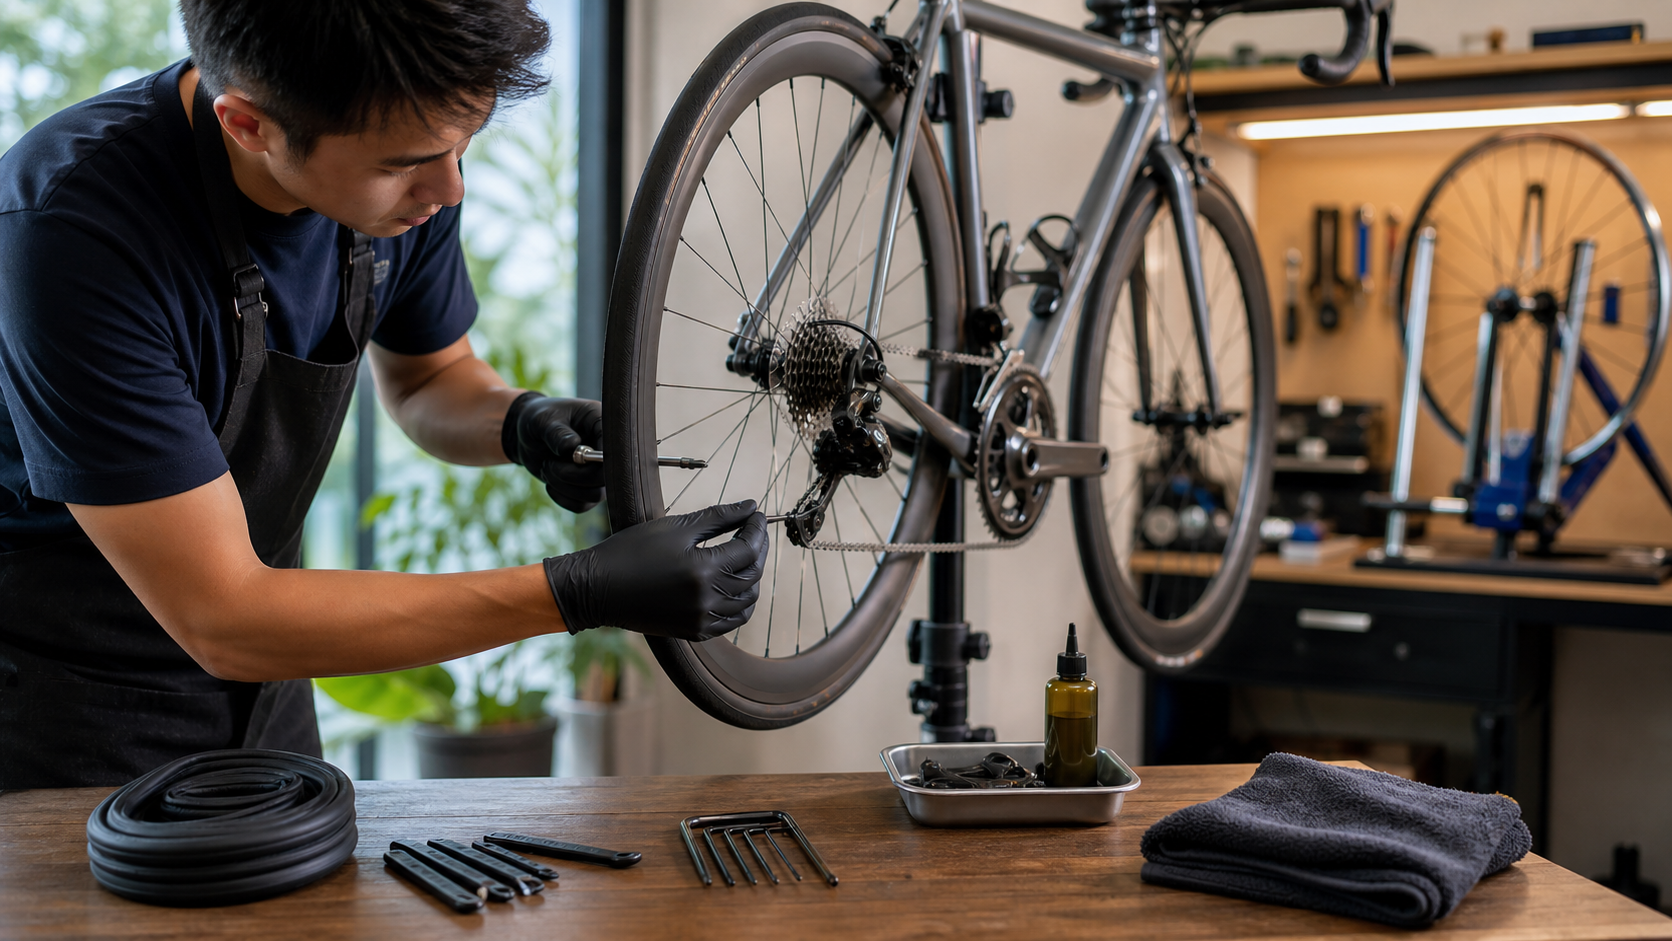
This requires investing in tools and time to learn, but once mastered, it can significantly save on repair costs:
| Item | Difficulty | Tools Required | Learning Source |
|---|---|---|---|
| Patching tubes (clincher) | ★☆☆ | Tire levers, patches/spare tube | YouTube tutorials |
| Replacing tubeless tires | ★★★ | Tire levers, sealant | Bike shop demonstration |
| Replacing a chain | ★★☆ | Chain tool, quick link | YouTube tutorials |
| Brake adjustment | ★★☆ | Hex wrenches | Official brand manuals |
| Derailleur adjustment (Shimano) | ★★★ | Phillips screwdriver | YouTube tutorials |
| Handlebar tape replacement | ★★☆ | Scissors, tape | YouTube tutorials |
Circle Three: Leave It to Professional Bike Shops
Certain repairs require specialized tools, calibration equipment, or extensive experience—forcing a DIY approach can cause even greater damage:
- Frame issues: Any cracks, unusual noises, or structural inspections after a crash
- Carbon fiber components: Damage assessment of carbon frames and wheelsets should not be judged on your own without professional knowledge
- Hub service: Replacing hub bearings requires specialized tools
- Full cable integration: Routing and setup for electronic shifting (Di2/AXS)
- Wheel truing: Precise adjustment of spoke tension requires a truing stand and well-developed feel
The Logic of Choosing a Bike Shop in Taiwan’s Culture
The quality of bike shops varies considerably across Taiwan. How to choose a shop that suits you:
Criteria for Evaluating a Shop
- The mechanic’s communication style: A good mechanic will explain the problem and help you understand why a repair is needed, rather than just handing you a parts list
- Repair transparency: Willing to let you watch the mechanic work and explain each step
- Attitude toward DIY: Good shops don’t mind you maintaining your own bike—they may even teach you; be wary of shops that deliberately make you feel like “everything has to be done at the shop”
- Parts pricing: You can ask and compare in advance; transparent shops won’t be annoyed by price inquiries
The Value of Building a Long-Term Relationship
Finding a shop you trust and building a long-term relationship is often more valuable than going to the cheapest shop every time:
- The mechanic understands your bike’s history and can make more accurate diagnoses
- Priority handling in urgent situations (before races, before trips)
- Occasional free checks for minor issues (tightening a bolt, confirming tire pressure)
Tool Investment Priorities
For riders looking to develop DIY maintenance skills, tool investment should follow a priority order:
Stage One (NT$1,000–3,000):
- Multi-tool (hex wrench set + screwdrivers)
- Pump (with pressure gauge)
- Chain lube and degreaser
Stage Two (additional NT$3,000–8,000):
- Chain tool
- Work stand (to hold the bike during repairs)
- Bottom bracket and cassette removal tools
Stage Three (serious enthusiasts): Precision tools such as a truing stand and torque wrench—not necessary for the average rider.
Practical Advice
Keep a maintenance log: Use your phone to record the date of each maintenance, mileage, and parts replaced. This record not only helps you track your bike’s “health history,” but is also an important selling point when you resell it.
Learn with YouTube: Taiwan has several professional bike maintenance channels, and Park Tool’s English tutorials are the world’s most complete maintenance resource library. Before learning, confirm that the video targets your parts brand (Shimano/SRAM/Campagnolo maintenance methods differ).
Be humble about your limits: “I’m not sure” is the most important DIY maintenance mindset. When you’re uncertain, look it up or ask a mechanic first—don’t just keep going because “it feels about right.” Mistakes on drivetrains and carbon fiber components are often costly.
Conclusion
The core of road bike maintenance culture isn’t “how much DIY you can do,” but “building a deep understanding of your bike.” The more you understand how your bike works, the better you can sense abnormalities, prevent failures, and make the right call when needed—whether that means doing it yourself or finding the right mechanic. That thorough understanding of your beloved bike is, in itself, a profound joy of the cycling life.
Related Reading
- DIY Bicycle Repair: A Practical Skill That Saves You Tens of Thousands Every Year
- Bicycle Repair Culture: The Sense of Accomplishment and Skill-Building of DIY Maintenance
- Bicycle Repair Culture: The Sense of Accomplishment and Skill Development of DIY Maintenance
- Tool Buying Guide: A Recommended Starter Toolbox Checklist for DIY Maintenance
碟煞公路車 銑面器 !? 原來銑完差這麼多! 降低蹭碟機率! | TIME 公路車 保養小記錄 | CT Yeh
3 年前
公路車 BB培林大升級! / 備戰海鷗繞圈賽 Canyon Aerod & TIME 一起改 / MIT大廠 CEMA對鎖式陶瓷培林BB & 導輪 / 公路車 / CT Yeh
2 年前
#Canyon Aeroad 公路車 三年騎乘 #心得 | 出保方式 | 購買價格計算 | 同場加映累積三年大保養慘況
6 年前
一個測試有沒有認真練車的方法😂 #公路車
10 個月前
Canyon 公路車斷把手 五年老車特規還能修嗎? 維修保養全記錄 feat. 501單車監理站 | 公路車 | CT Yeh
4 年前
太平山單車員工旅遊 | 這樣玩CP值最高!| 公路車
5 年前
昇陽SYB車隊 & Fuji 菁英選手們的趣味經驗分享,長知識了!市民車友必看~ 一路被拉爆後才給問 | 戀戀197 武嶺 凸台經驗分享 | 公路車 | CT Yeh
4 年前
碟煞公路車 優缺點?換車一年半實際經驗分享 / 公路車 / CT Yeh
2 年前