Introduction
Brakes are the most critical safety system on a bicycle, whether for emergency stops on a descent or speed control in city riding. If brake performance falls short, the consequences can be serious. Many riders blame a “soft” brake feel on worn pads, but more often the real culprit is improper clearance calibration. This article covers complete clearance-calibration methods for the two most common brake types today: disc brakes and V-brakes.
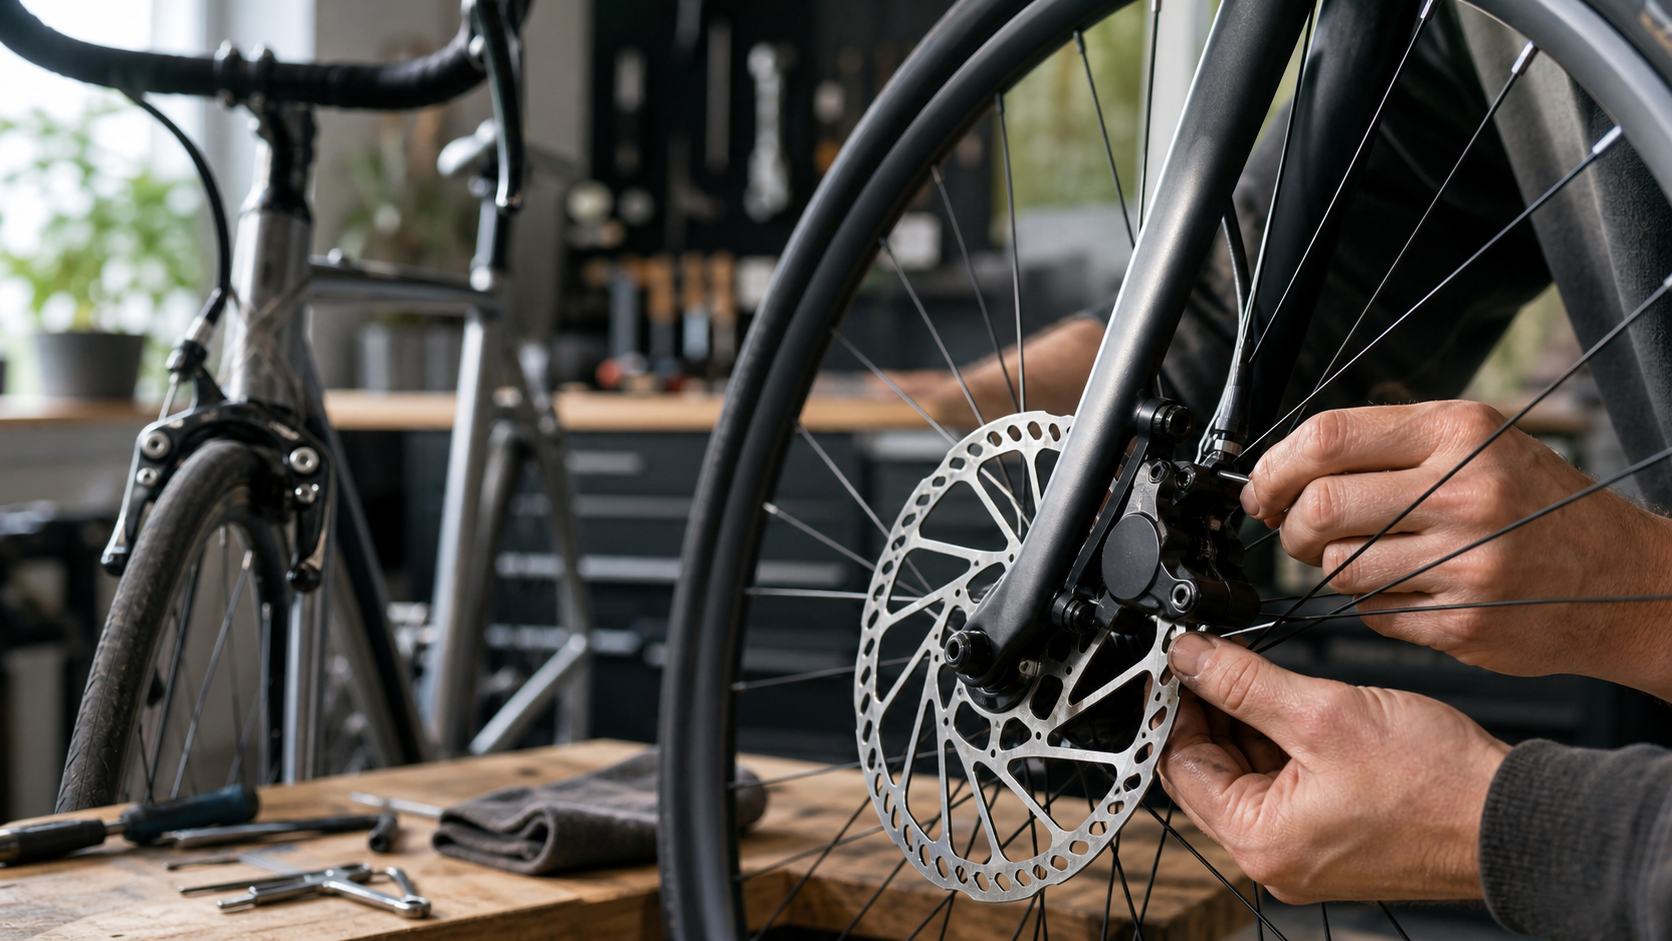
Calibrating Disc Brake Clearance
Determining Whether Your Disc Brake Needs Calibration
If any of the following occur, recalibration is needed:
- Continuous rubbing noise during braking (not an occasional squeal)
- The brake caliper is visibly offset to one side
- The wheel feels slight resistance when spinning
- Lever travel is excessive, with braking power only kicking in near the end of the pull
Tools for Disc Brake Calibration
| Tool | Purpose |
|---|---|
| 5mm hex wrench | Loosen the caliper mounting bolts |
| Rotor alignment tool (optional) | Assist with centering |
| Phone flashlight | Illuminate the caliper gap to check clearance |
| Thin plastic shim or business card | Help judge clearance evenness |
Post Mount Disc Brake Calibration Steps
- Loosen the caliper bolts: Loosen the two M5 bolts holding the caliper by about half to one full turn so the caliper can float freely.
- Squeeze and hold the brake lever: Use a rubber band or tape to hold the lever squeezed, which pushes the caliper pistons against the rotor and lets the caliper self-center.
- Tighten the bolts: With the lever still held, tighten the two mounting bolts in a crisscross pattern to about 6–8 Nm (check your frame manual for the exact spec).
- Release the lever and spin the wheel: Confirm the rotor spins without rubbing. If there is still rubbing, gently nudge the caliper by hand to fine-tune its position, then re-tighten.
- Check clearance with a flashlight: The gap on each side should be roughly 0.2–0.3mm and symmetrical.
Special Notes for Hydraulic Disc Brakes
- Hydraulic clearance issues are sometimes caused by uneven piston extension. Use a toothpick or plastic shim (never metal) to gently push the pistons back before retrying.
- If rubbing persists after calibration, you may need a bleed or replacement piston seals — it’s best to have a bike shop handle this.
- After riding in Taiwan’s summer heat, hydraulic fluid can expand slightly and cause minor rubbing. This is normal and usually resolves once the system cools down.
Calibrating V-Brake Clearance
Understanding V-Brake Structure
A V-brake consists of two brake arms pulled by a cable, with one pad mounted on each arm. The key calibration points are:
- Whether the clearance between each pad and the rim is symmetrical
- Whether the pad’s contact angle with the rim (toe-in) is correct
- Whether the cable tension is appropriate
V-Brake Clearance Calibration Steps
Balancing both sides (adjusted via the return spring):
- With the lever released, observe the gap between each brake arm and the rim — normally about 2–3mm on each side, and equal left to right.
- If the gaps are uneven, locate the tension adjustment screw at the base of each brake arm (usually a 2mm or 2.5mm hex screw).
- Turning the screw clockwise increases spring tension on that arm, pushing it further from the rim; turning it counterclockwise lets the arm move closer to the rim.
- Adjust and test by squeezing the lever repeatedly until both sides contact the rim at the same time.
Adjusting pad position (toe-in):
- When the pad contacts the rim, the front edge should touch slightly first (toe-in of about 0.5–1mm). This lets the pad settle fully flat against the rim under braking and prevents squealing.
- Loosen the pad mounting bolt (usually 5mm hex), place a shim or business card behind the rear of the pad, squeeze the brake to set the angle, then re-tighten the bolt.
Adjusting cable tension:
- Use the barrel adjuster on the brake lever to add tension — turning it counterclockwise increases cable pre-tension, shortening lever travel and sharpening response.
- If the barrel adjuster is already turned all the way and tension is still insufficient, loosen the cable anchor bolt, pull the cable tighter by hand, and re-tighten.
Pad Wear and Replacement
Wear Standards
| Brake Type | Replacement Threshold |
|---|---|
| Disc brake metallic pads | Worn down to 1.5mm or less |
| Disc brake resin pads | Worn down to 1.5mm or less, or visibly contaminated with oil |
| V-brake rubber pads | Wear grooves have disappeared, or pad thickness is 3mm or less |
- Taiwan’s mountainous terrain means pad temperatures climb quickly on long descents. Resin pads show more noticeable performance loss (brake fade) than metallic pads during sustained mountain descents, so metallic pads are recommended for long mountain rides.
- After replacing disc brake pads, perform a break-in: on a safe stretch of road, brake repeatedly from moderate speed down to near-stop about 10–15 times. This lets the pad and rotor surfaces bed in fully so braking power reaches its optimal level.
Practical Tips
- Inspection frequency: Visually check brake clearance every 500km or once a month.
- Avoid grease contamination: When replacing a chain or drivetrain parts, any grease that gets on the rotor or pads will severely reduce braking power. Clean it immediately with disc brake cleaner spray (IPA-based solvent).
- V-brakes on carbon rims: Use pads specifically designed for carbon rims — never use pads meant for aluminum rims, or you risk scratching the rim’s braking surface.
- Check brakes before rain: Before and after rain in Taiwan, braking performance can temporarily drop due to water on the rim or rotor. Always check before heading out.
Conclusion
Brake calibration looks complicated but is actually a very systematic maintenance skill. Whether it’s the floating self-centering method for disc brakes or the tension-balancing adjustment for V-brakes, most riders can complete these steps at home by following the correct procedure. Regular brake maintenance not only keeps you safe while riding, but also gives you full confidence in your bike when it matters most.
Related Reading
- Bicycle Brake Adjustment: Setup Techniques for Caliper Brakes and Disc Brakes
- Disc Brake vs. C-Brake Adjustment: A Complete Maintenance Guide for Two Brake Systems
- Brake System Adjustment: A Complete Guide to Disc Brake Centering and Caliper Adjustment
- Bicycle Disc Rotor Maintenance: Truing, Cleaning, and When to Replace
碟煞公路車 銑面器 !? 原來銑完差這麼多! 降低蹭碟機率! | TIME 公路車 保養小記錄 | CT Yeh
3 年前
碟煞公路車 優缺點?換車一年半實際經驗分享 / 公路車 / CT Yeh
2 年前
再一組! 全碳幅條 碟煞/無內胎輪組 開箱! 到底好騎嗎? UNAAS X40 | 公路車 | CT Yeh
4 年前
#公路車 #Fitting 靠人工智慧APP 幫你調整單車
6 年前
SRAM FORCE E1 首發!/ 改成短腿了 / 煞車升級有感嗎? / TIME ADH 變速大升級 / 公路車 / CT Yeh
1 年前
Canyon 公路車斷把手 五年老車特規還能修嗎? 維修保養全記錄 feat. 501單車監理站 | 公路車 | CT Yeh
4 年前
公路車 BB培林大升級! / 備戰海鷗繞圈賽 Canyon Aerod & TIME 一起改 / MIT大廠 CEMA對鎖式陶瓷培林BB & 導輪 / 公路車 / CT Yeh
2 年前
鉅齒紋輪組!? ControlTech MEG-T50 EVO 碳纖維幅條輪組/ 功率對比實驗 / 公路車 / CT Yeh
2 年前