Introduction
A bicycle wheel that has gone “out of true” (commonly called wheel wobble) is something many riders have experienced, especially after hitting a deep pothole or a crash, which can leave the rim with noticeable lateral wobble or vertical hop. Wheel truing is a skill that takes patience and feel, but basic adjustments can absolutely be done at home without a trip to the bike shop every time. This article walks you through wheel structure, the principles behind truing, and the complete DIY truing process.
Understanding Wheel Structure
Main Components
| Component | Function |
|---|---|
| Hub | The center of the wheel, connects to the fork or rear dropouts |
| Spoke | Connects the hub to the rim, transmits tension |
| Rim | The outer frame, bears tire pressure and lateral forces |
| Nipple | Embedded in the rim, used to adjust spoke tension |
Causes of Wobble
- Uneven spoke tension: Manufacturing tolerances or prolonged use can gradually cause tension imbalance among spokes.
- Impact damage: Hitting potholes or curbs can cause sudden shock that over-stretches individual spokes or deforms the rim.
- Brake pad wear: On rims used with V-brakes for a long time, the sidewalls can be worn thin by the brake pads, reducing structural strength and making the rim more prone to deformation.
Tools Needed for Truing
- Spoke Wrench: Choose based on your nipple size — common sizes include 3.2mm, 3.45mm, and 3.96mm. Measure or check your wheel’s specifications before buying.
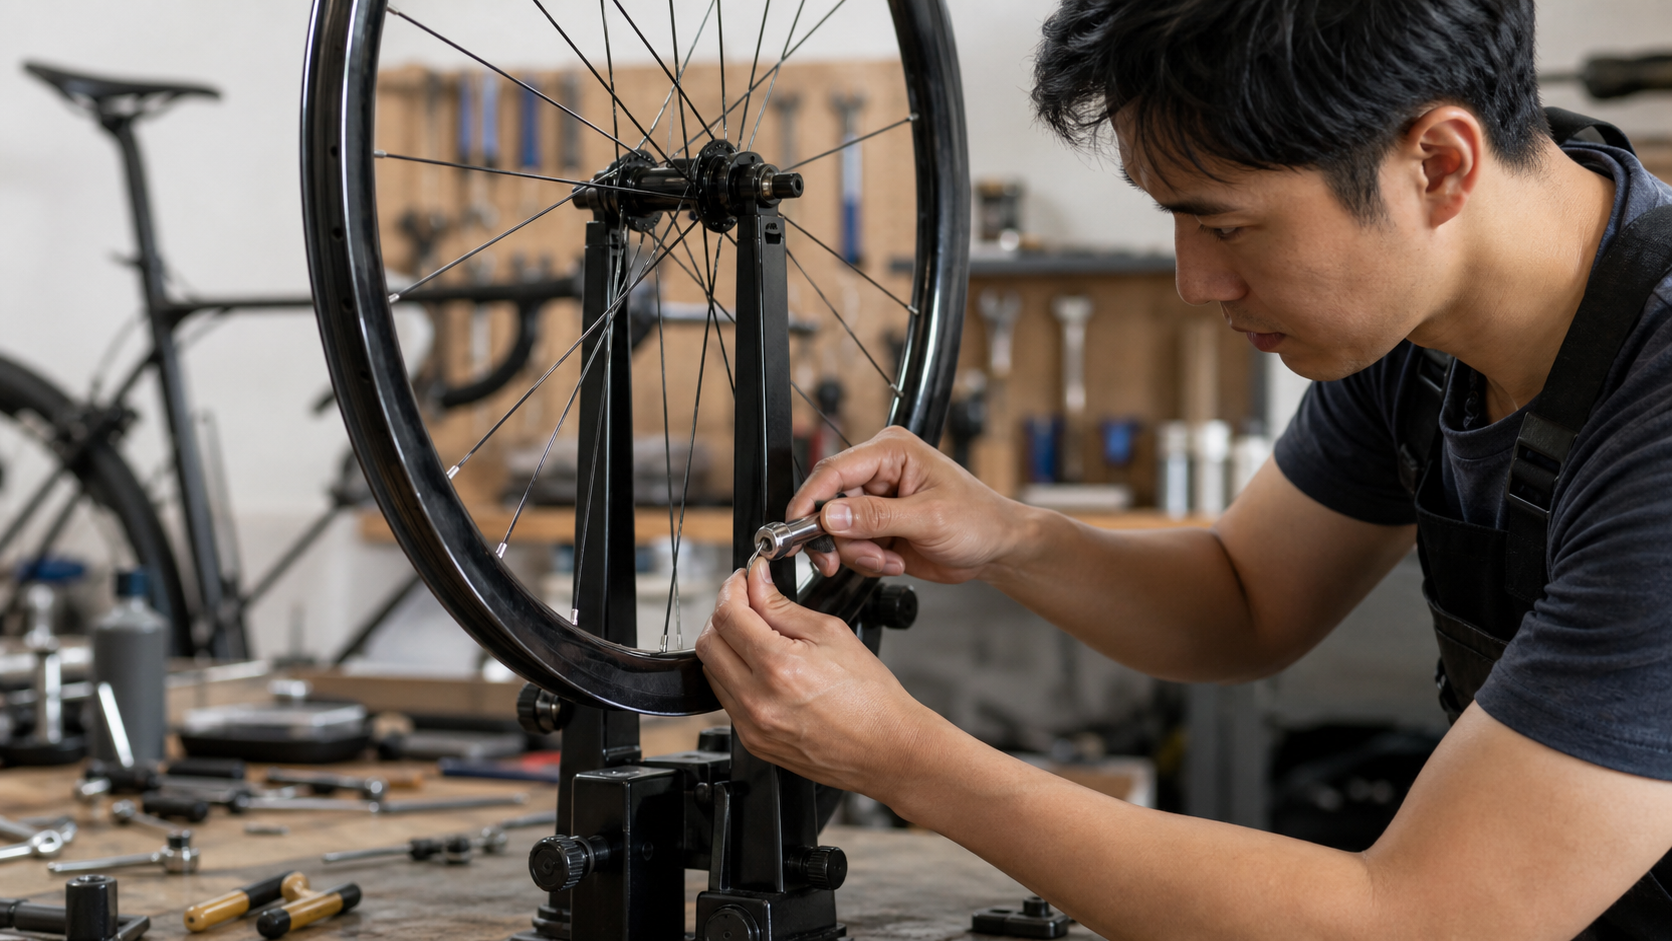
- Truing Stand: A tool that holds the wheel and provides a reference line for measurement. The Park Tool TS-2.2 is a professional choice, but if budget is tight, you can also true the wheel temporarily while it’s still on the bike frame.
- Tension Meter (optional): Measures the exact tension of each spoke, essential for advanced truing. The Park Tool TM-1 is a good entry-level option.
Basic Principles of Truing
Understanding the following principles will keep your truing from making things worse:
- Tightening a spoke pulls the rim toward that side: Turning the nipple clockwise (viewed from the nipple end) increases spoke tension, pulling the rim toward the side where that spoke is located.
- Turn only a small amount each time: Beginners should adjust in increments of 1/4 turn (90°) at a time — never turn too much at once.
- Adjust symmetrically: The affected area should span 3–5 adjacent spokes, tapering gradually to avoid creating a “locally over-tight” spot.
- Lateral wobble takes priority over vertical hop: Fix side-to-side wobble first, then address up-and-down hop.
Steps to Correct Lateral Wobble
-
Mount the wheel on the truing stand (or leave it on the frame), position the indicator close to the rim sidewall, and rotate the wheel to find the point of worst wobble.
-
Mark the wobble area: Use chalk or tape to mark the spot where the rim deviates most toward one side.
-
Determine the adjustment direction:
- Rim deviates left → Tighten the spokes on the right side of that area, or loosen the spokes on the left side (or combine both)
- Rim deviates right → Do the opposite
-
Start from the center of the wobble and taper the adjustment toward both sides:
- Center spoke: turn 1/4 turn
- One spoke on each side: turn 1/8 turn
- Further out: turn 1/16 turn (can be negligible)
-
Repeat measuring and adjusting: After each round of adjustment, spin the wheel again to check, and repeat until the wobble is within 0.5mm.
Correcting Vertical Hop (Roundness)
- Move the indicator to touch the top of the rim (near the tire bed edge) and find the highest point of the rim (farthest from the hub).
- High points need to be lowered: Evenly tighten all the spokes (both sides) near the high point, pulling the rim toward the hub.
- Do the opposite for low points — loosen the nearby spokes evenly.
- Correcting vertical hop will affect lateral wobble, so you’ll need to alternate between correcting both.
Confirming Tension After Truing
Once truing is complete, you need to confirm the spoke tension is even, otherwise the wheel may go out of true again during riding.
- Pluck test: Gently pluck each spoke with your finger — the pitch should be similar across spokes. Higher tension produces a higher pitch, lower tension a lower pitch; too much variation indicates uneven tension.
- Overall squeeze: Grab two opposing spokes with both hands and squeeze them together (essentially “stress relieving” the spokes) to pre-tension them and eliminate false tension caused by nipple friction, then re-check the lateral wobble.
Practical Tips
- Front wheel truing tolerance: For disc brake front wheels, aim for lateral wobble within 0.5mm; for V-brake front wheels, aim for within 0.3mm, otherwise you’ll feel unevenness when braking.
- Nipples on carbon rims: These usually have an aluminum sleeve insert — don’t turn them directly with a standard spoke wrench; check whether a special adapter is needed.
- Asymmetric tension on rear wheels: Because the spoke angle on the cassette side is steeper, the spoke tension on the right side of a rear wheel is typically 30–50% higher than on the left — this is normal and doesn’t need to be forced even.
- Taiwan road conditions: Mountain roads in northern Taiwan often have potholes, so it’s recommended to visually check your wheels for noticeable wobble every 3–6 months.
- Severe deformation needs a professional: If the rim has an obvious “crease” or is flattened, DIY truing cannot fix it — you’ll need to replace the rim or the entire wheel.
Conclusion
Wheel truing is one of the more technically demanding bicycle maintenance skills, but basic adjustments are well within DIY capability. Master the core principle — “tightening pulls the rim closer, loosening lets it move away” — and with patience and care, any rider can gradually improve. Regularly check your wheel’s condition, and address minor wobble early, so it doesn’t develop into a problem requiring a complete rebuild.
Related Reading
#公路車 #Fitting 靠人工智慧APP 幫你調整單車
6 年前
鉅齒紋輪組!? ControlTech MEG-T50 EVO 碳纖維幅條輪組/ 功率對比實驗 / 公路車 / CT Yeh
2 年前
再一組! 全碳幅條 碟煞/無內胎輪組 開箱! 到底好騎嗎? UNAAS X40 | 公路車 | CT Yeh
4 年前
公路車 BB培林大升級! / 備戰海鷗繞圈賽 Canyon Aerod & TIME 一起改 / MIT大廠 CEMA對鎖式陶瓷培林BB & 導輪 / 公路車 / CT Yeh
2 年前
Nepest NOVA 碳條輪組:輕量、空力、舒適一次滿足!/ 公路車 / CT Yeh
7 個月前
碟煞公路車 銑面器 !? 原來銑完差這麼多! 降低蹭碟機率! | TIME 公路車 保養小記錄 | CT Yeh
3 年前
一日北高/長距離團騎 常見問題補充篇 / 組團或跟團的眉角 / 壯車友容易被瘦車友慢性拉爆 / 原來屁股痛可能是這個原因...? / 風場配速法 / 公路車 / CT Yeh
2 年前
如何把 GoPro 影片 翻轉 批次 轉正?
6 年前