Introduction
“Just tighten it as much as you can” used to be the intuitive logic of bicycle maintenance, but with carbon fiber handlebars, seatposts, and frames now commonplace, this mindset is outdated and dangerous. Carbon fiber components may not break immediately under excessive force — instead, they can suffer internal delamination, only to fail suddenly during a later ride. On the other hand, insufficient torque can cause dangerous situations such as a saddle rotating or a handlebar shifting mid-ride. This article will teach you how to correctly use a torque wrench, along with the standard torque values for common fastening points on a road bike.
Why You Need a Torque Wrench
The Unpredictability of Hand Strength
Hand strength varies enormously between individuals, and even the same person’s applied torque can differ by 2–3 times depending on their condition (fatigue, tool length used, etc.). Research shows that tool-free “by feel” tightening can have an error margin of up to ±50%. For a carbon fiber bolt rated at 5 Nm, you might actually apply anywhere from 3 to 8 Nm — with unpredictable consequences.
Common Cases of Over-Tightening Damage
- Carbon fiber seatposts cracked by the stem clamp collar
- Micro-cracks appearing at bend points on carbon fiber handlebars
- Titanium alloy bolts stripped after over-tightening, unable to be loosened
- Stripped threads in bottle cage bosses on carbon fiber frames
Choosing the Right Type of Torque Wrench
| Type | Characteristics | Suitable For |
|---|---|---|
| Click Type | Clicks and slips once the set torque is reached | Most common; suitable for general home maintenance |
| Beam Type | Displays torque via a pointer while turning | Inexpensive, but requires visual reading, slightly less precise |
| Digital | LCD display shows real-time torque value | High precision, suitable for professional use |
| T-Handle Preset Torque Wrench | Fixed to a specific torque, quick to use | Suitable for bolts with a fixed torque value (e.g., 5 Nm stem bolts) |
Recommended for home use: A click-type torque wrench with a 2–25 Nm range, paired with 3mm, 4mm, and 5mm hex bits, covers 90% of bicycle maintenance needs. Recommended brands: Park Tool TW-5.2 or Topeak Torque 6 (budget option).
Reference Torque Values for Key Road Bike Fastening Points
| Component Location | Material Combination | Recommended Torque |
|---|---|---|
| Stem faceplate bolts (clamping handlebar) | Carbon handlebar + aluminum stem | 4–5 Nm |
| Stem faceplate bolts (clamping handlebar) | Aluminum handlebar + aluminum stem | 6–8 Nm |
| Stem steerer clamp bolts (clamping steerer tube) | Carbon steerer tube | 4–5 Nm (per frame manufacturer spec) |
| Seat Clamp | Carbon seatpost + aluminum frame | 4–6 Nm |
| Seat Clamp | Aluminum seatpost + aluminum frame | 6–10 Nm |
| Saddle Clamp | Standard seatpost head | 8–12 Nm |
| Disc brake caliper mounting bolts | Standard M5 bolts | 6–8 Nm |
| Bottle cage bolts | Carbon fiber cage | 2–3 Nm |
| Front/rear thru-axle | 12mm thru-axle | 12–15 Nm |
| Cassette lockring bolt | 12-speed XDR interface | 40 Nm |
Important: The values above are general reference figures only. Always prioritize the manufacturer’s printed specification. Many stems, carbon seatposts, and frames have Nm values printed directly on them — always defer to the manufacturer’s marking.
How to Use a Torque Wrench Correctly
Operating Steps
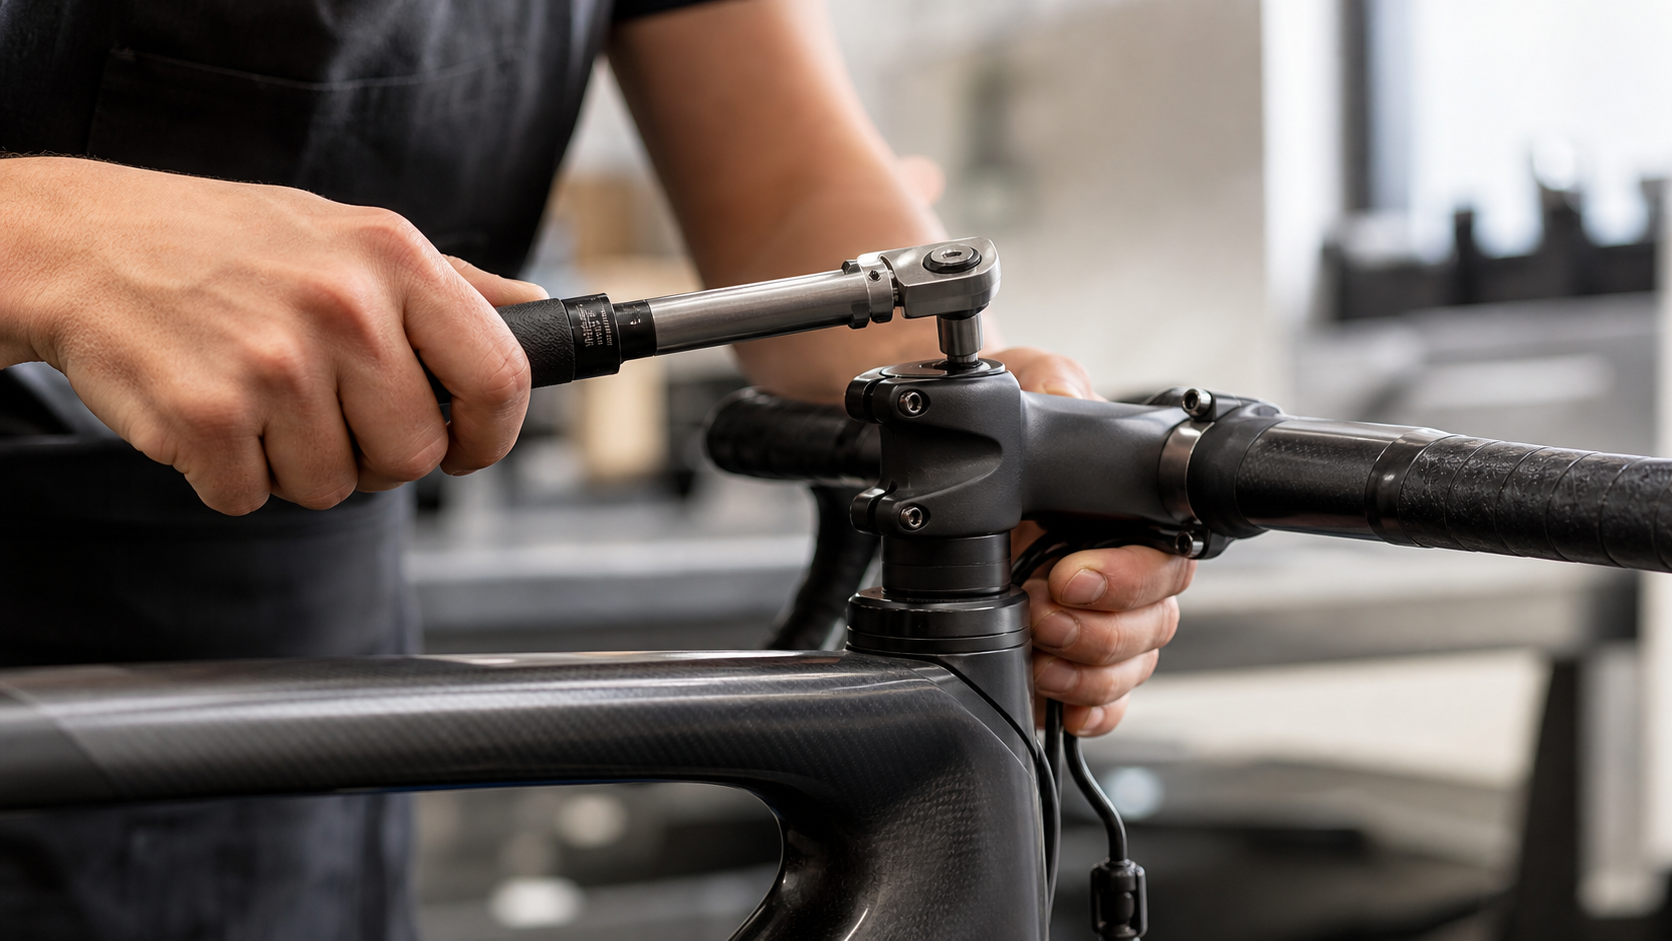
- Set the torque value: Rotate the wrench handle to adjust to your target Nm value. Some models have a locking mechanism — remember to lock it after adjusting.
- Install the correct bit: Choose the hex bit or T25 Torx bit that matches the bolt specification.
- Apply force slowly and evenly: Turn at a steady pace — do not apply force quickly, or you may overshoot even after reaching the set value.
- Stop immediately upon hearing the click: A click-type torque wrench will “click” and slip once the set value is reached. Release immediately — do not continue applying force.
- Cross-tighten when multiple bolts are involved: For example, the four bolts on a stem faceplate should be tightened in 1/4-turn increments in a crossing pattern to ensure even clamping force.
Common Mistakes
- Continuing to apply force after the click “just to make sure it’s tight” — this exceeds the set torque.
- Using an extra-long extension bar without re-verifying the torque setting.
- Using a torque wrench that hasn’t been calibrated in a long time — error can reach ±15%. It’s recommended to have it professionally calibrated once a year.
Using Carbon Fiber Assembly Paste
When assembling carbon fiber components, it’s recommended to use carbon fiber assembly paste (Carbon Paste / Carbon Grip):
- It contains fine particles that increase friction, allowing components to achieve the same anti-slip grip at a lower torque.
- It can reduce the required torque for clamping a carbon seatpost from 8 Nm to 4–5 Nm while maintaining the same holding reliability.
- Note: After using carbon paste, the original torque value must be reduced according to the manufacturer’s instructions (typically by 30–50%), otherwise you risk over-tightening.
- Common brands: Finish Line Fiber Grip, Park Tool SAC-2.
Practical Tips
- Always use a torque wrench when installing carbon fiber components — no exceptions.
- Re-check after transport or air travel: The impacts and jolts during baggage handling can loosen seatpost bolts.
- Fastener check before long rides: A 10-minute visual inspection of all bolts before setting off is a necessary ritual, especially for the saddle clamp and stem bolts.
- Buy a kit that includes hex bits: The Park Tool TW-5.2 or Feedback Sports Pro Torque, which include commonly used hex bits, are the most cost-effective choices for home use.
Conclusion
A torque wrench may seem like an unnecessary extra step to many riders, but the cost of repairing damaged carbon fiber components far exceeds the price of a torque wrench. More importantly, a handlebar or seatpost failing suddenly mid-ride can lead to serious personal injury. Taking a little time to learn the correct fastening technique is the most responsible way to protect both yourself and your bike.
Related Reading
- Torque Wrench Guide for Carbon Bikes: The Art and Science of Precise Tightening
- Installation Precautions for Carbon Fiber Components: The Importance of a Torque Wrench
- Seatpost Clamp Specifications and Torque Guide: The Bolt Most Likely to Cause Trouble on Carbon Bikes
- How to Use a Torque Wrench Correctly: An Essential Skill for Carbon Bike Owners
Canyon 公路車斷把手 五年老車特規還能修嗎? 維修保養全記錄 feat. 501單車監理站 | 公路車 | CT Yeh
4 年前
再一組! 全碳幅條 碟煞/無內胎輪組 開箱! 到底好騎嗎? UNAAS X40 | 公路車 | CT Yeh
4 年前
CT 喇低賽) 武嶺牽車 才是王道 西進牽車四小時內秘訣 攝手位置 如何判斷 防抽筋小秘訣
7 年前
洗單車神器 吹水機! 實際洗車用用看 暴力洗鍊條大法 | 公路車 | CT Yeh
4 年前
碟煞公路車 銑面器 !? 原來銑完差這麼多! 降低蹭碟機率! | TIME 公路車 保養小記錄 | CT Yeh
3 年前
公路車 BB培林大升級! / 備戰海鷗繞圈賽 Canyon Aerod & TIME 一起改 / MIT大廠 CEMA對鎖式陶瓷培林BB & 導輪 / 公路車 / CT Yeh
2 年前
鉅齒紋輪組!? ControlTech MEG-T50 EVO 碳纖維幅條輪組/ 功率對比實驗 / 公路車 / CT Yeh
2 年前
一日北高/長距離團騎 常見問題補充篇 / 組團或跟團的眉角 / 壯車友容易被瘦車友慢性拉爆 / 原來屁股痛可能是這個原因...? / 風場配速法 / 公路車 / CT Yeh
2 年前