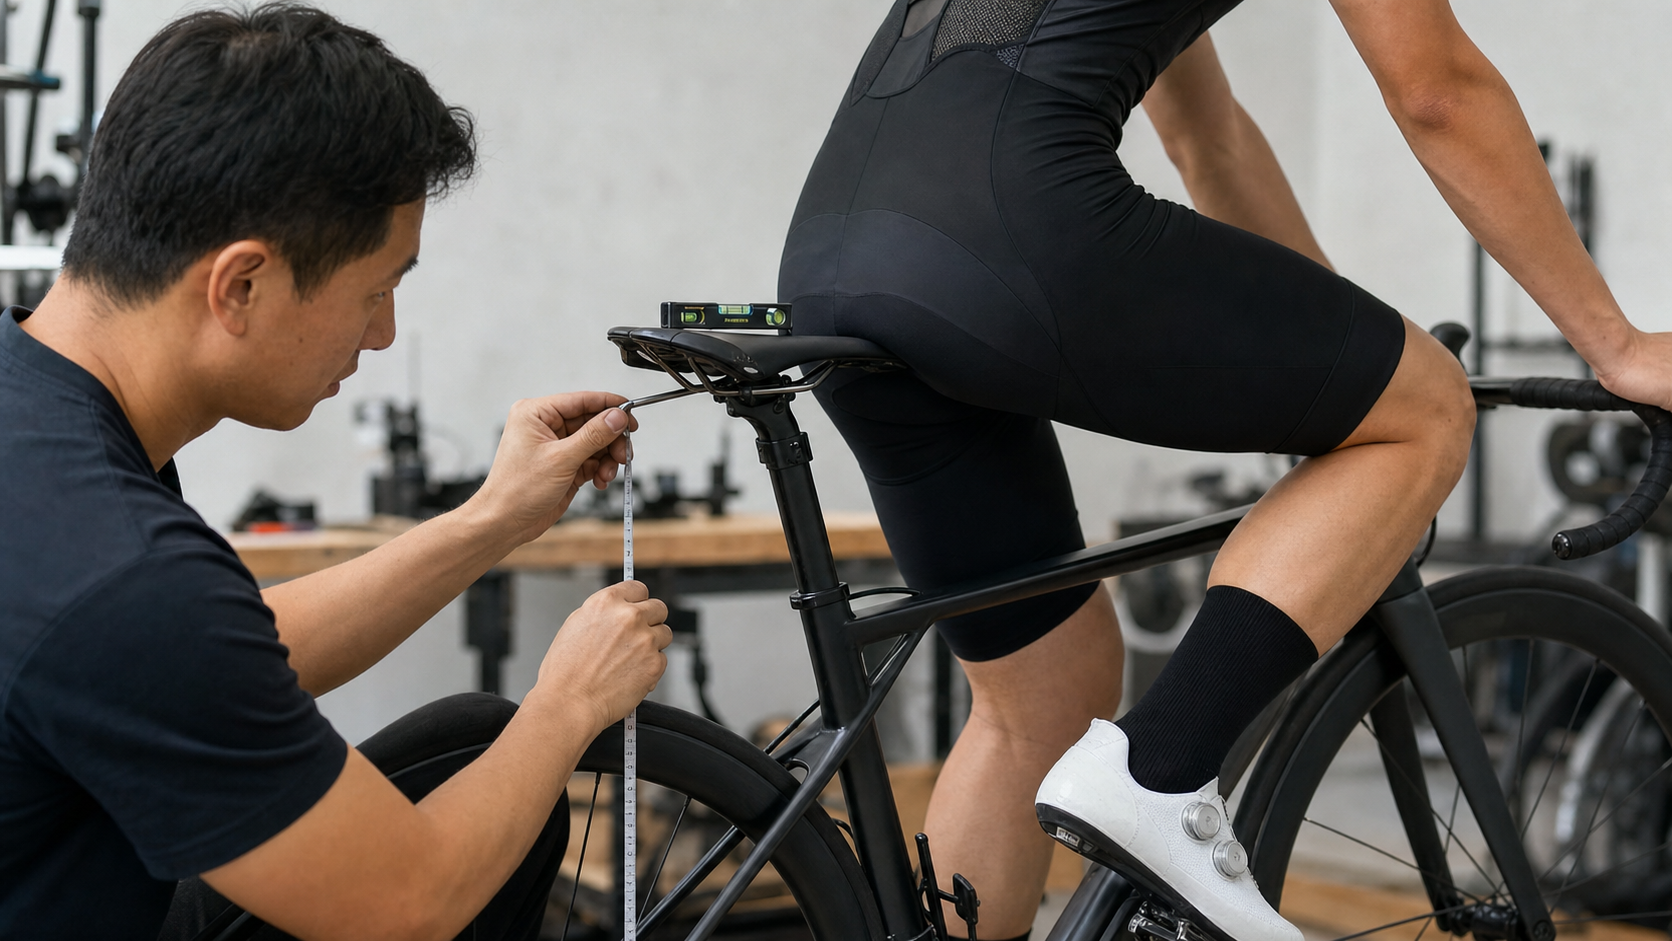
Introduction
Saddle setup is one of the most central elements of bicycle bike fit. Many cases of riding discomfort, knee pain, and hip soreness can be traced back to an incorrect saddle position. More importantly, correct saddle setup is not just a comfort issue — it directly affects pedaling efficiency and how power is delivered. A saddle that sits just 5mm too low is enough to cost you a noticeable amount of power output on long rides. This article provides practical measurement methods and adjustment steps so every rider can perform basic saddle setup at home.
Three Dimensions of Saddle Adjustment
| Adjustment Dimension | Effect | Adjustment Tool |
|---|---|---|
| Saddle Height | Pedaling efficiency, knee angle | 6mm hex wrench (seatpost clamp) |
| Saddle Fore-Aft Position (Setback) | Knee position over the pedal | Saddle clamp rail bolts |
| Saddle Tilt Angle | Upper body support, perineal pressure | Saddle clamp’s front/rear bolts |
Saddle Height Setup
Method 1: Heel Method (Fastest)
- Sit on the bike wearing regular shoes (not cycling shoes), placing your heel on the pedal (rather than the front of your foot).
- Rotate the crank to its lowest point — at this position your leg should be fully extended (knee slightly bent, roughly 170–175°).
- If the knee is overly straight, or your pelvis needs to tilt sideways to reach the bottom, the saddle is too high; the opposite indicates the saddle is too low.
- After switching to cycling shoes, because the sole is thicker, saddle height usually needs to be raised another 5–10mm.
Method 2: Multiplier Formula (More Precise)
The most widely used is the LeMond formula:
Saddle height (from BB center to saddle surface) = Inseam length (cm) × 0.883
Measuring inseam length:
- Barefoot or in thin socks, stand with your back against a wall, feet spread about 15cm apart.
- Insert a book (or a measuring rod) horizontally between your legs and push it up to your pubic bone (simulating the sensation of sitting on the saddle).
- Measure the distance from the top edge of the book to the floor — this is your inseam length.
Example: Inseam length 80cm → recommended saddle height = 80 × 0.883 = 70.6 cm
Method 3: Knee Angle Method (Most Precise, Requires a Goniometer)
At the lowest pedal position (crank at 6 o’clock), the knee bend angle should be between 140–150°:
- Below 140°: the saddle is too low; raise it.
- Above 150°: the saddle is too high; lower it.
Saddle Fore-Aft Position (Setback) Setup
The KOPS Rule (Knee Over Pedal Spindle)
Standard setup method:
- Rotate the pedal to the 3 o’clock position (horizontal, right foot forward).
- Hang a plumb line (or a string with a weight attached) vertically from the bottom of the front kneecap.
- The line should pass through the pedal spindle (i.e., the KOPS point).
Adjustment:
- If the line falls in front of the pedal spindle: move the saddle backward (increase setback).
- If the line falls behind the pedal spindle: move the saddle forward.
How Fore-Aft Position Affects Riding Style
- Moving forward: shifts the power delivery point forward, favoring sprinting and high-cadence flat-road pedaling (similar to a TT position).
- Moving backward: increases torque leverage, favoring climbing and stable long-distance pedaling.
- Most riders are advised to start from the KOPS neutral position and fine-tune by ±5mm based on riding feel.
Saddle Tilt Angle Setup
Standard: Level (0°)
The saddle should stay level — this is the most universal starting point, distributing pressure evenly across the pelvis.
Using a digital level (a phone app works fine): place it on the flattest, central area of the saddle to measure, adjust to level, then fine-tune based on personal feel.
Fine-Tuning Direction
- Tilting the nose of the saddle slightly downward (2–5°): reduces perineal pressure, suitable for riders with numbness issues, and is more common when using streamlined/nose-relief saddles. However, tilting too far downward (more than 5°) causes the body to slide forward, increasing arm load.
- Tilting the rear of the saddle downward (nose up): not recommended — it increases posterior pelvic tilt pressure and can lead to lower back pain after long rides.
The Relationship Between Saddle Choice and Sit-Bone Width
No matter how well a saddle is set up, if the saddle width doesn’t suit you, comfort still won’t be optimal.
| Sit-Bone Width | Recommended Saddle Width |
|---|---|
| Less than 100mm | 130–140mm narrow saddle |
| 100–130mm | 140–155mm medium-width saddle |
| More than 130mm | 155mm+ wide saddle |
- Many bike shops offer sit-bone width measurement service (sitting on a memory foam pad and measuring the distance between the impressions) — it’s recommended to get measured before buying a saddle.
- Race saddles are usually firmer and have a central cutout, designed to reduce perineal pressure during long rides.
Practical Tips
- Change only one variable at a time: adjust a single setting and ride 2–3 times (at least 200km) before judging the effect — don’t make large changes across multiple dimensions at once.
- Saddle height adjustment limit: if raising the saddle by 5mm causes knee discomfort, revert immediately — knee pain may take 2–4 weeks to noticeably improve or worsen, so don’t ignore it.
- Finding bike fit services in Taiwan: many bike shops in Taiwan offer bike fit services using systems such as RETUL or Body Geometry Fit, typically costing around NT$2,000–5,000 — well worth the investment for long-distance riders or those experiencing discomfort.
- Record your settings: use a ruler to record saddle height (BB center to saddle surface) and fore-aft position (horizontal distance to the BB), so you can quickly restore your setup after maintenance or when switching bikes.
Conclusion
Saddle setup is one of the most personal aspects of the cycling experience — there’s no single universal standard, but there are scientific starting points for measurement and a systematic approach to fine-tuning. Start with the correct saddle height, gradually adjust fore-aft position and tilt angle, and verify each adjustment against your mileage and how your body feels, until you find your own optimal riding position.
Related Reading
- Bicycle Saddle Height Setup: Standard Calibration Methods for Hip and Knee Angle
- The Science of Fine-Tuning a Road Bike Saddle: Precise Adjustment of Tilt, Fore-Aft Position, and Height
- Precise Adjustment of Road Bike Seatpost Height and Setback
- The Complete Guide to Bicycle Seatpost and Saddle Adjustment: The Ultimate Fix for Saddle Sore
#公路車 #Fitting 靠人工智慧APP 幫你調整單車
6 年前
DJI OSMO 360單車攝影 教學&技巧分享 / 概念、攝影手法、架設、後製 / 公路車 / CT Yeh
10 個月前
碟煞公路車 銑面器 !? 原來銑完差這麼多! 降低蹭碟機率! | TIME 公路車 保養小記錄 | CT Yeh
3 年前
單車 一日北高 ( 雙城 ) 肥宅雙人瘋狂行 紀錄片 REACTO
10 年前
摔車後補裝備: 好市多新款單車安全帽& Specialized Romin 北高整路屁股都不痛的坐墊 | 一千元居然有MIPS | CT Yeh | 公路車
4 年前
西進武嶺各路段 前8000名 大數據分析 配速攻略/功率/心律/推力比/維持率/踏頻/踏瓦比/牽車率 大公開 | 建大盃 NeverStop 可參考 | 公路車 | CT Yeh
5 年前
公路車 BB培林大升級! / 備戰海鷗繞圈賽 Canyon Aerod & TIME 一起改 / MIT大廠 CEMA對鎖式陶瓷培林BB & 導輪 / 公路車 / CT Yeh
2 年前
一日北高/長距離團騎 常見問題補充篇 / 組團或跟團的眉角 / 壯車友容易被瘦車友慢性拉爆 / 原來屁股痛可能是這個原因...? / 風場配速法 / 公路車 / CT Yeh
2 年前