Handling Mechanical Issues on Long Rides: Emergency Fixes for Flat Tires, Broken Chains, and Loose Bolts in the Wild
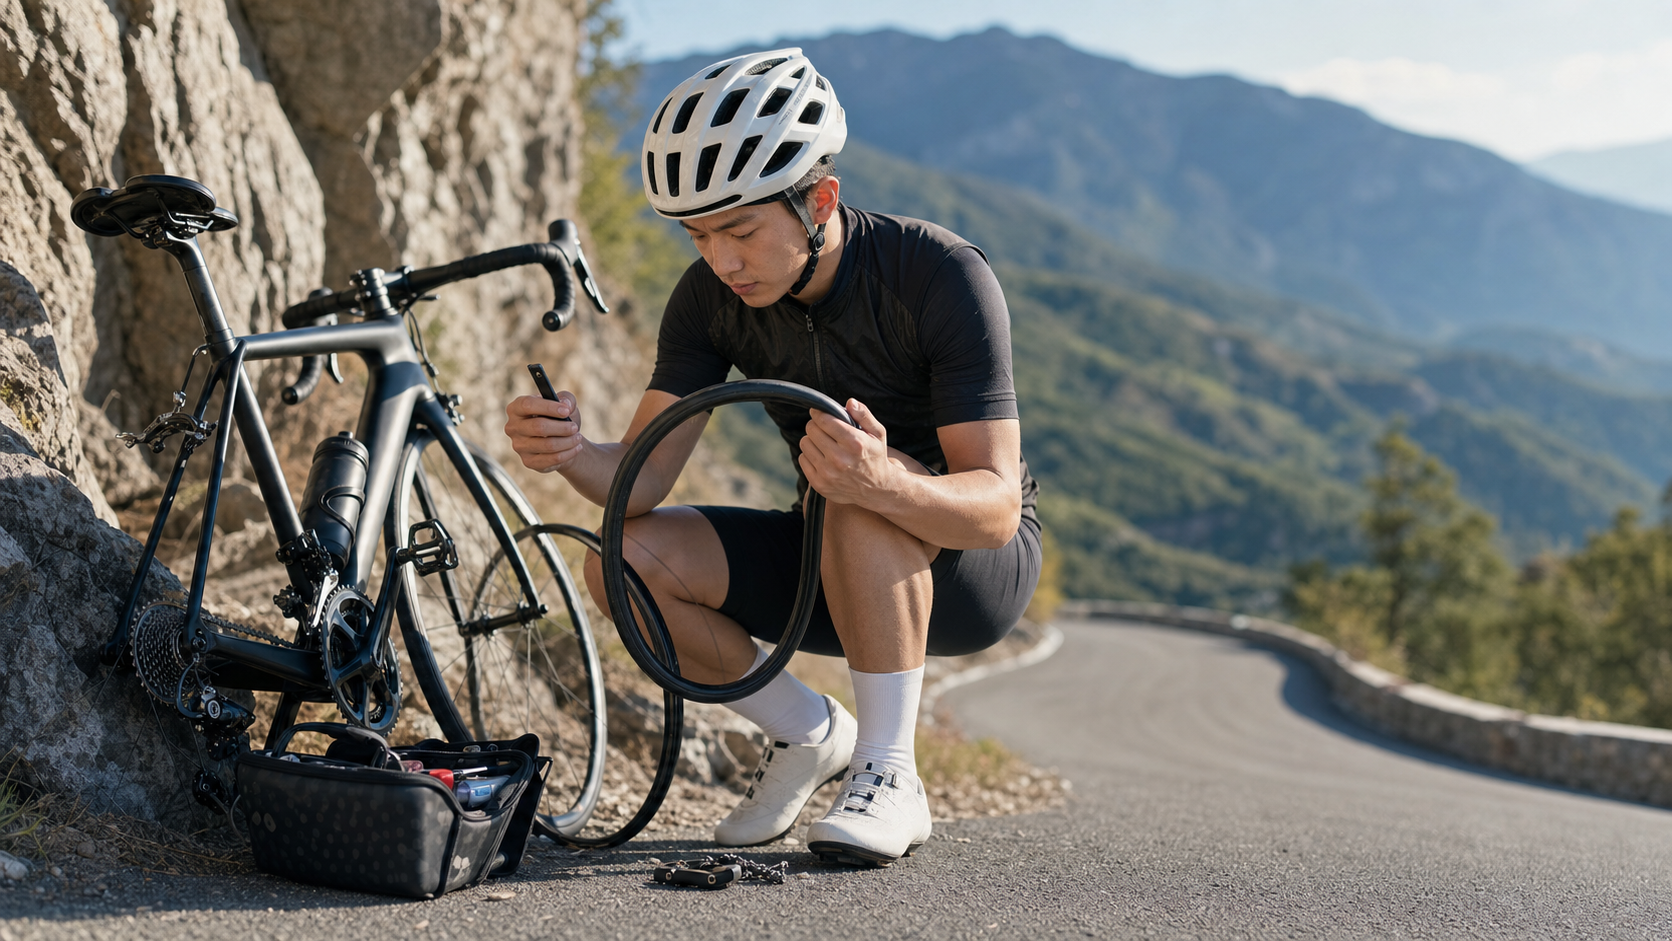
Introduction
Mechanical issues are almost inevitable on long rides. The longer the distance and the more complex the terrain, the higher the probability of encountering mechanical problems. A well-trained long-distance rider must be capable of handling common mechanical issues without assistance. This article provides a complete field guide to the three most common problems: tire changes, broken chains, and loose bolts.
Problem 1: Flat Tires and Inner Tube Replacement
Flat tires are the most common mechanical issue and the skill you most need to master. For long rides, it’s recommended to carry at least two spare tubes and a patch kit.
Find the Cause of the Damage (Important!)
Before changing the tire, you must find the cause of the damage, or you’ll get another flat:
- Starting with the rim, carefully feel the inside with your fingers for any foreign objects
- Check the outer tire for embedded glass shards, nails, or wire
- Check whether the rim strip (Spoke) protector has shifted
Tire Change Steps
- Open the quick release or loosen the nuts, and remove the wheel
- Use two tire levers to pry one side of the tire bead off the rim
- Remove the damaged inner tube
- Slightly inflate the new inner tube (so it holds its shape), and place it inside the tire
- Use your hands (not tire levers) to press the tire bead back onto the rim; the last section is the hardest and requires forceful pushing
- Inflate to the recommended pressure (road bikes typically 80–100 psi, off-road bikes 30–50 psi)
- Reinstall the wheel and confirm the quick release is tightened
Tool Checklist
- Spare inner tube × 2 (essential for long rides)
- Tire levers × 2
- CO2 inflator or mini pump
- Patch kit (backup)
Problem 2: Field Repair of a Broken Chain
A broken chain is not uncommon on long rides, especially with an old chain or after riding through heavy mud and sand. Repairing a broken chain requires a chain tool.
| Step | Instructions |
|---|---|
| 1. Locate the break | Slowly rotate the pedals to find where the chain is broken or severely twisted |
| 2. Remove the damaged section | Use the chain tool to open the damaged link and remove 1–2 damaged links |
| 3. Prepare the connection | Align the two ends of the chain and confirm the opening direction (quick links are directional) |
| 4. Install the quick link | Thread the quick link through both ends, pinch it tight with thumb and forefinger; it will lock itself while riding |
| 5. Test | Gently rotate the pedals to test and confirm the chain runs smoothly |
Note: After removing links, the chain will be shorter, so you may need to use one or more lower gear combinations, avoiding the largest chainring + smallest cassette cog combination.
Essential tools:
- Quick links (KMC or SRAM quick links) × 2
- Basic chain tool (or the version included in a multi-tool)
Problem 3: Emergency Handling of Loose Bolts
After long, bumpy sections, bolts in various places can come loose—at best affecting handling, at worst causing an accident.
Common Loose Locations
- Seatpost bolt: Saddle height changes, and you’ll notice a clear difference in riding feel
- Handlebar fixing bolts: The handlebar angle shifts, affecting control
- Headset: The fork feels wobbly, extremely dangerous
- Bottle cage: The bottle rattles and may fall out
- Brake caliper bolts: Braking performance decreases
Emergency Inspection Procedure
It’s recommended to do a quick mechanical check every 80–100km (while stopped for refueling):
- Hold the front wheel and push and pull the frame back and forth to test whether the headset is loose
- Grip the handlebar and twist it side to side to confirm it’s firmly secured
- Use your fingers to test whether the saddle can be pushed back and forth
- Remove the bottle to check the bottle cage bolts
Tool Checklist
- Multi-tool hex wrenches (including 4mm, 5mm, 6mm)
- Small pliers (for handling broken spokes, etc.)
- Zip ties or electrical tape (all-purpose fastening)
Recommended Complete Tool Kit Setup
A long-ride tool kit should strike a balance between minimizing weight and maximizing protection:
- Spare tubes × 2, tire levers × 2
- Mini pump + CO2 × 2
- Quick links × 2, chain tool
- Multi-tool hex wrenches
- Patch kit + vulcanizing fluid
- Zip ties × 5
- Electrical tape (small roll)
Practical Tips
- Before departure, go over every bolt by hand to confirm they’re tight (especially the handlebar, seatpost, and fork)
- Before riding, confirm the chain is properly lubricated to reduce the risk of breakage
- Before every departure, run your hand over the tires to check for embedded objects
- “Patch when you have a spare, and patch when the spares run out,” ensuring you always have one good spare tube
Conclusion
Mechanical skills are the foundation of a long-distance rider. Practice changing a tire 5 times at home before you leave, and make sure you can complete it within 10 minutes. This skill, at a critical moment, may be the most important factor in whether you finish the ride.
Related Reading
- Emergency Response to Bicycle Mechanical Failures: On-Site Handling of Flats and Broken Chains While Riding
- Handling Mechanical Issues on a Round-Island Tour: Self-Rescue Steps for Flats and Broken Chains in the Field
- Emergency Response to Bicycle Touring Mechanical Failures: Quick Guide to Handling Common Problems
- Wilderness Rescue: The Complete Guide to Emergency Handling of Mechanical Failures During Bicycle Tours
單車 一日北高 ( 雙城 ) 肥宅雙人瘋狂行 紀錄片 REACTO
10 年前
碟煞公路車 銑面器 !? 原來銑完差這麼多! 降低蹭碟機率! | TIME 公路車 保養小記錄 | CT Yeh
3 年前
Canyon 公路車斷把手 五年老車特規還能修嗎? 維修保養全記錄 feat. 501單車監理站 | 公路車 | CT Yeh
4 年前
洗單車神器 吹水機! 實際洗車用用看 暴力洗鍊條大法 | 公路車 | CT Yeh
4 年前
爬陡坡被爆胎的車友跑步超車 #cycling #里佳部落
9 個月前
一日北高常見問題大集合 | 攻略 | 路線 | 訓練 | 補給 | 自行車 單車 | 一日雙城 | 雙塔 | TWB北高360 | 屁股痛
6 年前
#公路車 #Fitting 靠人工智慧APP 幫你調整單車
6 年前
摔車後補裝備: 好市多新款單車安全帽& Specialized Romin 北高整路屁股都不痛的坐墊 | 一千元居然有MIPS | CT Yeh | 公路車
4 年前