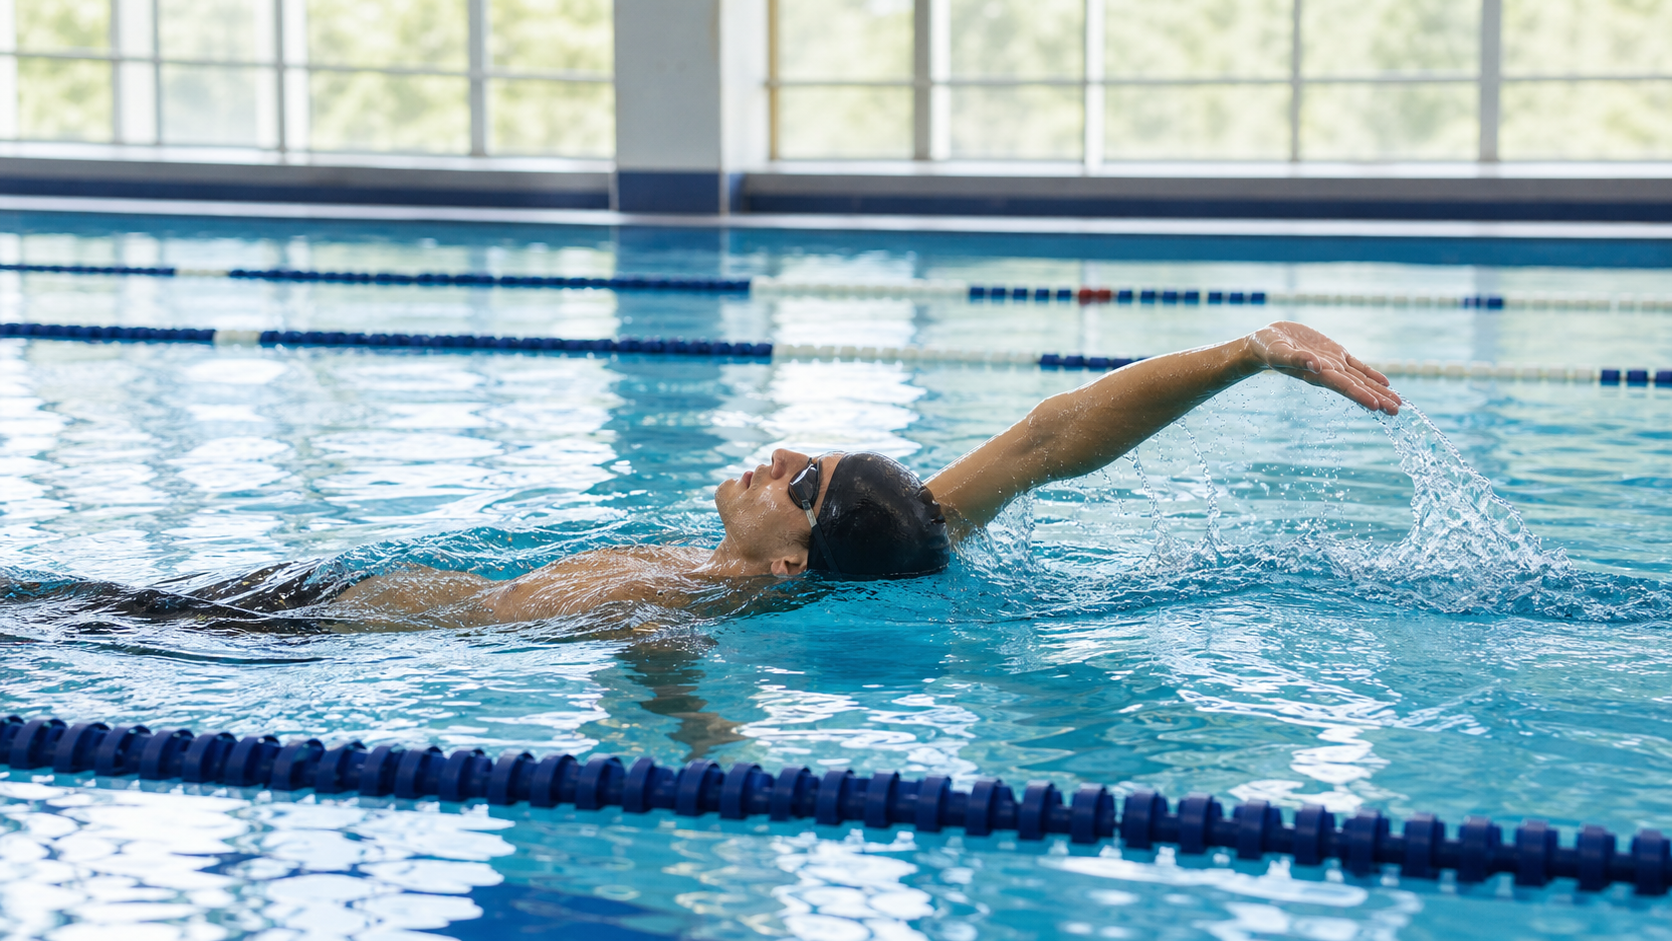
Introduction
The smooth, fluid feel of backstroke captivates many swimmers, but one of its technical challenges lies in the fact that, with your face pointing upward and unable to directly see where your hand enters the water, incorrect entry angles often develop unnoticed—until shoulder pain finally alerts you to the problem. A correct backstroke entry angle not only affects propulsion efficiency but is also key to protecting the shoulder from impact injuries.
The Standard for Backstroke Hand Entry Angle
The correct hand entry position and angle for the backstroke pull:
| Entry Element | Correct Standard | Common Error |
|---|---|---|
| Entry Position | On the extension line of the same-side shoulder, roughly outside the ear | Crossing the midline of the head, or too close to the head |
| Entry Angle | Pinky enters first, arm at approximately a 40-50 degree angle | Hand slapping flat into the water, or arm overly straight |
| Elbow Direction | Slightly abducted, pointing toward the lane edge | Internally rotated, pointing toward the top of the head |
| Post-Entry Action | Arm extends backward to “reach and catch” | Immediately begins the pull |
Common Incorrect Entry Patterns and Their Consequences
Error One: Arm Entering Across the Midline
The hand enters at the midline of the head or on the opposite side, causing extreme internal rotation of the shoulder joint—a position that perfectly matches the mechanical conditions for “shoulder impingement.” Repeated midline entries are the number one cause of backstroke shoulder injuries.
Error Two: Hand Slapping Flat, Palm Facing Down
A correct backstroke entry should have the pinky side leading into the water first. If the palm slaps flat, it creates enormous water resistance upon entry and subjects the shoulder to a forward impact force.
Error Three: Arm Entering Fully Extended
With the elbow locked and the entire arm entering straight, the shoulder becomes the sole point of shock absorption. The correct approach is to keep the elbow slightly bent, allowing the arm some cushioning space.
The Biomechanical Causes of Backstroke Shoulder Injuries
During the backstroke pull, the arm performs a motion behind the body similar to the “follow-through” of a throw. At this point, the shoulder joint is in a relatively vulnerable position, and if the entry angle is improper:
- The space between the acromion and the supraspinatus tendon is compressed
- The rotator cuff muscles bear eccentric loads
- Repeated friction triggers chronic inflammation
Corrective Drills
Drill One: Land-Based “Pinky-First Entry” Simulation
Stand and raise your arm backward to ear level, feeling the position where the elbow is slightly abducted and the pinky side is closest to the ceiling. Repeat this motion to build muscle memory for “pinky-first entry,” then bring it into the water.
Drill Two: Slow Single-Arm Backstroke
Swim backstroke at a very slow pace, using only one arm at a time while the other rests at your side. This allows more attention to be devoted to feeling the hand’s entry path and angle, confirming that the pinky enters first and the entry point is outside the shoulder.
Drill Three: Confirming a Bent-Arm Entry
On land or in shallow water, simulate the latter half of the backstroke pull—the arm swinging back and entering the water. With each repetition, confirm that the elbow maintains a slight bend (around 170 degrees) and is not fully locked, giving the shoulder cushioning space.
Drill Four: Feeling the Stretch in the Rear Shoulder
After a correct backstroke entry, the arm should perform a “reach backward and downward” catch motion. Practice extending for 0.5 seconds after entry, feeling the water’s resistance, before beginning the pull. This extension allows the shoulder to complete the catch at a safer angle.
Supplementary Shoulder Strengthening Exercises
- Resistance Band Backstroke Simulation: Use a resistance band to simulate the backstroke pulling motion, focusing on the “pinky pointing backward” action during the arm’s rearward swing. Perform 3 sets of 15 repetitions.
- External Rotation Strengthening (Side-Lying External Rotation): Lie on your side with the resistance band anchored, elbow bent at 90 degrees, and perform external rotation movements. This strengthens the posterior rotator cuff muscles to protect the shoulder joint during backstroke.
- Rear Deltoid Training (Reverse Fly): Bend forward, raise dumbbells out to both sides, and strengthen the rear deltoids to provide a more stable power base for the backstroke pull.
Practical Recommendations
- Perform 5 minutes of shoulder mobility warm-up before and after swimming: Including large arm circles and shoulder external rotation stretches to reduce the risk of injury during training.
- Stop immediately if you feel shoulder discomfort: Backstroke shoulder problems typically accumulate gradually; minor discomfort is a warning sign—do not push through the workout.
- Ask a coach to observe your entry angle: Since you cannot observe your own backstroke, having a coach periodically confirm your entry motion is especially important.
- Control training volume: In the early stages of backstroke training, do not exceed 600-800 meters per session, allowing the shoulders to adapt to the movement pattern before increasing volume.
Conclusion
Backstroke shoulder injuries may seem sudden, but they are actually the cumulative result of long-term incorrect entry angles. Through the technical correction of “pinky-first entry,” land-based simulation drills, and strengthening the muscles around the shoulder, swimmers can significantly reduce their risk of injury while enjoying a smoother, more efficient backstroke experience. Remember, refining your technique is the best way to protect your body.
Related Reading
- Backstroke Pull Efficiency: Optimizing Entry Point and Exit Angle
- Freestyle Hand Entry Point Optimization: Common Crossover Entry Errors and Fixes
- Backstroke Pull Tempo and Shoulder Rotation: The Overlooked Efficiency Code
- Core Backstroke Technique: The Triangular Relationship Between Body Roll, Straight-Arm Entry, and Steady Kicking
Insta 360 One 超級防手震技術實測
7 年前
CT 喇低賽) 武嶺牽車 才是王道 西進牽車四小時內秘訣 攝手位置 如何判斷 防抽筋小秘訣
7 年前
[教學] Premiere 影片 手震 修正 教學 防抖 單眼 影像 GoPro 穩定 Video Stabilization
8 年前
西進武嶺 自製新版AI配速表產生器 x 賽前攻略 抱佛腳! 沒有功率計也可以產生配速表嗎?有什麼其他眉角賽前要注意的呢? | 西進武嶺 / 東進武嶺 KOM 攻略 | 公路車 | CT Yeh
4 年前
如何把 GoPro 影片 翻轉 批次 轉正?
6 年前
一日北高/長距離團騎 常見問題補充篇 / 組團或跟團的眉角 / 壯車友容易被瘦車友慢性拉爆 / 原來屁股痛可能是這個原因...? / 風場配速法 / 公路車 / CT Yeh
2 年前
抖肩舞 台灣x日本交流版 (台灣 vs 前橋) 赤城山登山賽 coincidance
8 年前
下次拍照前要查清楚啦🤣 #cycling
7 個月前