Cycling Water Bottles and Bottle Cages: Key Buying Points for BPA-Free Materials and Locking Mechanisms
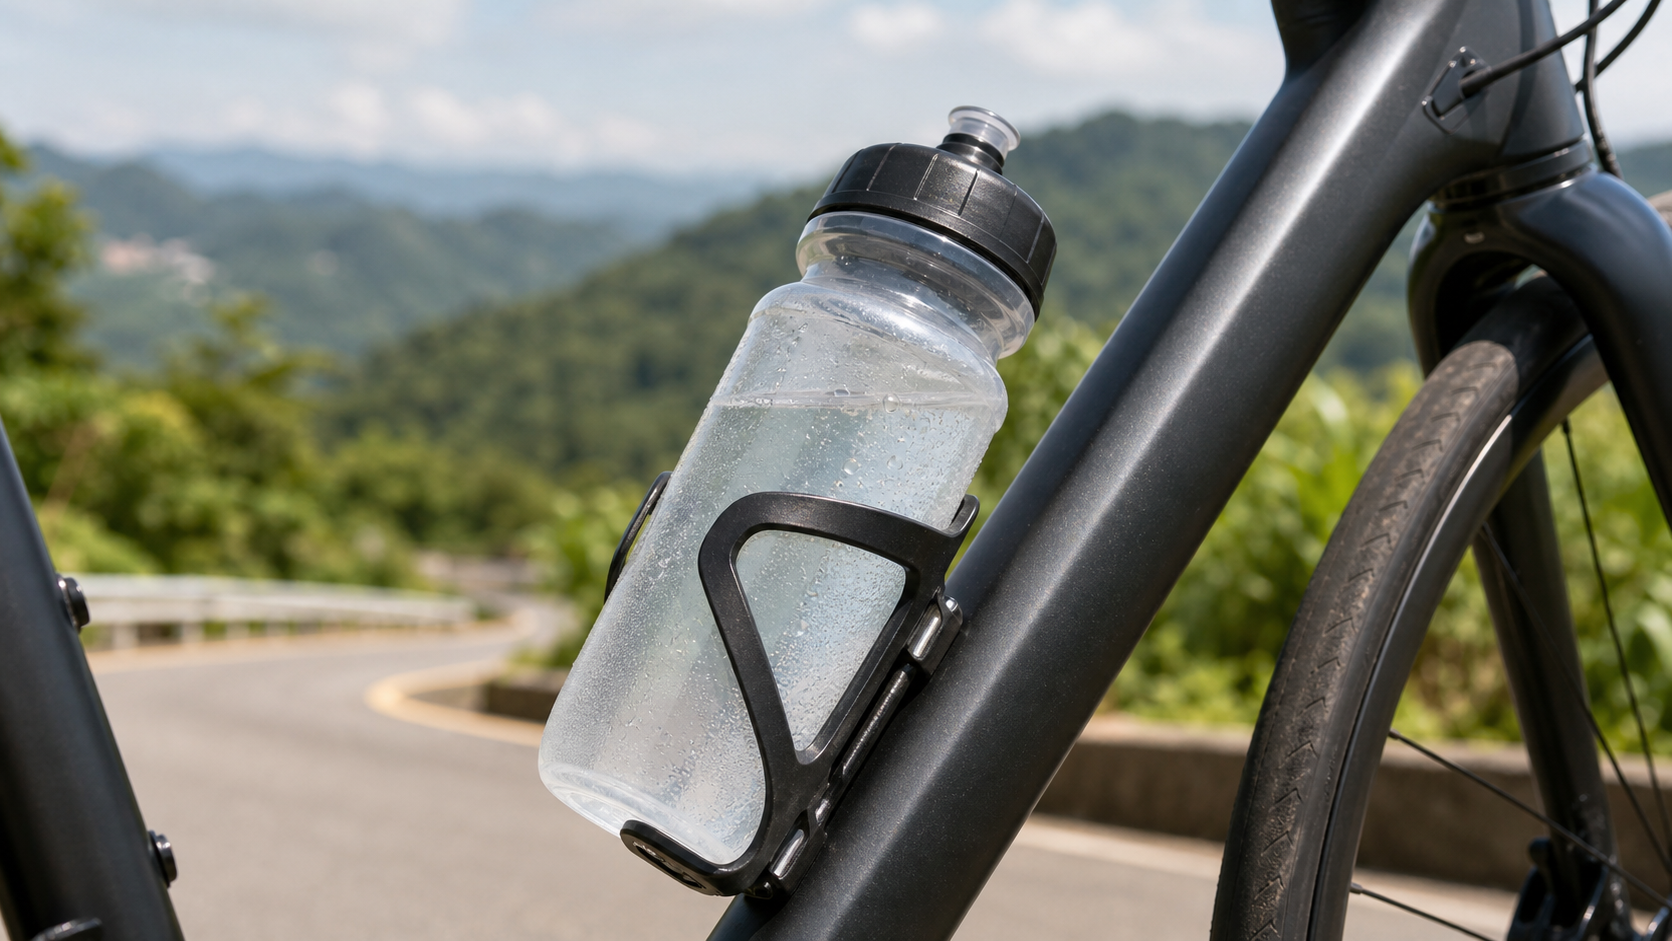
Cycling Water Bottles and Bottle Cages: Key Buying Considerations for BPA-free Materials and Locking Mechanisms
Riding in Taiwan’s summer heat makes hydration the number one priority for maintaining performance. A cyclist can sweat 500–1,500mL per hour; without proper hydration, not only does performance drop, but there is also a risk of heat exhaustion. Although water bottles and bottle cages are the most basic cycling accessories, the details of material safety and locking stability are worth understanding thoroughly.
Water Bottle Material Comparison
| Material | BPA-free | Weight | Insulation | Durability | Taiwan Price (Reference) |
|---|---|---|---|---|---|
| Polypropylene (PP) | Usually | Light | None | Medium | NT$100–400 |
| HDPE (High-Density Polyethylene) | Yes | Light | None | High | NT$200–600 |
| Tritan Copolyester | Yes | Light | None | Highest | NT$400–1,200 |
| Stainless Steel | Yes | Heavy | Limited | Very High | NT$500–1,500 |
| Insulated Steel Bottle (Vacuum) | Yes | Heaviest | Excellent | Very High | NT$1,000–3,000 |
The Importance of BPA-free
BPA (Bisphenol A) is a chemical used in the manufacturing of plastic products. Years of research have shown that it may interfere with the human endocrine system (estrogen-like effects), and it leaches more readily from plastics, especially under high-temperature conditions.
In Taiwan’s summer, cycling water bottles left exposed outdoors can reach temperatures of 50–60°C, which are precisely the high-risk conditions for BPA leaching. Choosing a bottle labeled “BPA-free” is the most basic requirement.
Tritan is currently the best material for transparent plastic water bottles: Developed by Eastman Chemical, Tritan is BPA-free and also free of estrogenic activity (EA-free). It offers high clarity and impact resistance, and has become the primary material for high-end bottles such as CamelBak and Specialized Purist.
Cycling Water Bottle Opening Designs
The opening design of a cycling water bottle needs to allow one-handed opening and drinking at high speeds, while also preventing leaks from poor sealing.
Mainstream Opening Types:
-
Push-Pull Nozzle: The most common design. You bite the nozzle and pull it up to drink, no hands required. The downside is that the sealing ring can wear out and leak after prolonged use.
-
Angled Mouth Nozzle: Water flows automatically when you tilt the bottle, providing a larger flow rate. It suits high-intensity training segments where rapid, large-volume hydration is needed.
-
CamelBak Podium Design: Features a special self-sealing nozzle that dispenses water when squeezed and automatically seals when released. It rarely leaks during riding and is currently one of the most highly regarded designs.
-
Specialized Purist Design: The inner wall of the bottle is coated with a food-grade silicone layer that prevents bacterial adhesion, keeping the water from developing off-flavors over long-term use.
Choosing the Bottle Cage Retention Mechanism
A bottle cage may seem like just a holder, but on Taiwan’s rough mountain roads, a cage with insufficient grip can send your bottle flying—not only losing your supply, but the ejected bottle can also become a hazard for riders behind you.
Bottle Cage Material Comparison:
- Plastic: Lightest and cheapest, an entry-level choice. However, grip strength varies with temperature; in summer, plastic can soften and lose clamping force.
- Aluminum Alloy: Moderate weight with stable grip, the choice of most mid-level riders.
- Carbon Fiber: Lightest (some models under 20g), with grip adjustable via screws. It is the top pick for weight-conscious riders, and also the most expensive.
Special Requirements for Mounting Positions:
- Down Tube Cage: The standard position, easiest to reach, and does not affect riding posture.
- Seat Tube Cage: Suitable for touring bikes where the down tube is already occupied by a large frame bag.
- Behind-Saddle Cage: A third bottle position for ultra-distance riding, ideal for long tours without resupply.
- Aerobar/Stem Cage: Unique to triathlon or time trial bikes, allowing riders to hydrate while in an aero position.
Water Bottle Needs for Different Riding Scenarios
Urban Commuting (20–40 minutes per ride):
- One standard 600mL bottle is sufficient.
- Prioritize Tritan or stainless steel materials (for environmental considerations).
Day-Ride Training (2–4 hours):
- Two 750mL bottles (down tube + seat tube), supplemented at rest stops.
- In summer, consider electrolyte bottles (adding electrolyte powder).
Long-Distance Riding / Island Circumnavigation:
- Two 750mL bottles + a behind-saddle cage.
- Plan hydration points every 30–40 kilometers.
- Carry a collapsible soft flask as a backup.
Cleaning and Maintenance
Bottles that are not cleaned regularly can breed bacteria and mold, especially those containing energy bar crumbs or sports drinks.
Cleaning Recommendations:
- Rinse with warm water after each use; do not use a dishwasher’s high-temperature drying cycle (it can damage the sealing ring).
- Soak in diluted baking soda water for 30 minutes weekly to remove odors.
- Replace the nozzle sealing ring every three to six months (CamelBak and Specialized sell replacement parts).
Conclusion
Water bottles and bottle cages may be the most unassuming accessories, but choosing them correctly makes every ride’s hydration safer and more efficient. When purchasing, put BPA-free material certification first, then consider the cage’s grip stability on the road surfaces you typically ride (rugged mountain roads vs. flat roads). In Taiwan’s scorching summer, good hydration habits paired with the right hydration gear are the fundamental guarantee for completing long-distance rides.
Related Reading
- Cycling Bottle Cages and Water Bottles: Optimizing Material, Mounting Position, and Capacity
- The Complete Guide to Buying Cycling Water Bottles and Bottle Cages: Materials, Capacity, and Mounting Explained
- Cycling Bottle Cages and Water Bottles: Aerodynamic Design and Hydration Convenience
- Bottle Cages vs. Hydration Systems: Traditional Bottles vs. Backpack Hydration Bladders
入門車錶王者 iGPSPORT BSC100S 一千元的售價! 超大螢幕、連續兩趟北高的續航、藝術般的APP! Bryton Garmin 兩王地位撼動? | 公路車 | CT Yeh
3 年前
多到選擇障礙... 換個單車把帶想一個小時 / BTP / 編織&軟木特有材質超吸睛! / 公路車 / CT Yeh
1 年前
單車 重低音 藍芽喇叭 音質實測 SoundBot SB525 Real Sound Test
8 年前
洗單車神器 吹水機! 實際洗車用用看 暴力洗鍊條大法 | 公路車 | CT Yeh
4 年前
Vision Metron RS 37碳幅條輪組 (非SL)官網沒有的 低調開箱 / 這重量太銷魂了 / 公路車 / CT Yeh
6 個月前
再一組! 全碳幅條 碟煞/無內胎輪組 開箱! 到底好騎嗎? UNAAS X40 | 公路車 | CT Yeh
4 年前
2025 自行車錶排行榜 兩萬車友大數據 / Garmin Bryton 排名會大洗牌嗎? / 全新的碼表前身分析 /公路車 / CT Yeh
1 年前
單車 一日北高 ( 雙城 ) 肥宅雙人瘋狂行 紀錄片 REACTO
10 年前