Choosing a Bike Pump: Floor Pump vs. Portable Pump vs. CO2 Inflator Use Cases
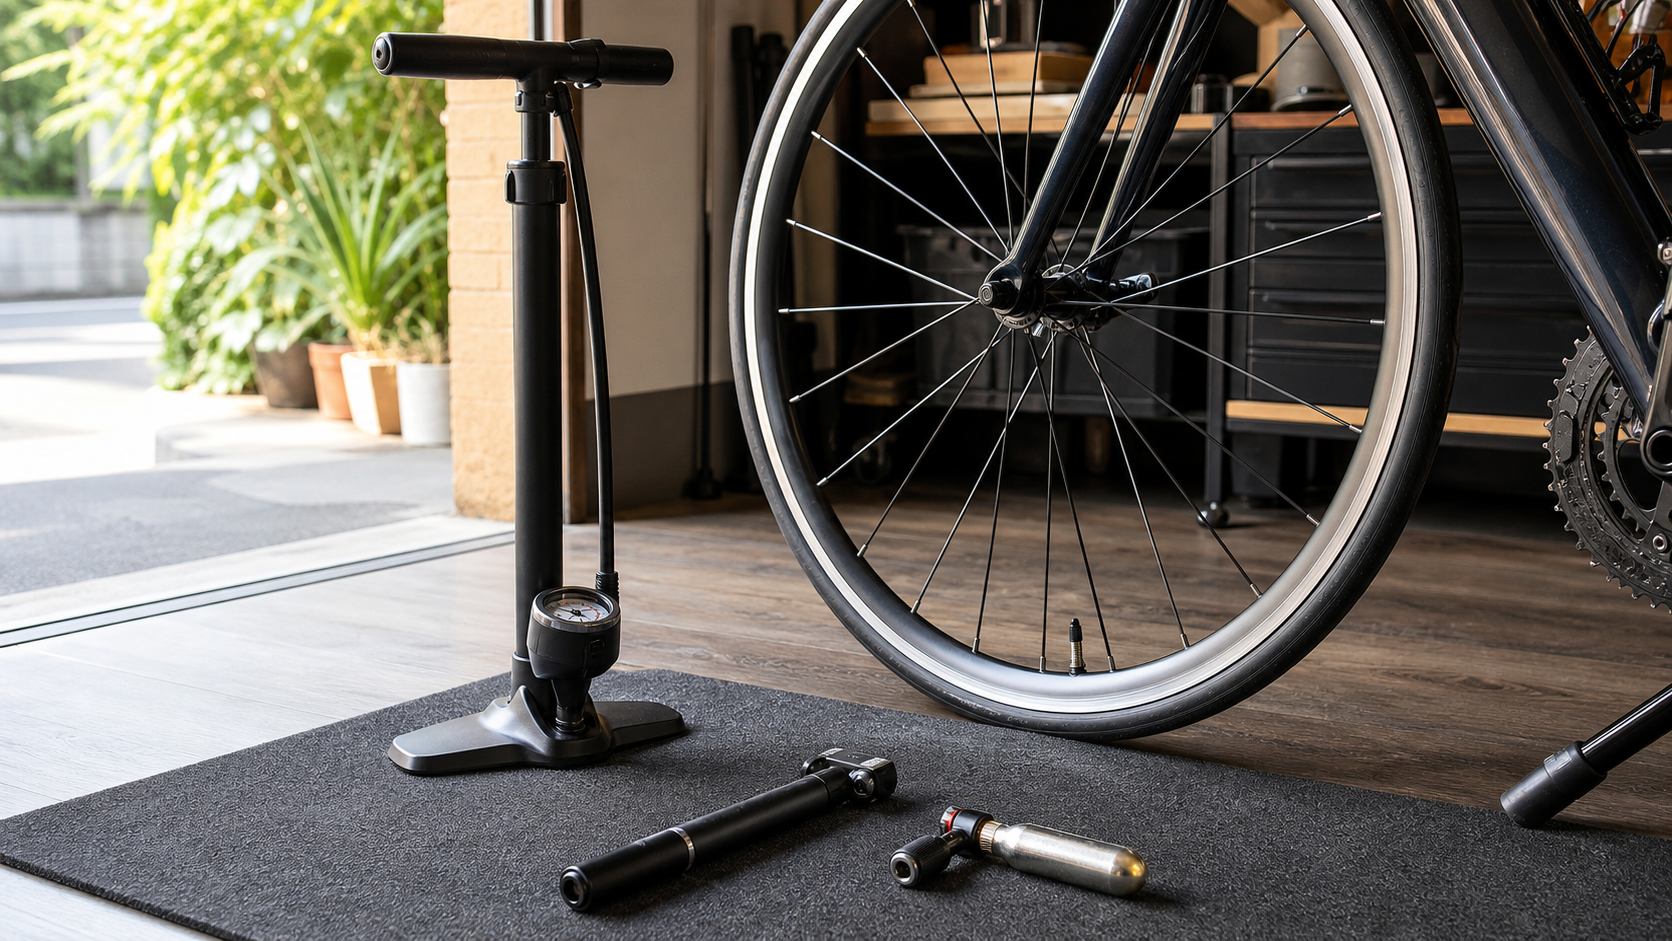
Nobody wants to get a flat mid-ride and only then discover their pump doesn’t work. The pump is the least glamorous but most essential piece of bicycle equipment—a floor pump keeps your tire pressure right at home, a portable pump saves you on the road, and a CO2 inflator gets you back racing in the shortest possible time. Understanding the differences between these three inflation methods means you’ll always be prepared, whatever the situation.
Core Comparison of the Three Inflation Methods
| Type | Inflation Speed | Pressure Accuracy | Portability | Cost | Best Use Case |
|---|---|---|---|---|---|
| Floor Pump | Fast | Most accurate (has gauge) | Not portable | Low (one-time investment) | Home maintenance before riding |
| Mini Pump | Slow (labor-intensive) | Medium (harder to be precise without a gauge) | Best | Low | Roadside emergency inflation |
| CO2 Inflator | Fastest (5 seconds) | Low (harder to control) | Good | Medium (consumable) | Racing / emergency rapid inflation |
Floor Pump: An Essential Tool for Every Rider’s Home
A floor pump is the most efficient tool for maintaining everyday tire pressure. A good floor pump can inflate a road bike tire from 0 to 100psi in 2–3 minutes, and it comes with an accurate pressure gauge so you can dial in your tire pressure precisely.
Why does tire pressure maintenance matter so much? A tire below its optimal pressure increases rolling resistance and hurts riding efficiency; a tire that’s over-inflated loses grip on rough surfaces and is more prone to flats. Taiwan’s climate has large temperature swings (especially in the mountains), and tire pressure can fluctuate by 10–15% due to temperature changes—it’s a good idea to check your tire pressure with a floor pump every time before you head out.
Key considerations when buying a floor pump:
-
Presta/Schrader Dual Head: Most road bikes in the Taiwan market use Presta valves, but some wheelsets or city bikes use Schrader valves. Choose a universal head to avoid trouble down the road.
-
Gauge Accuracy: An analog gauge should be accurate to within ±2psi in the 60–120psi range; digital gauges are more accurate but require batteries.
-
Barrel Volume: Road bikes need high pressure (70–120psi). Choose a model with a moderate amount of air delivered per stroke—too large a barrel means each stroke delivers too much air, making it easy to overshoot your target pressure.
-
Durability: The durability of the piston seal determines how long a floor pump will last. Choose a model with a replaceable seal (brands like Lezyne, Topeak, etc.).
Recommended models (commonly found in Taiwan): Lezyne Pressure Drive, Topeak JoeBlow Sport III, Silca Pista Plus (high-end).
Portable Pump: An Essential Companion for Roadside Flats
A portable pump (mini pump) is small enough to fit in a pocket or mount on your frame, making it essential for topping up air after a roadside flat. Its downside is that each stroke delivers very little air—inflating a road bike tire from 0 to 80–90psi can take 200–400 strokes, which is extremely tiring.
Considerations when choosing a portable pump:
-
High Pressure vs. High Volume: Road bikes need a “high-pressure” portable pump rated to reach at least 100–120psi; mountain bikes need a “high-volume” model, since they require low pressure (30–35psi) but a larger volume per stroke.
-
Flex Hose vs. Direct Valve Attachment: Attaching the pump directly onto the valve can easily damage the valve when force is applied. Models with a flex hose design are much gentler on the valve and should be a top priority when choosing a pump.
-
Mounting method:
- Bottle cage mount: takes up bottle cage space but requires no extra mounting hardware
- Seatpost clamp mount: attaches to the seatpost with a clamp, doesn’t use the bottle cage
- Stored in a saddle bag: most convenient, but needs to be taken out of the bag each time it’s used
Practical tip: After using a portable pump to fix a flat, you don’t need to inflate all the way to your normal pressure—inflating to around 60–70psi is enough to safely ride to the nearest bike shop, where you can top off to the correct pressure with a floor pump. This saves a lot of pumping effort.
CO2 Inflator: The Race-Day Rapid Inflation Solution
A CO2 cartridge paired with a dedicated inflator head can bring a tire up to target pressure in 3–5 seconds, making it the fastest solution for racers fixing a flat. Many riders in Taiwan who take part in sportives or time trials also love this option, since it saves valuable time compared to stopping roadside to fix a tire.
Things to watch out for with CO2 cartridges:
-
Single-use consumable: Each CO2 cartridge (typically 16g or 25g) can only be used once and is discarded afterward. The long-term cost is higher than a portable pump, and you need to keep track of how many spares you’re carrying.
-
Inflation capacity:
- 16g CO2 cartridge: suitable for 700×23C–25C road bike tires (inflates to about 100psi)
- 25g CO2 cartridge: suitable for 700×28C–32C or mountain bike tires
-
Cold temperature risk: The cartridge’s temperature drops sharply after inflation, and CO2 permeates through a tire faster than nitrogen or regular air. A tire inflated with CO2 may show a noticeable pressure drop within 12–24 hours, so it’s a good idea to swap it out for regular air as soon as possible after the fix.
-
Controlling inflation speed: Open the inflator head’s valve slowly to avoid inflating too fast in one go, which can over-pressurize the tire or cause the rubber seal to become brittle and fail from the sudden cold.
Inflation Needs for Tubeless Systems
More and more riders in Taiwan are switching to tubeless systems, and their inflation needs are somewhat different:
- When mounting a tire: You need a high-volume burst of air to seat the tire bead onto the rim. It’s best to use a floor pump with a “Blast Mode” feature (such as the Lezyne Pressure Drive) or a dedicated tubeless inflator canister
- Routine maintenance: Same as regular inflation, but note that tire pressure is usually 5–10psi lower than a tubed system
- Roadside flats: Sealant can usually plug small punctures. If it can’t seal the hole, you’ll need to insert an emergency tire plug before re-inflating
Suggested Home Equipment List
Basic setup (under NT$2,000):
- Floor pump: Topeak JoeBlow Sport III (about NT$1,200)
- Portable pump: Lezyne Micro Floor Drive (about NT$500)
- CO2 cartridges × 3 spares (about NT$300)
Advanced setup (NT$4,000–8,000):
- Floor pump: Silca Pista Plus or Lezyne Pressure Drive (with Blast Mode inflation)
- Portable pump: Topeak Micro Rocket Master Blaster (with flex hose design)
- CO2 inflator head: Lezyne Trigger Speed or Genuine Innovations
Conclusion
A pump isn’t something you buy once and forget about—each type plays an irreplaceable role in different situations. Every road cyclist should have at least a floor pump (for maintenance at home) and a portable pump (for emergencies on the road), and then decide whether a CO2 inflator is worth adding based on how intensely they ride. Checking your tire pressure regularly (weekly is a good rule of thumb) with a floor pump is the simplest routine maintenance habit for improving riding efficiency and extending tire life.
Related Reading
- CO2 Cartridges vs. Mini Pumps: The Ultimate Road Bike Inflation Showdown
- Cycling Pump and Flat Repair Kit Review: Comparing Inflation Speed, Weight, and Reliability of Portable Pumps
- Bicycle Pumps and CO2 Inflators: The Complete Guide to Tire Pressure Management
- The Complete Guide to Road Bike Flat Repair Gear: Patches, Portable Pumps, and CO2
詳測) 小米 電動打氣筒 公路車胎要充多久? 值得買嗎? 米家充氣寶 小心燙手!
7 年前
訓練台體驗) 2019台北自行車展 三大家 訓練台體驗 Tacx Neo Flux 2 Xepdo Apx Wahoo Kickr
7 年前
碟煞公路車 銑面器 !? 原來銑完差這麼多! 降低蹭碟機率! | TIME 公路車 保養小記錄 | CT Yeh
3 年前
2026 車錶排行榜!誰是最多車友正在使用?練家子最愛哪款?🏆 (2萬名車友數據) / 公路車 / CT Yeh
5 個月前
單車 一日北高 ( 雙城 ) 肥宅雙人瘋狂行 紀錄片 REACTO
10 年前
用了AirTag 單車就不怕被偷?盲點大測試 結果… |公路車|CT Yeh
5 年前
洗單車神器 吹水機! 實際洗車用用看 暴力洗鍊條大法 | 公路車 | CT Yeh
4 年前
單車胎壓觀察到的有趣現象,SRAM Quarq TyreWiz 2.0 無內胎胎壓計 / 裝了有哪些幫助? / Tubeless / 公路車 / CT Yeh
1 年前