Why Navigation Is Critical for Bikepacking
Unlike urban riding, bikepacking often takes you into mountainous areas, forest trails, and border regions with weak signals. A dead GPS, outdated maps, or a closed trail—any of these can put you in danger. Experienced bikepackers typically carry 2-3 navigation tools as backup for one another.
Comparison of the Three Main Tools
| Item | Komoot | Ride with GPS | Paper Maps |
|---|---|---|---|
| Route Planning | Excellent (gravel surface labeling) | Good (rich community routes) | Requires manual drawing |
| Offline Use | Paid feature | Paid feature | 100% offline |
| Turn-by-Turn Navigation | Voice + visual | Voice + visual | Manual |
| GPX Export | Paid | Paid | N/A |
| Resupply Point Markers | Built-in | Requires manual addition | None |
| Surface Type Labeling | Detailed (paved/gravel/singletrack) | Basic | None |
| Price (per year) | NT$ 1,500-2,500 | NT$ 2,000 | NT$ 0-500/map |
| Battery Required | Yes | Yes | No |
Komoot: The Gravel Planning Powerhouse
Komoot is the most popular planning tool in the European and American bikepacking community, with its core strength being precise surface type labeling.
Core Features
- Surface Analysis: Shows the proportion of paved / gravel / forest trail / singletrack for each segment
- Elevation Profile: Displays climbing gain per kilometer in detail
- Estimated Time: Automatically calculated based on bike type and surface
- POI Integration: Resupply points, accommodations, attractions
- Community Routes: Bikepacking routes shared by others
Subscription Plans
- Region Pack: Lifetime access to a single region, NT$ 100-300
- World Pack: Lifetime global access + advanced features, NT$ 1,500 (one-time)
- Premium: NT$ 2,500 per year, multi-device sync
Usage Tips
Plan your complete route with Komoot 1-2 weeks before departure, then export the GPX to your bike computer.
Ride with GPS: The Strongest Community in North America
RWGPS has the largest number of community routes in North America, making it especially suitable for bikepacking within the United States.
Core Features
- Heatmap: Shows popular routes taken by other riders
- Cue Sheet: Detailed intersection instructions (left turn/right turn)
- Phone + Bike Computer Integration
- Emergency Contact: Automatically sends your location to family
Subscription Plans
- Basic: Free, with route limits
- Premium: NT$ 2,000 per year, includes offline maps
Paper Maps: The Irreplaceable Backup
No matter how far technology advances, paper maps remain essential for bikepacking. Here’s why:
- No power required: The only option when your phone dies or your bike computer fails
- Full overview: See a 100 km range on a single sheet
- Weatherproof: Waterproof maps work in heavy rain
- No signal needed
Recommended Maps in Taiwan
- Sunriver Culture 1:50,000 Economic Construction Edition (NT$ 250/map)
- Ministry of the Interior 1:25,000 Economic Construction Third Edition (free online download)
- Google Maps printed version: Free but with fewer details
How to Carry Them
- In a waterproof zip-lock bag (5g)
- Folded and placed in a frame bag
- Some riders attach them to a top tube bag for quick reference
Choosing a GPS Bike Computer
Dedicated GPS bike computers are better suited for bikepacking than phones:
| Bike Computer | Weight | Battery | Price | Highlights |
|---|---|---|---|---|
| Garmin Edge 540 | 80g | 26 hours | NT$ 12,000 | Balanced choice |
| Garmin Edge 1040 Solar | 133g | 100 hours (solar) | NT$ 22,000 | Top pick for long expeditions |
| Wahoo ELEMNT ROAM | 95g | 17 hours | NT$ 14,000 | Intuitive UI |
| Hammerhead Karoo 2 | 165g | 12 hours | NT$ 16,000 | Android system |
Top pick for long expeditions: Garmin Edge 1040 Solar, with a 100-hour battery that can last 4-5 days.
Power Management Strategy
On multi-day bikepacking trips, navigation device power is critical:
Primary Devices
- GPS bike computer: 12-100 hours (depending on model)
- Phone: 8-15 hours of continuous navigation
Charging Equipment
- Power bank 10,000mAh (200g): Can fully charge a bike computer 4 times or a phone 2.5 times
- Power bank 20,000mAh (400g): Can charge a bike computer 8 times
- Dynamo lights/solar panels: Charge while riding during the day
Power-Saving Strategy
- Use the GPS bike computer during the day; turn off phone GPS to save power
- Charge everything at once when camping at night
- Carry a spare phone kept powered off (200g)
Route File Preparation
Files to prepare before departure:
- Complete GPX route: Import into both GPS bike computer and phone
- Offline maps: Pre-download from Komoot/Maps.me
- PDF printouts: Route overlay maps + resupply point list
- Emergency contact list: Daily accommodations, nearest medical stations
Dealing with Signal Loss
Common signal dead zones in Taiwan’s mountainous areas:
- Completely no signal: Nenggao Cross-Ridge Trail, Batongguan, Southern Three Sections
- Intermittent signal: Parts of the Northern Cross-Island Highway, Wuling Farm
Response strategies:
- Pre-download offline maps (Maps.me is completely free)
- Satellite communication device (Garmin inReach Mini 2) NT$ 12,000 + monthly fee
- Set a contact schedule with family (if unreachable, they call the police)
Following the Route vs. Riding Spontaneously
Two bikepacking styles:
Strictly Following the GPX
- Pros: Precise resupply calculations, no getting lost
- Cons: Loses the joy of exploration
Spontaneous Exploration
- Pros: Discovering unexpected scenery
- Cons: Highly dependent on experience, easier to get into danger
Recommendation: Beginners should strictly follow the GPX for the first 5 trips, then loosen up after gaining experience.
The Veteran’s Multi-Layer Backup
A typical navigation setup for seasoned bikepackers:
- Primary: GPS bike computer (Garmin Edge)
- Secondary: Phone + Komoot offline maps
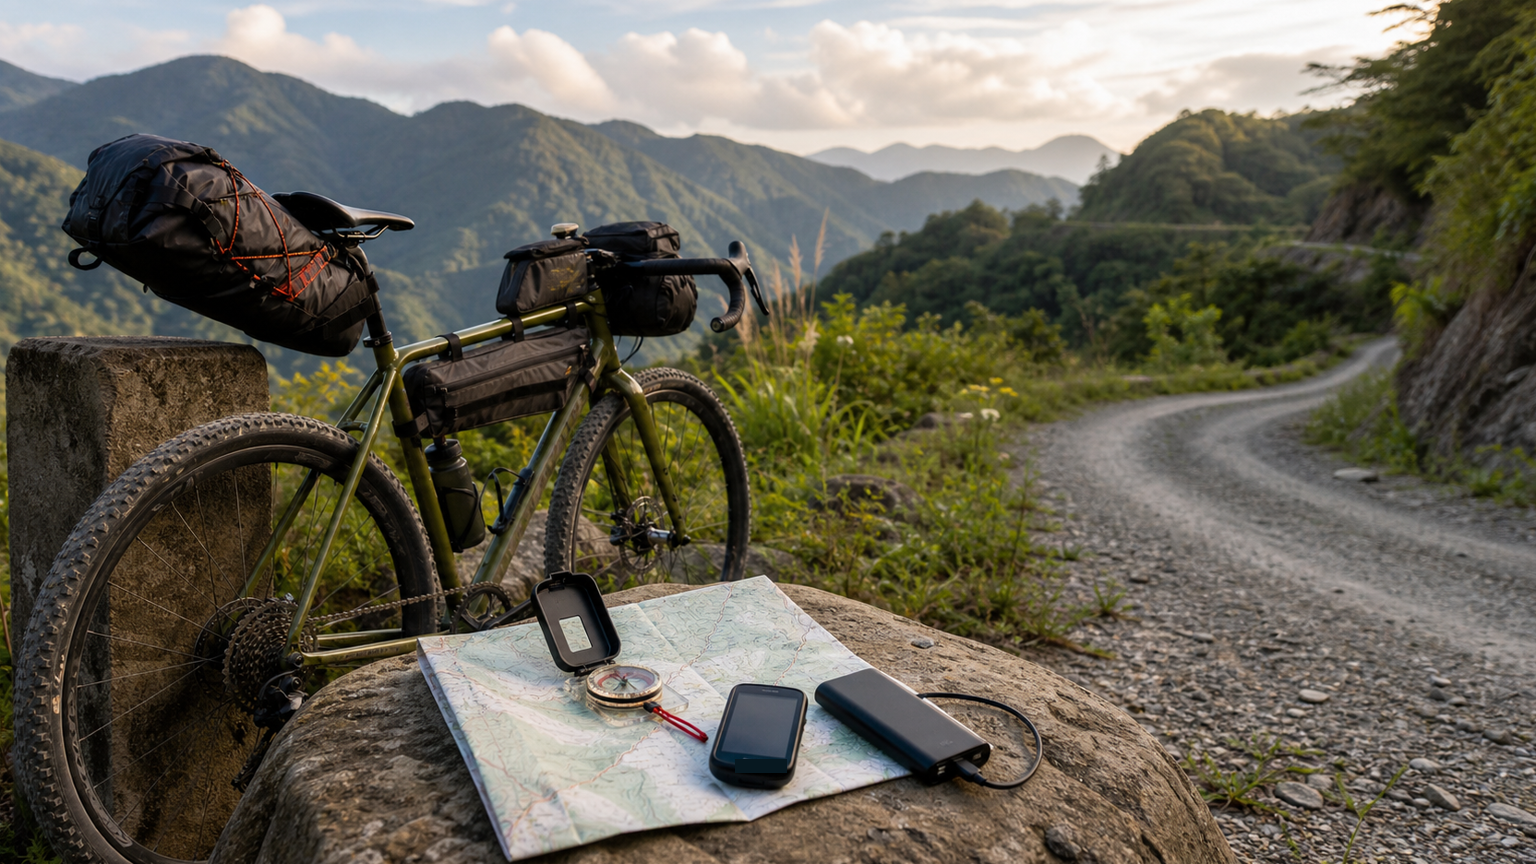
- Backup 1: Paper map + compass
- Backup 2: Satellite communication device (inReach)
- Backup 3: Printed resupply point list and contact numbers
It may seem excessive, but when you’re lost in the wilderness, every additional layer of backup can be a lifesaver.
Related Reading
- Digital Navigators: In-Depth Comparison of Bikepacking Navigation Apps like Komoot and RideWithGPS
- Complete Comparison of Cycling GPS Navigation Apps: Komoot, RideWithGPS, and Strava Route Planning
- Bikepacking for Beginners: Lightweight Gear and Recommended Taiwan Routes
- Route Planning Tools for Long-Distance Riding: A Comparison of Komoot, Strava, and RideWithGPS
單車 一日北高 ( 雙城 ) 肥宅雙人瘋狂行 紀錄片 REACTO
10 年前
單車元宇宙新霸主?TrainingPeaks Virtual 實測 / Zwift 完美平替? 還是超越?/ 有台灣國旗!前身 indieVelo / 公路車 / CT Yeh
1 年前
大家都在開箱的...單車用藍芽對講耳機真的有幫助嗎? SENA BiKom 20 長距離旅遊 & 海鷗繞圈賽 實際體驗心得 / 公路車 / CT Yeh
9 個月前
馬祖北竿單車體驗遊 | 被歐兜賣集體80差點摧不動 | 兩台公路車上飛機超重費...? 4K高畫質
5 年前
#公路車 #Fitting 靠人工智慧APP 幫你調整單車
6 年前
單車AI教練!全新 ChatGPT4o 幫你分析訓練成果!排武嶺課表,分析騎車姿勢! 太神了! / 公路車 / CT Yeh / feat. 緯緯
2 年前
超開放的自行車錶!可以玩遊戲裝APP!?/ SRAM合併的 Hammerhead Karoo深入開箱!/ 即時爬坡偵測 / 全球導航地圖 / Garmin Bryton / CT Yeh
1 年前
4K單車實境) 舊陽金P字道 第1P 仰德大道至小油坑 誤跟武嶺神人們 被拉爆爽飛天 Taiwan Cycling Climb Route Recommend
7 年前