Gravel Handlebar Selection: The Off-Road Control Benefits of Flare, Width, and Drop Position
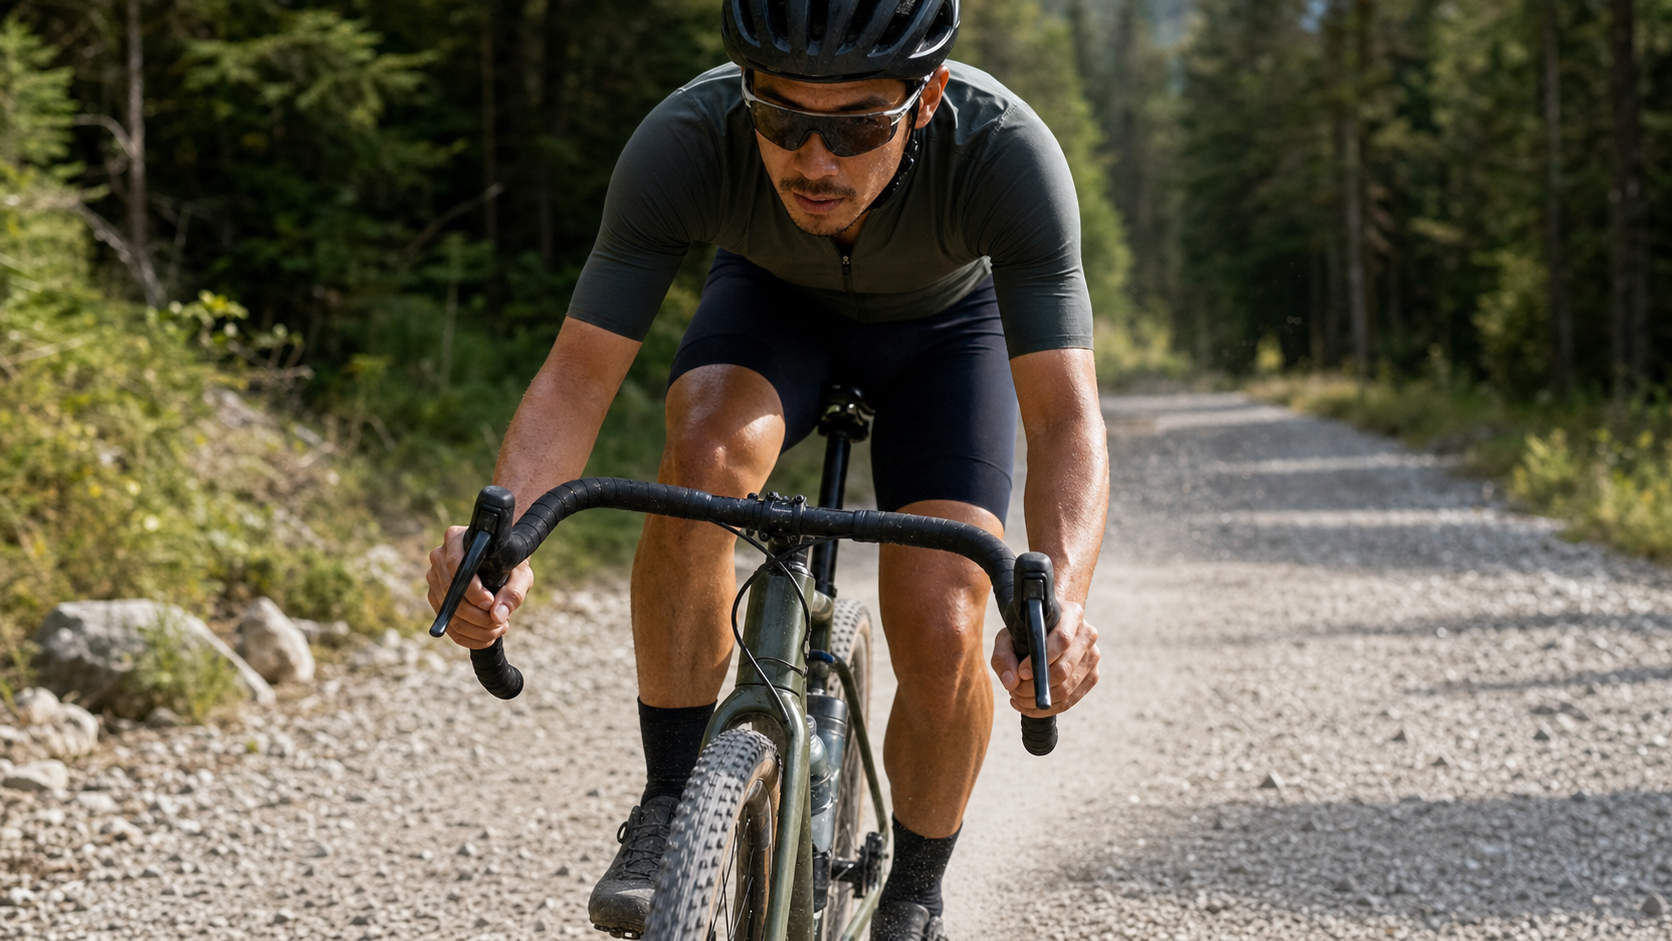
You may have noticed that Gravel handlebars look similar to road handlebars but differ in one way—the drops don’t angle straight back but instead flare outward at a certain angle. This “flare” angle isn’t an aesthetic choice; it’s a functional improvement designed for handling on gravel surfaces. It allows the rider’s hand spacing in the drops to be wider than in the hoods, providing a more stable control leverage on gravel roads.
Choosing the correct handlebar specification is the single decision in Gravel bike fitting that most directly affects handling feel.
The Functional Principle of Flare Angle
On traditional road handlebars, the hoods and drops are nearly on the same vertical plane (flare angle 0–2°). Gravel handlebars, however, feature an outward-flaring angle in the drops, called flare, which Taiwanese riders sometimes refer to as “splayed handlebars.”
Effect of Flare Angle on Hand Spacing:
Using a shoulder width of 42cm (equivalent to a 42cm handlebar width) as an example:
- Flare 0°: 42cm spacing at hoods, 42cm spacing at drops
- Flare 12°: 42cm spacing at hoods, approximately 46cm spacing at drops
- Flare 16°: 42cm spacing at hoods, approximately 48–49cm spacing at drops
- Flare 24°: 42cm spacing at hoods, approximately 52cm spacing at drops
A wider drop spacing means: in the drops position, your arms and shoulders form a wider support base, providing stronger lateral control—just as gripping a wider position makes it easier to maintain balance.
Suitable Scenarios for Different Flare Angles
| Flare Angle | Characteristics | Suitable Rider Type |
|---|---|---|
| 6–10° | Slight flare, close to traditional road bars | Primarily rides pavement, occasional gravel |
| 12–16° | Moderate flare, mainstream Gravel design | Balanced use of gravel and pavement |
| 20–24° | Large flare, close to off-road design | High proportion of gravel/trail riding, many technical sections |
| Above 24° | Extreme flare | Heavy off-road Gravel, Bikepacking trips |
Among Taiwanese Gravel riders, 12–16° is the most common choice. This range already provides noticeable handling improvements on gravel surfaces while not significantly compromising aerodynamics on paved sections.
The Logic Behind Handlebar Width Selection
Gravel handlebar width recommendations are typically 2–4cm wider than road handlebars (for the same rider). The reason is that gravel surfaces require a larger control base, and Gravel riding posture is also more relaxed than competitive road riding, with a higher upper body position.
Handlebar Width Selection Criteria:
- Measurement method: Standing position, arms hanging naturally at your sides, measure the width at the widest point of the shoulders (Biacromial Width)
- Road handlebars: typically = shoulder width
- Gravel handlebars: = shoulder width + 2–4cm
Practical example: A rider with 42cm shoulder width typically uses 42cm road handlebars; for Gravel handlebars, it’s recommended to start trying 44–46cm.
Common Mistake Among Taiwanese Riders:
Many Taiwanese riders choose the same width for their Gravel handlebars as their road handlebars, losing part of the handling advantage. If your current Gravel handlebar is the same width as your road handlebar, this may be worth adjusting.
Proper Technique for the Drops Position
Having a good flared handlebar isn’t enough—you also need proper drops technique to fully leverage its advantages. There are several key differences between Gravel and road drops positioning:
Hand Position:
In the Gravel drops position, the hands typically wrap around the curved section of the drops rather than gripping the straight section next to the brake levers. This position makes braking force application more natural and prevents the wrists from needing unnatural bending to operate the brake levers.
Elbow Angle:
When riding in the drops on gravel surfaces, keep the elbows bent at 25–35° (don’t lock them out). This allows the arms to act as an additional suspension system, absorbing vibrations transmitted from the road surface.
The Role of the Thumb:
The thumb plays a more important role in Gravel drops riding than on the road—the thumb should wrap around the handlebar to prevent the hands from slipping off on bumpy terrain. This habit needs to be deliberately developed, because on road rides it’s sometimes acceptable not to fully wrap the grip.
Handlebar Angle Adjustment: Roll and Tilt
There are two dimensions of handlebar installation angle that can be adjusted:
Roll: Most Gravel riders tilt the handlebar slightly forward (10–15°), bringing the ends of the drops closer to the ground, improving wrist comfort and brake lever angle in the drops position.
Practical Installation Advice:
Start from the neutral position (drops pointing horizontally rearward), then gradually adjust based on comfort in the drops during test rides, making 5° adjustments each time until you find the most natural position.
Considerations for Aero Bar Extensions
Some long-distance Gravel riders add aero bar extensions (also called TT bars) to their handlebars to provide additional hand position options. On gravel roads in Taiwan’s mountainous terrain, this setup requires careful evaluation: aero bars cannot quickly transition to brake operation positions on technical sections, increasing safety risks. If using aero bars, it’s recommended to use them only on long, straight, compact gravel sections, and switch back to the normal grip before entering any technical terrain.
Conclusion
Gravel handlebar selection is one part of the entire bike fitting system—there’s no perfect answer, only the answer that best suits your riding style and routes. A recommended starting approach: first confirm your shoulder width, choose a Gravel handlebar 2cm wider than your shoulder width, start with a 12–16° flare angle, then feel the handling improvement in the drops on gravel surfaces. If it still doesn’t feel like enough, adjust toward a larger flare and wider handlebar.
Related Reading
- Gravel Bike Basics: Riding Differences and Technical Adjustments Between Gravel and Road Bikes
- Road Handlebar Selection: The Complete Ergonomics Guide to Width, Reach, and Drop
- The Impact of Handlebar Width and Reach: How Upper Body Geometry Determines Ride Quality
- Gravel Bike Fitting and Frame Geometry Fully Explained: Finding Your Golden Ratio
西進武嶺 8000名單車友數據分析 PART1 | 從新手到高手數量/瓦數/推力比/FTP推力比/功率計使用率 大解析 | 公路車 | CTYeh
5 年前
碟煞公路車 優缺點?換車一年半實際經驗分享 / 公路車 / CT Yeh
2 年前
碟煞公路車 銑面器 !? 原來銑完差這麼多! 降低蹭碟機率! | TIME 公路車 保養小記錄 | CT Yeh
3 年前
2025崇越「西進武嶺」挑戰VLOG / 賽前改短成165曲柄會如何? / 選手昏倒? / 公路車 / CT Yeh
1 年前
再一組! 全碳幅條 碟煞/無內胎輪組 開箱! 到底好騎嗎? UNAAS X40 | 公路車 | CT Yeh
4 年前
CT 喇低賽) 武嶺牽車 才是王道 西進牽車四小時內秘訣 攝手位置 如何判斷 防抽筋小秘訣
7 年前
Stages功率計 和 智騎 X7 Pro 訓練檯同時騎兩個 Rouvy 角色會一起進終點嗎?最後來點數據分析 | 公路車
5 年前
鉅齒紋輪組!? ControlTech MEG-T50 EVO 碳纖維幅條輪組/ 功率對比實驗 / 公路車 / CT Yeh
2 年前