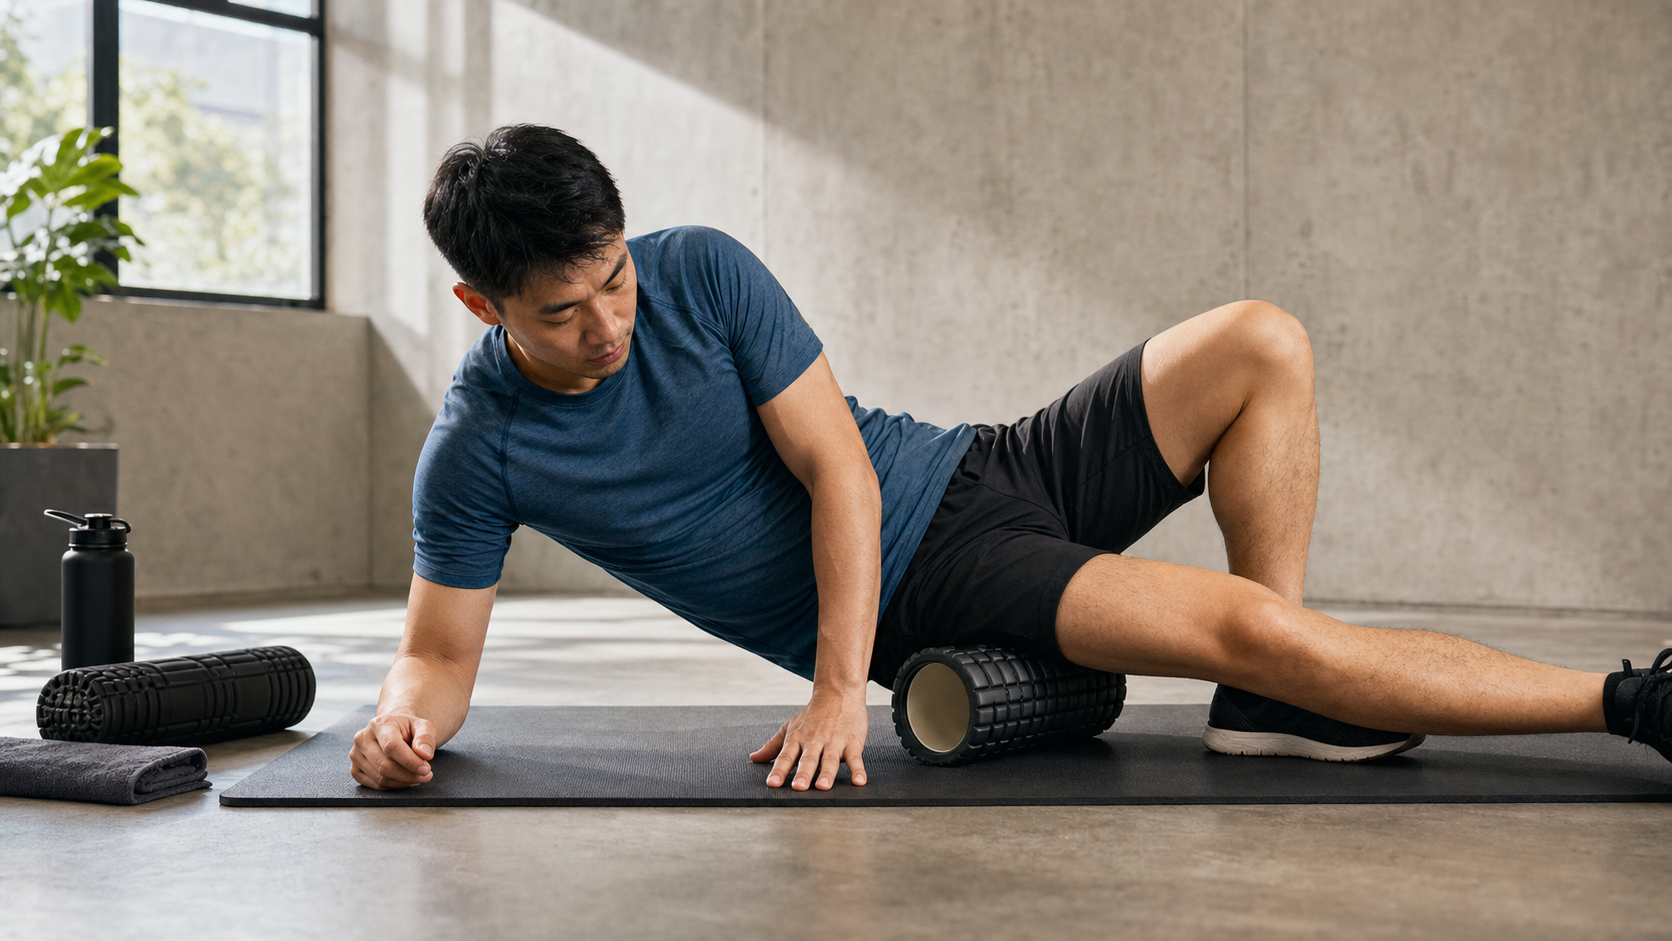
Foam Rolling: The Correct Technique for IT Band, Calves, and Quads
Introduction
The foam roller is practically a must-have item on every serious runner’s gear list, yet many runners buy one and simply roll around randomly, or only know that they’re “supposed to roll the IT band” without knowing the correct method. Using a foam roller incorrectly not only wastes time, but in some cases can even make an injury worse.
This article walks through the correct rolling technique for the three areas that matter most to runners — the IT band, the calf muscles (triceps surae), and the front of the thigh (quadriceps) — along with the science of myofascial release behind it.
The Science Behind Foam Rolling
Myofascial Release Theory
Fascia is the connective tissue that wraps around muscle. After high-intensity training, fascia can develop “adhesions” or “trigger points” that restrict a muscle’s normal range of motion and trigger soreness and stiffness.
The sustained pressure from a foam roller stimulates sensory nerves and, through the reflex mechanism of the Golgi tendon organ, encourages the muscle to relax, while also promoting fluid movement and tissue remodeling within the fascia.
Boosting Blood Circulation
The rolling motion applies and releases pressure on local tissue, creating a “pump-like” effect that promotes blood and lymph flow and speeds up the clearance of metabolic waste products.
Correct Rolling Technique for Three Key Areas
Area One: The IT Band
Understanding the IT Band: The iliotibial band is a thick band of connective tissue that runs from the outside of the pelvis (the ilium) down to the outside of the knee (the tibia). It is one of the most common trouble spots for runners — chronic tightness can lead to “runner’s knee” (iliotibial band syndrome).
Important: Never roll directly on the IT band itself
Many runners roll straight along the side of the IT band, but the IT band is dense connective tissue with almost no elasticity. Rolling it hard is not only extremely painful, it also doesn’t actually release it. What actually needs to be released are the tensor fasciae latae (TFL) and the lateral quadriceps.
Correct method:
- Lie on your side with the foam roller placed slightly above the middle of the outer thigh.
- Support your weight on your forearm so you’re not putting your full body weight onto the roller.
- Roll slowly and locate the tightest spot (usually in the upper third of the outer thigh).
- Pause on the tight spot for 30 to 60 seconds and feel the tissue soften.
- Note: only roll the outer thigh — do not roll down past the knee.
Alternative method: A lying-down TFL stretch (the “figure-4” stretch) is often more effective than rolling.
Area Two: The Calf Muscles (Gastrocnemius + Soleus)
Why it matters: While running, the calves absorb several times the runner’s body weight in impact force with every stride, making them a high-risk area for fatigue and injury. Tight calves reduce ankle mobility, which in turn hurts running-form efficiency.
Correct method:
- Sit on the ground with your legs straight and place the foam roller across the middle of your calves.
- Support yourself with your hands and lift your hips off the ground so the weight of your calves presses onto the roller.
- Roll slowly back and forth, covering the area from just above the ankle to just below the back of the knee.
- Once you find a tight spot, hold for 30 seconds, then slowly rotate your ankle.
- Advanced version: Stack one leg on top of the other to increase the depth of pressure.
Note: Avoid rolling directly on the back of the knee (the popliteal fossa) — important nerves and blood vessels pass through that area.
Area Three: The Front of the Thigh (Quadriceps)
Why it matters: The quadriceps do most of the work in shock absorption and the push-off phase of running, and they tend to get especially tight and fatigued after long runs. Tight quads are also a common cause of knee pain.
Correct method:
- Lie face down and place the foam roller across the front of your thigh.
- Support your upper body on your forearms, with your legs slightly apart.
- Roll slowly back and forth from just below the groin to just above the knee.
- You can rotate your body slightly to change the angle of the roller, so you also roll the inner and outer parts of the quadriceps.
- Pause on tight spots and try bending your knee (adding a stretch stimulus) to enhance the release.
When and How Often to Use a Foam Roller
| Timing | Purpose | Suggested Duration |
|---|---|---|
| Before training (after warm-up) | Increase mobility, wake up the muscles | 30–60 seconds per area, light pressure |
| After training (during cool-down) | Release tightness, speed up recovery | 60–120 seconds per area, moderate pressure |
| Rest days | Maintain myofascial health | 60–90 seconds per area, full-body scan |
Common Mistakes and How to Fix Them
- Don’t roll back and forth quickly: Fast rolling only produces surface friction and doesn’t achieve myofascial release. Move slowly — about 2 to 3 centimeters per second.
- Don’t roll over acute inflammation or fresh injuries: Areas that are red, swollen, hot, or painful should not be foam rolled, as it may worsen the inflammation.
- Keep breathing: Many people hold their breath when they hit a painful spot, but continuous, slow, deep breathing is what actually helps the tissue relax.
- “More pain” does not mean “more effective”: The discomfort from rolling should stay at or below a 7 out of 10 — anything above an 8 means you’re applying too much pressure.
Conclusion
A foam roller isn’t a magic wand, but used correctly, it really can become a powerful tool in a runner’s regular maintenance routine. Build 3 to 4 foam-rolling sessions a week into your training plan, and within a few months you’ll notice less muscle tightness, improved mobility, and faster recovery after training. Starting today, dig that foam roller out of the corner where you forgot about it, and give your hard-working legs the release they deserve.
Related Reading
[教學] Premiere 影片 手震 修正 教學 防抖 單眼 影像 GoPro 穩定 Video Stabilization
8 年前
CT 喇低賽) 武嶺牽車 才是王道 西進牽車四小時內秘訣 攝手位置 如何判斷 防抽筋小秘訣
7 年前
Insta 360 One 超級防手震技術實測
7 年前
大禹嶺 到 武嶺牌樓 全程前後實況錄影 | 北進武嶺 | 東進武嶺 | KOM | 訓練台 | 坡度分析 | Taiwan KOM Last 10 km HARD | 公路車
6 年前
類空拍神器 Feiyu Pocket 2s (有優惠連結)三軸穩定 運動攝影機 開箱!比GoPro 還強的滑順視角!三小時長時間錄影 行車記錄器 | 環花東365實測 | 公路車 CT Yeh
4 年前
摔車後補裝備: 好市多新款單車安全帽& Specialized Romin 北高整路屁股都不痛的坐墊 | 一千元居然有MIPS | CT Yeh | 公路車
4 年前
一日北高/長距離團騎 常見問題補充篇 / 組團或跟團的眉角 / 壯車友容易被瘦車友慢性拉爆 / 原來屁股痛可能是這個原因...? / 風場配速法 / 公路車 / CT Yeh
2 年前
武嶺配速表最佳使用方式 #bike
1 年前