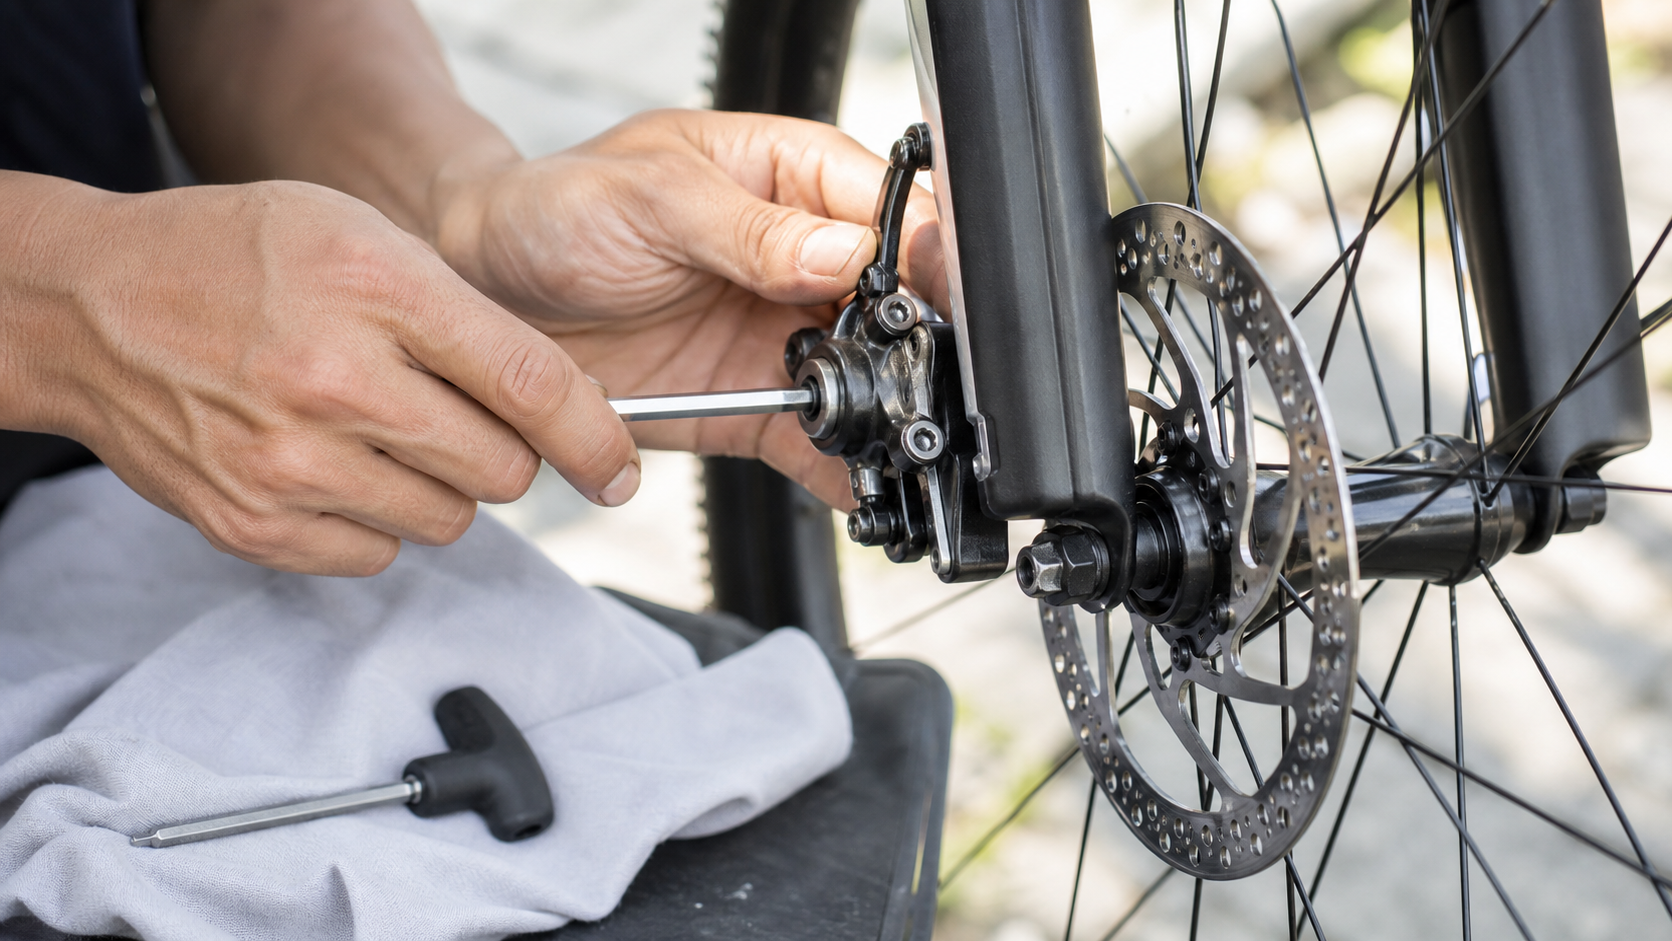
Brake System Adjustment: The Complete Guide to Disc Brake Centering and Caliper Alignment
Introduction
Thanks to their superior stopping power and consistent performance in wet or harsh weather, disc brakes have gradually replaced traditional rim brakes as the standard on both road and mountain bikes. However, dialing in a disc brake system precisely takes more patience and skill than a traditional caliper brake. The most common complaint is rubbing between the rotor and brake pads — a noise that’s not only annoying but also represents wasted energy. This article walks you through disc brake centering step by step.
Common Causes of Disc Brake Rub
Before you start adjusting, first identify where the rub is coming from:
- Caliper misalignment: the most common cause — the caliper isn’t centered over the rotor
- Warped rotor: the rotor has warped from heat or a slight impact
- Poor piston retraction: the hydraulic pistons haven’t fully retracted
- Uneven pad wear: one pad is wearing faster than the other
- Hub spacing issues: the rotor mounting face on the front or rear hub isn’t flat
Tools You’ll Need
- 5mm hex wrench (for the caliper mounting bolts)
- T25 Torx wrench (used on some calipers)
- A rotor-centering tool (or a piece of paper about 0.2mm thick as a substitute)
- A flashlight
- A clean cloth (must be free of grease)
Mechanical Disc Brake Adjustment Steps
Step 1: Check Rotor Trueness
- Spin the wheel and visually check whether the rotor wobbles noticeably
- If there’s obvious wobble, gently true it at room temperature with a rotor truing fork
- Minor unevenness (0.1–0.2mm) can often be resolved simply by adjusting the caliper afterward
Step 2: Loosen the Caliper Mounting Bolts
- Loosen both mounting bolts by half a turn to one full turn so the caliper can move freely
- Don’t remove them completely — keep the caliper roughly in position
Step 3: Center the Caliper
Method 1: Visual Centering
- Looking from the front of the bike toward the caliper, confirm the rotor sits exactly in the middle of the two pads
- Slowly tighten the mounting bolts, alternating between them (tighten one side to about 80% torque, then the other)
- Spin the wheel to confirm there’s no rub
Method 2: Lever-Hold Method (Recommended)
- Squeeze the brake lever and hold it with a rubber band so the pads clamp onto the rotor
- With the caliper held in the clamped position, evenly tighten both mounting bolts
- Release the rubber band and spin the wheel to confirm
Step 4: Fine-Tune the Caliper Position Adjustment Screws
Mechanical disc brakes typically have one adjustable pad and one fixed pad:
| Adjustment | How to Adjust | Purpose |
|---|---|---|
| Movable pad (knob) | Clockwise = moves toward rotor | Shortens lever throw |
| Fixed pad (bolt) | Loosen, then shift the whole caliper | Centers the rotor |
| Cable tension (barrel adjuster) | Counterclockwise = tightens | Improves lever feel and initial bite point |
Hydraulic Disc Brake Adjustment Steps
Hydraulic disc brakes have no cable to adjust — centering relies entirely on caliper position:
Step 1: Confirm Piston Retraction
- With the wheel removed, gently push the pistons back using a plastic tool (to avoid grease contamination) and confirm both sides retract evenly
- If a piston is stuck, gently press it back using a piston-push tool or a kitchen spatula wrapped in tissue paper
- After retracting, reinsert the pad spacer before remounting the wheel
Step 2: Centering Procedure (same as Mechanical Method 2 above)
- Squeeze the brake lever so the pistons clamp onto the rotor
- Evenly tighten the caliper mounting bolts (recommended torque: 6–8 Nm)
- Spin the wheel to test
Step 3: Bleeding (if the lever feels spongy)
If a hydraulic brake lever starts to feel mushy or spongy, it means air has entered the system and it needs bleeding. This requires the correct fluid for your brand — mineral oil (Shimano) or DOT fluid (SRAM, Magura) — and beginners are strongly advised to leave this to a professional bike shop.
Troubleshooting Common Issues
- Still a faint noise after centering: the rotor may have a small warped spot — shine a flashlight across it to find the high point and true it gently with a rotor fork
- Noise only when braking: some noise on pad contact is normal, but if it happens every time after you brake, the caliper bolts likely aren’t tight enough
- Persistent rub on one side: check whether the quick release is fully closed and whether the rear wheel is seated correctly in the dropouts
- Sudden onset of noise: check whether the rotor has been contaminated with grease (sweat, chain lube overspray) and clean it with isopropyl alcohol
Practical Tips
- Recheck disc brake centering every time you swap a tire or wheel
- Rotors and pads must never come into contact with any grease — always shield them when oiling a bike equipped with disc brakes
- New pads need a 50–100km bed-in period; slightly weaker braking power at first is normal
- Replace the rotor once its thickness drops below the wear limit printed on the rotor itself (commonly 1.5mm)
Conclusion
Disc brake adjustment may look complicated, but once you grasp the core concept, it’s really not that hard. The single most important principle is: tighten the mounting bolts while the caliper is clamped onto the rotor. Every time you swap a wheel or notice a rub, follow the steps in this article and you’ll usually solve it in 5–10 minutes. Building the habit of checking regularly keeps your braking system in top condition — and that’s the most important foundation of riding safety.
Related Reading
- Disc Brakes vs. Rim Brakes Adjustment: A Complete Maintenance Guide for Both Braking Systems
- Bicycle Brake Adjustment: Setup Tips for Caliper Brakes and Disc Brakes
- Bicycle Brake Adjustment: Gap Calibration Methods for Disc Brakes and V-Brakes
- Complete Guide to Brake Pad Replacement and Adjustment: Covering Both Rim Brakes and Disc Brakes
碟煞公路車 銑面器 !? 原來銑完差這麼多! 降低蹭碟機率! | TIME 公路車 保養小記錄 | CT Yeh
3 年前
碟煞公路車 優缺點?換車一年半實際經驗分享 / 公路車 / CT Yeh
2 年前
再一組! 全碳幅條 碟煞/無內胎輪組 開箱! 到底好騎嗎? UNAAS X40 | 公路車 | CT Yeh
4 年前
SRAM FORCE E1 首發!/ 改成短腿了 / 煞車升級有感嗎? / TIME ADH 變速大升級 / 公路車 / CT Yeh
1 年前
公路車 BB培林大升級! / 備戰海鷗繞圈賽 Canyon Aerod & TIME 一起改 / MIT大廠 CEMA對鎖式陶瓷培林BB & 導輪 / 公路車 / CT Yeh
2 年前
鉅齒紋輪組!? ControlTech MEG-T50 EVO 碳纖維幅條輪組/ 功率對比實驗 / 公路車 / CT Yeh
2 年前
西進武嶺 自製新版AI配速表產生器 x 賽前攻略 抱佛腳! 沒有功率計也可以產生配速表嗎?有什麼其他眉角賽前要注意的呢? | 西進武嶺 / 東進武嶺 KOM 攻略 | 公路車 | CT Yeh
4 年前
#公路車 #Fitting 靠人工智慧APP 幫你調整單車
6 年前