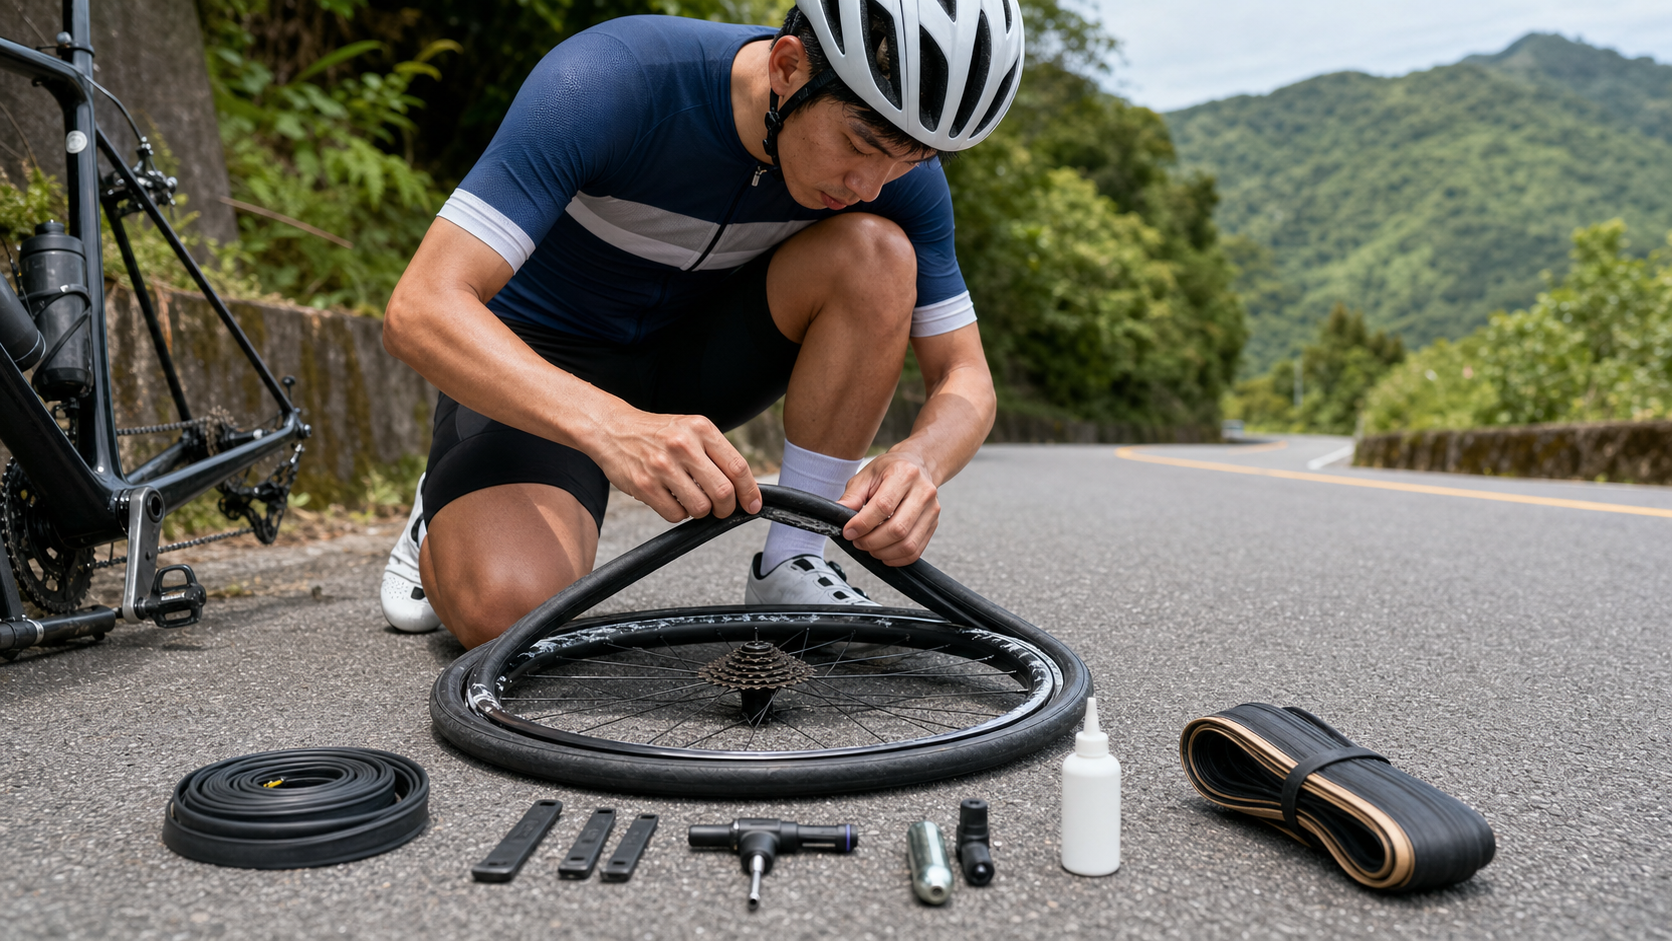
Tire Replacement Guide: Tubeless vs. Clincher vs. Tubular Tire Change Steps
Introduction
A flat tire is a reality every cyclist must face, and how quickly you can change a tire determines whether a great ride turns into a long roadside wait. Taiwan’s mainstream tire systems currently fall into three categories: traditional clincher tires, tubeless tires with sealant, and tubular tires. Each system has a completely different logic for tire changes, and this article will walk through each one.
Comparison of the Three Tire Systems
| Feature | Clincher | Tubeless | Tubular |
|---|---|---|---|
| Flat mechanism | Inner tube puncture or pinch flat | Sealant self-seals; severe cases need a plug | Outer casing damage |
| Emergency roadside repair | Replace with spare tube (5 minutes) | Small holes self-seal; large holes need a plug (10 minutes) | Replace with spare tubular (15 minutes) |
| Recommended average pressure | 90–110 psi (25c) | 60–80 psi (25c) | 100–120 psi |
| Comfort | Moderate | High (low pressure without pinch flats) | High |
| Initial setup difficulty | Low | Medium-high | High |
| Spare weight for long rides | Light (one inner tube) | Medium (plug + CO2) | Heavy (one spare tubular) |
Clincher Tire Change Steps (Most Common Scenario)
Tools Needed
- Spare inner tube (same size, e.g., 700×23-28c)
- 2–3 plastic tire levers
- Pump or CO2 inflator
- Optional: patch kit (temporary repair)
Tire Change Steps
- Deflate: Open the valve cap, press the valve core to release all air until completely deflated
- Remove the wheel: Open the quick release or loosen the axle bolts; note that for disc brake wheels, insert the pad spacer between the brake pads
- Remove one side of the tire: Hook the tire bead with a tire lever and work it around the rim to fully remove one side of the tire
- Remove the inner tube: Starting at the valve, pull the inner tube out from the rim
- Inspect the inside of the tire: Run your fingers along the inner wall of the tire to find the puncture object (nail, glass)
- Install the new inner tube: Inflate slightly to give the tube a round shape, insert the valve through the rim hole, and tuck the tube into the tire
- Reinstall the tire: Starting at the valve side, use your thumbs to press the bead into the rim; the last section is the hardest and can be assisted with a tire lever, but be careful not to pinch the tube
- Inflate: Inflate to 20 psi first to confirm the bead is seated evenly around the rim, then inflate to the recommended pressure
- Reinstall the wheel: Note the directionality of disc brake wheels
Tubeless Emergency Repair
Scenario 1: Small Hole (Sealant Can Self-Seal)
- When tire pressure suddenly drops, keep riding and let the wheel keep spinning
- Centrifugal force pushes the sealant toward the puncture, where it coagulates and seals
- Stop to confirm, then top up the pressure to normal and continue
Scenario 2: Large Puncture (Needs a Plug)
Tools: tubeless repair kit (including reaming tool and rubber plugs)
- Locate the puncture (listen for the hiss, or apply saliva to find bubbles)
- Use the reaming tool to slightly enlarge the hole and clean the edges
- Thread a plug through the reaming tool, insert it into the hole, then pull the tool out (the plug stays inside the tire)
- Trim the exposed plug (leave about 3–5mm)
- Inflate to normal pressure and confirm there is no more leaking
Scenario 3: Sealant Depleted or Unable to Seal
You can temporarily install an inner tube: open one side of the tire, rinse out the remaining sealant (or just install directly), fit the inner tube, and inflate—handled the same way as a clincher setup.
Tubular Tire Replacement Steps
Tubular tires are fixed to the rim with special adhesive or double-sided tape, making replacement more complex:
Emergency Roadside Replacement
- After fully deflating, pry the tubular off from one side of the rim and work it around the entire circumference to remove it
- Prepare the spare tubular (pre-inflate to 40 psi to confirm no leaks)
- Clean the rim surface, apply tubular double-sided tape or a thin layer of tubular glue
- Starting at the valve, apply even pressure to fit the tubular onto the rim, making sure it is centered
- Inflate to 80–90 psi to hold it in place, then ride back while avoiding aggressive handling
- Perform a proper glue-up once home
General Notes
- Carry spare gear: Any long ride should include at least one set of emergency repair equipment
- Check valve type: Presta (French) slim valves require a pump head adapter; Schrader (American) valves are the same as car valves
- CO2 inflators: Disposable CO2 cartridges are convenient but not eco-friendly, and after inflating with CO2 you need to top up to the correct pressure within 24 hours (CO2 permeates faster than air)
- Check pressure regularly: For clinchers, pump weekly; for tubeless, every two weeks. Make it a habit to confirm tire pressure before every ride
Conclusion
Each tire system suits different riding scenarios. After choosing the system that fits your habits, mastering its emergency repair procedures is essential homework for every cyclist. Clincher tire changes are the most intuitive, so beginners are advised to start there; once proficient, consider upgrading to a tubeless system to enjoy better ride comfort and puncture resistance.
Related Reading
- Road Bike Tire Change in Practice: On-Site Repair of Tubular and Tubeless Tires
- Tubeless Repair Techniques Explained: Repair Methods for Tubular, Clincher, and Tubeless Tires
- Tubular vs. Clincher vs. Tubeless: A Comprehensive Comparison of the Three Tire Systems
- Complete Guide to Roadside Flats and Repairs: Inner Tube Replacement, Tubeless Repair, and Carry-Along Tool Checklist
再一組! 全碳幅條 碟煞/無內胎輪組 開箱! 到底好騎嗎? UNAAS X40 | 公路車 | CT Yeh
4 年前
單車胎壓觀察到的有趣現象,SRAM Quarq TyreWiz 2.0 無內胎胎壓計 / 裝了有哪些幫助? / Tubeless / 公路車 / CT Yeh
1 年前
碟煞公路車 優缺點?換車一年半實際經驗分享 / 公路車 / CT Yeh
2 年前
碟煞公路車 銑面器 !? 原來銑完差這麼多! 降低蹭碟機率! | TIME 公路車 保養小記錄 | CT Yeh
3 年前
鉅齒紋輪組!? ControlTech MEG-T50 EVO 碳纖維幅條輪組/ 功率對比實驗 / 公路車 / CT Yeh
2 年前
公路車 BB培林大升級! / 備戰海鷗繞圈賽 Canyon Aerod & TIME 一起改 / MIT大廠 CEMA對鎖式陶瓷培林BB & 導輪 / 公路車 / CT Yeh
2 年前
Unaas X50 全碳纖幅條輪 數據實測對比PK | Lun Hyper 的高階版 | 板輪爬坡也可以很厲害? ! 武嶺2小時大師一起親測! CP值超高 | 公路車 | CT Yeh
4 年前
SRAM FORCE E1 首發!/ 改成短腿了 / 煞車升級有感嗎? / TIME ADH 變速大升級 / 公路車 / CT Yeh
1 年前