Social Media Documentation of a Round-Island Cycling Trip: How to Capture Great Travel Photos While Riding
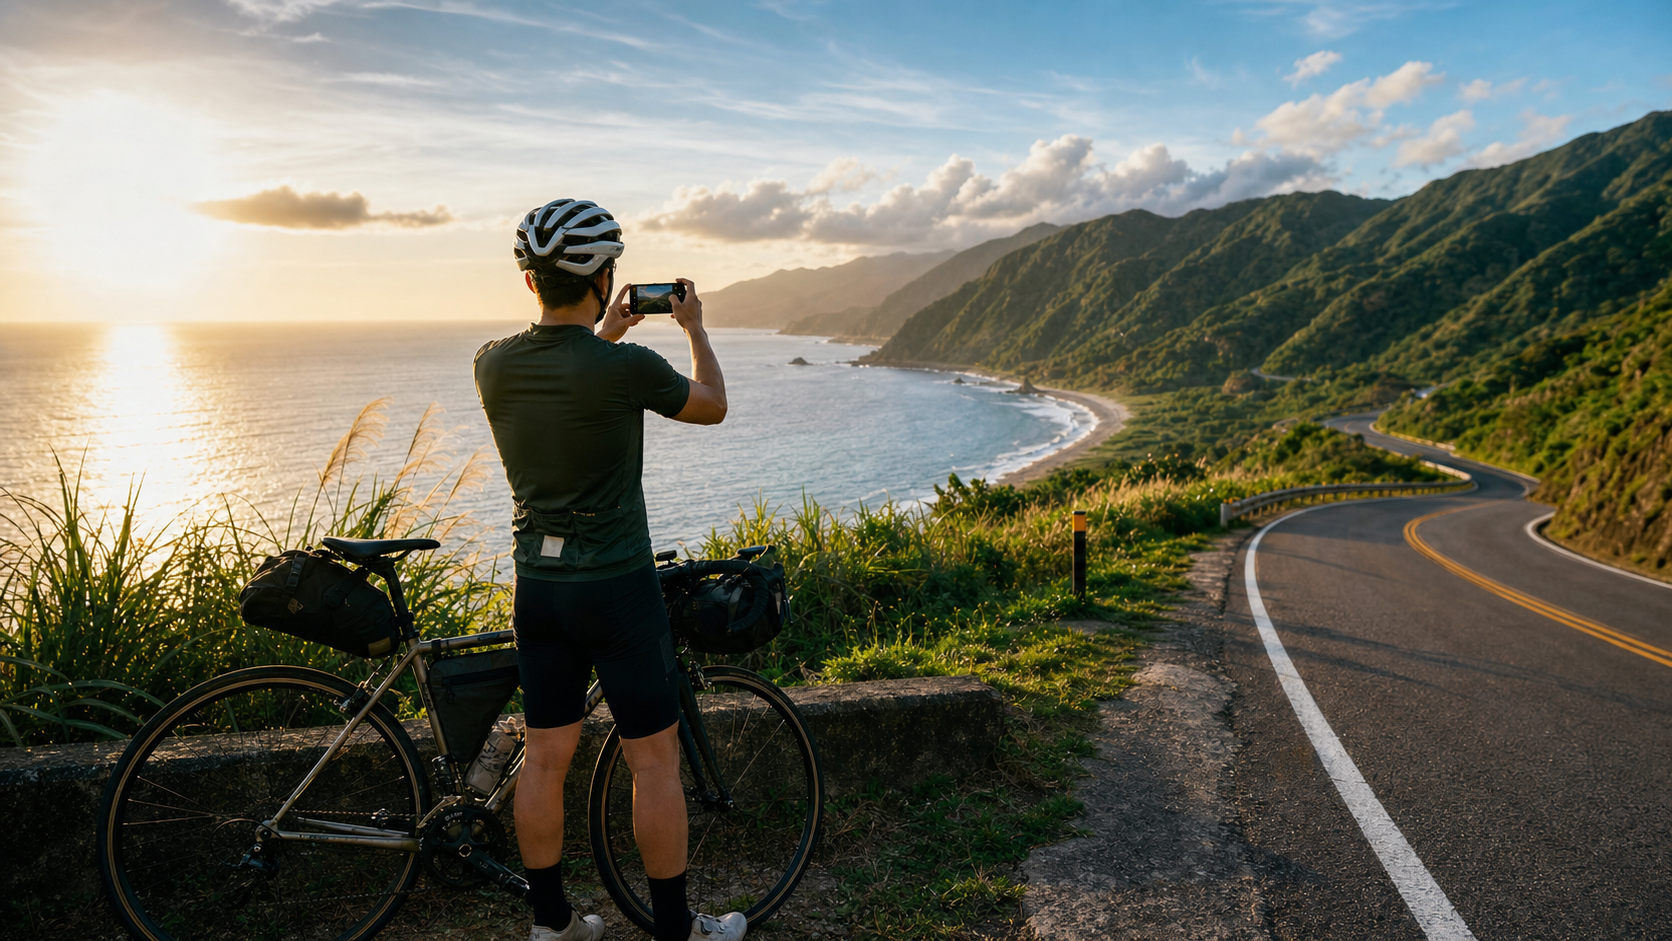
Social Media Documentation of a Cycling Island Tour: How to Take Great Travel Photos While Riding
Introduction
Every island tour’s photos start out being taken for others, but in the end, they’re taken for yourself. Those moments stopped by the Pacific, where sweat and sea breeze mix together, that bowl of misua at a temple square by the roadside, that dawn at 5 AM when you’re the first to set foot on Suhua Highway—if they aren’t documented, they gradually blur into a vague feeling of “there was something.”
Good documentation doesn’t require expensive gear; it requires a bit of compositional awareness and the courage to stop.
Gear Selection: Phone vs. Camera
| Gear Type | Pros | Cons | Best Scenarios |
|---|---|---|---|
| Flagship Smartphone | Lightweight, instant sharing after shooting, AI enhancement | Insufficient telephoto, screen hard to see in bright light | Daily documentation, food, people |
| Action Camera (GoPro/Insta360) | Image stabilization, can shoot while riding, waterproof | Wide-angle distortion, time-consuming post-production | Dynamic riding footage, extended angles with selfie stick |
| APS-C Mirrorless | Best image quality, background blur | Weighs about 400–600g, takes up bag space | Landscape photography, serious documenters |
For most island tour cyclists, a flagship phone (iPhone/Android) is sufficient. Many of the most moving photos shared from Taiwan island tours in recent years were taken with phones.
Mounting Recommendations for Action Cameras on an Island Tour
- Handlebar mount: Captures the road and scenery ahead, ideal for video documentation
- Helmet chin mount: First-person perspective, great for conveying the riding experience
- Selfie stick (extending behind the saddle): Captures the rider’s back and the scenery behind, requires a stabilizer bar to ensure stability
Composition Principles: Three Techniques to Make Photos Tell a Story
1. Rule of Thirds and Foreground Leading Lines
The most common mistake in cycling photos is “placing the bike dead center with a blurry road as the background.” The recommended approach is:
- Let the horizon fall on the upper or lower third
- Use road lines as leading lines to create a sense of depth
- Add elements in the foreground (roadside flowers, road signs, temple eaves) to add layers
2. Lighting Timing: The Golden Hours
The most beautiful shooting times during a Taiwan island tour:
- 30 to 60 minutes after sunrise: Side lighting gives mountains and coastlines a strong three-dimensional feel
- 1 hour before sunset: The golden rice paddies of the East Rift Valley look their best in this light
- Overcast days: Soft, even light—a great time for shooting food and people
3. Document the Details, Not Just the Scenery
The most moving island tour photos are often not grand vistas but details:
- The number on your bike computer reading “Today’s distance: 100 km”
- The breakfast cooked by the B&B owner
- Swollen toes after taking off cycling shoes
- A ride logbook filled with stamps
Safety Guidelines for Taking Photos While Riding
Shooting while riding is the most common source of safety issues. Here are non-negotiable principles:
-
Absolutely never operate your phone to take photos while moving: Even a “quick snap” requires stopping. One second of distraction at 30 km/h means 8 meters of blind distance.
-
If you want to shoot, stop: The scenery on a Taiwan island tour won’t mind waiting a few extra minutes. A scene you want to document is worth stopping to shoot properly.
-
Action cameras can shoot while riding: A GoPro mounted on the handlebar or helmet can be operated via voice commands or a remote, so your hands never leave the handlebars.
Social Media Posting Strategy: Rhythm Matters More Than Volume
Recommended Posting Rhythm
- 1 to 2 posts per day: Avoid overwhelming your followers’ feeds, and avoid getting absorbed in your phone screen
- 1 Story per day: Share the day’s mood in real time—it doesn’t need to be perfect; authenticity matters most
- Strava activity log: Sync after each ride so fellow cyclists can see the day’s distance and route
The Power of Text Paired with Photos
A good island tour social media post isn’t just “Rode 90 km today,” but:
“Standing at the top of Shouka, blowing in the wind, looking south is the sea of Kenting. The chain turns round and round, bringing me closer and closer to Taiwan’s southernmost point. This road isn’t fast, but every kilometer counts.”
Feelings resonate more than numbers.
10 Iconic Spots Worth Shooting on an Island Tour
- Keelung River mouth (the ceremonial feel of the starting point)
- Fulong Beach road sign
- Qingshui Cliff parking area on Suhua Highway
- Qixingtan Bikeway
- East Rift Valley rice paddies (golden in October–November)
- Taitung Tiehua Village (night lights)
- Kenting Nanwan Beach
- Shouka Bike Station (proof photo at the highest point)
- The bike path beside Anping Old Fort in Tainan
- Your bike and the island tour stamp book back at the starting point
Conclusion
The photos from an island tour aren’t for the likes; they’re to give your memories a doorway to return to. Don’t overthink it when shooting—stop, take it in, press the shutter, and keep riding. Years later, when you open that album, you’ll thank the version of yourself who was willing to stop and take one more photo.
Related Reading
- Photography and Documentation on an Island Tour: How to Capture Great Images While Riding
- Cycling Photography: Techniques for Shooting While Riding and Taiwan’s Most Beautiful Stretches
- Cycling Photography Tips: How to Take Beautiful Photos of Taiwan’s Scenery While Riding
- Bicycle Photography Techniques: How to Capture Riding Photos with a Sense of Story
金門 ! 我騎過最棒的離島了 / 最後可以騎車上金門大橋的機會!?/ 公路車 / CT Yeh
1 年前
新玉門關 單車挑戰賽 多視角主集團衝刺菁華版 4K #公路車
5 年前
單車 一日北高 ( 雙城 ) 肥宅雙人瘋狂行 紀錄片 REACTO
10 年前
一輪盃環湖挑戰賽 | TIME新車首航 | 一輪帶我飛 | 百萬流量都在場 | 4K畫質 | 公路車 | CT Yeh
3 年前
下次拍照前要查清楚啦🤣 #cycling
7 個月前
類空拍神器 Feiyu Pocket 2s (有優惠連結)三軸穩定 運動攝影機 開箱!比GoPro 還強的滑順視角!三小時長時間錄影 行車記錄器 | 環花東365實測 | 公路車 CT Yeh
4 年前
太平山單車員工旅遊 | 這樣玩CP值最高!| 公路車
5 年前
Insta 360 One 超級防手震技術實測
7 年前