Seatpost and Clamp Maintenance: Torque Specifications for Carbon Seatposts and the Use of Anti-Seize Compound
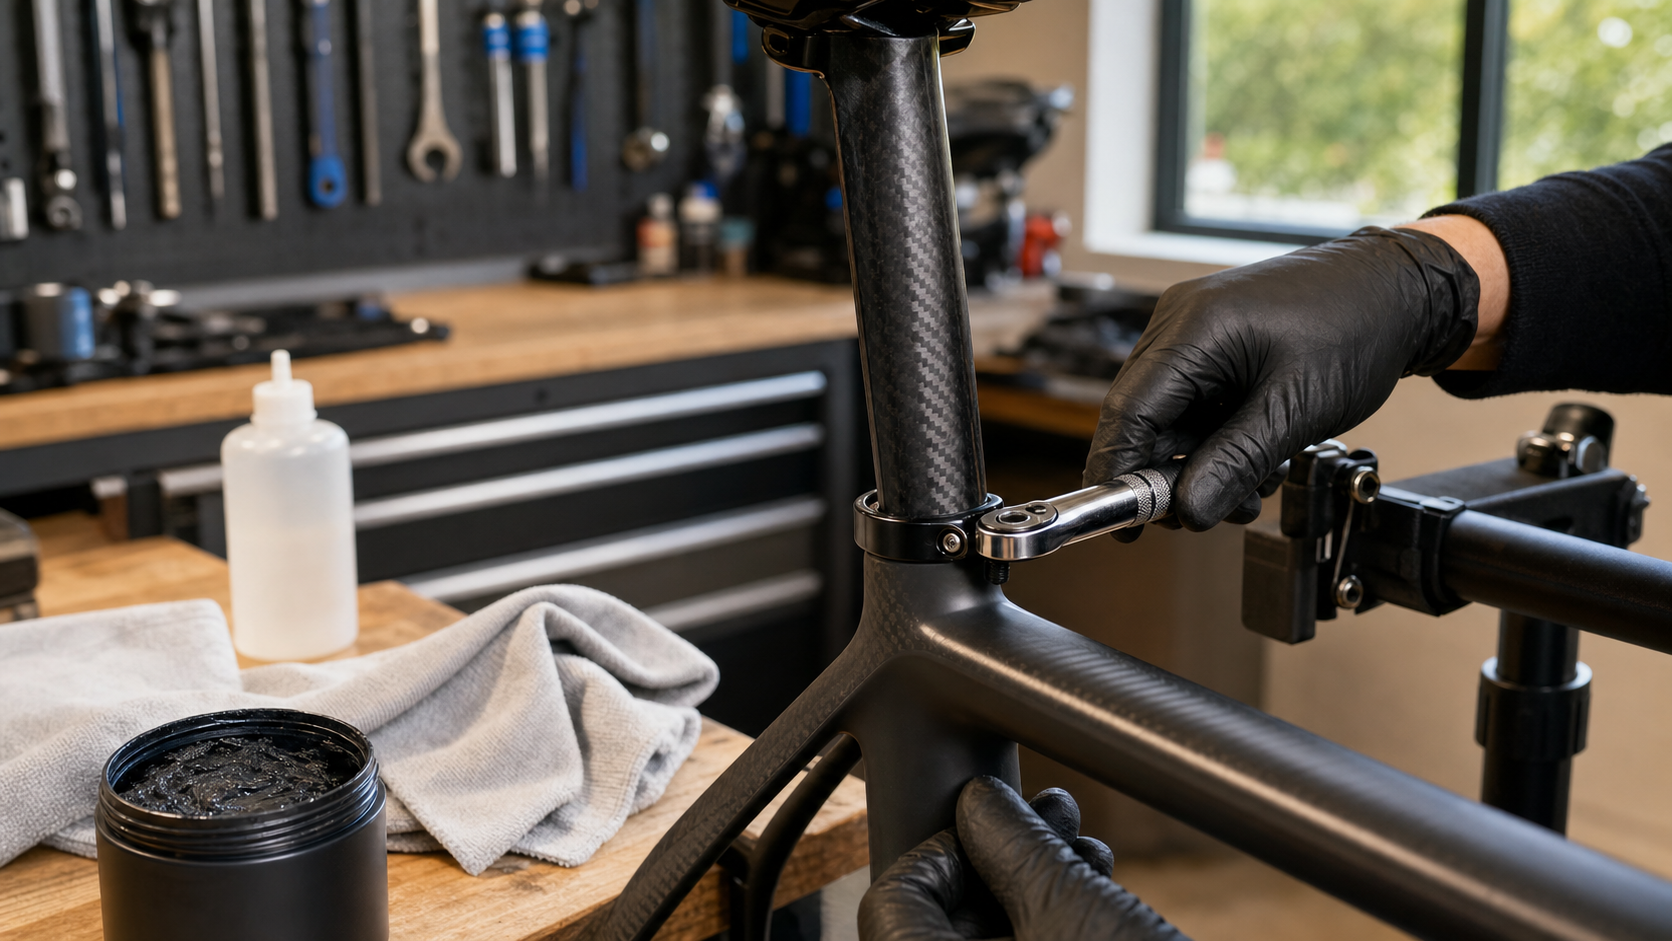
Seatpost and Clamp Maintenance: Torque Specifications and Carbon Paste for Carbon Seatposts
Introduction
Adjusting saddle height is one of the most frequent adjustments riders make, but many don’t realize that pairing a carbon seatpost with a carbon frame requires strict adherence to torque specifications and specific lubricants. Over-tightening can cause micro-cracks in the carbon post at the clamp contact point, while under-tightening can allow the seatpost to slip during riding—affecting not only ride quality but also posing a safety hazard.
Common Seatpost and Clamp Material Combinations
| Seatpost Material | Frame Clamp Material | Recommended Medium | Notes |
|---|---|---|---|
| Carbon | Carbon/Aluminum | Carbon assembly paste | Minimum torque, typically 4–6 Nm |
| Aluminum | Carbon/Aluminum | Thin layer of grease | Standard torque, 8–12 Nm |
| Titanium | Any material | Anti-seize compound (Copper Slip) | Prevents galvanic corrosion |
| Carbon | Steel frame (threaded clamp) | Carbon assembly paste | Mind the minimum insertion depth |
Core Principles for Carbon Seatposts
What Is Carbon Paste?
Carbon paste (commonly called Carbon Grip or Carbon Assembly Paste) is a semi-solid paste containing fine hard particles (usually silicon carbide or tungsten carbide). Its working principle is:
- Increases the coefficient of friction, allowing the seatpost to be secured at lower torque
- Solvent-free, so it won’t attack epoxy resin
- Particle size won’t embed into carbon fiber layers, causing no structural damage
Important: Carbon paste is not a lubricant but a “friction enhancer,” designed to let you achieve the same clamping force with lower torque.
When to Use It
- Carbon post inserted into a carbon or aluminum frame clamp: Mandatory
- Aluminum post inserted into a carbon frame clamp: Recommended, to reduce required torque and protect the clamp
- Aluminum post inserted into an aluminum frame clamp: A thin layer of grease is sufficient
Correct Installation Procedure for Clamp and Seatpost
Tool Preparation
- Torque wrench (0–10 Nm range, essential)
- Tape measure (to confirm insertion depth)
- Carbon assembly paste (for carbon posts)
- Cleaning cloth
- IPA (for cleaning)
Installation Steps
- Clean the seatpost and clamp inner surface: Wipe with IPA to ensure no grease or old paste residue remains
- Confirm minimum insertion depth: Seatposts usually have a “MIN INSERTION” mark; ensure the post is inserted beyond this line. If unmarked, a general recommendation is at least 8–10 cm of insertion
- Apply carbon paste:
- Apply a thin layer of paste to the inserted portion of the seatpost (the clamp contact area)
- Spread evenly, covering the full circumference; no need for excessive amounts
- Avoid paste seeping into the frame interior
- Insert the seatpost after setting the height
- Tighten the clamp bolts:
- Use a torque wrench and tighten to the manufacturer’s recommended torque
- If there are two bolts, tighten them alternately and evenly
- Never exceed the recommended torque
Torque Reference by Brand
| Brand | Carbon Clamp Torque | Standard Clamp Torque |
|---|---|---|
| Most brands | 4–6 Nm | 8–12 Nm |
| Specialized (some models) | 5 Nm | 10 Nm |
| Trek Domane with internal routing | Model-dependent, usually 5 Nm | — |
| Giant (carbon frame) | 4–5 Nm | — |
Note: These are general reference values; follow the manual that came with your frame, as the torque values in the manual take priority.
Troubleshooting Seatpost Slippage
If the seatpost continues to slip during riding:
- Check whether the carbon paste has fully dried: Some pastes require 10–15 minutes of settling time for solvents to evaporate
- Increase the amount of paste: Ensure even coverage across the entire clamping area
- Confirm the clamp bolts are at the correct torque: Do not go below the recommended value
- Inspect the clamp for damage: Cracks or deformation in the clamp can result in insufficient clamping force
- Consider using a seatpost clamp booster: Some riders use an additional clamp extender to increase clamping surface area
Never: Keep tightening beyond the recommended torque because the seatpost is slipping—this is the most common and most dangerous mistake.
Clamp Maintenance
The seat clamp is a small part but should not be overlooked:
- Regular cleaning: Remove the clamp during major washes, clean the contact surfaces, and apply a thin layer of grease (on the threads)
- Check bolt condition: Replace bolts immediately if threads are stripped or corroded; do not force them
- Quick-release clamps: If using a quick-release clamp, ensure sufficient clamping force when closing the lever (no play), and the lever should open perpendicular to the seatpost for added safety
Practical Tips
- After every saddle height adjustment, ride about 100 meters, then get off and re-check that the seatpost hasn’t slipped
- Buying a torque wrench is a necessary investment for carbon frame owners; a quality torque wrench costs about NT$500–1500, yet protects components worth many times more
- Confirm your saddle height is secured well before long rides or races, to avoid making adjustments in the field without the right tools
Conclusion
Seatpost maintenance may seem simple, but the fragility of carbon fiber demands extra precision in this task. Remember the core principles: carbon posts with carbon paste, low torque tightening, and a torque wrench as a must-have. Develop these three habits, and your carbon seatpost and frame clamp will safely accompany you on every route you ride.
Related Reading
- Seatpost Clamp Specifications and Torque Guide: The Most Trouble-Prone Screw on Carbon Bikes
- Installation Notes for Carbon Components: The Importance of a Torque Wrench
- Road Bike Handlebar and Seatpost Fastening: How to Properly Use a Torque Wrench
- Carbon Seatpost vs. Aluminum Seatpost: The Trade-off Between Vibration Damping and Weight
Nepest NOVA 碳條輪組:輕量、空力、舒適一次滿足!/ 公路車 / CT Yeh
7 個月前
再一組! 全碳幅條 碟煞/無內胎輪組 開箱! 到底好騎嗎? UNAAS X40 | 公路車 | CT Yeh
4 年前
一日北高/長距離團騎 常見問題補充篇 / 組團或跟團的眉角 / 壯車友容易被瘦車友慢性拉爆 / 原來屁股痛可能是這個原因...? / 風場配速法 / 公路車 / CT Yeh
2 年前
#公路車 #Fitting 靠人工智慧APP 幫你調整單車
6 年前
碟煞公路車 銑面器 !? 原來銑完差這麼多! 降低蹭碟機率! | TIME 公路車 保養小記錄 | CT Yeh
3 年前
訓練台體驗) 2019台北自行車展 三大家 訓練台體驗 Tacx Neo Flux 2 Xepdo Apx Wahoo Kickr
7 年前
鉅齒紋輪組!? ControlTech MEG-T50 EVO 碳纖維幅條輪組/ 功率對比實驗 / 公路車 / CT Yeh
2 年前
公路車 BB培林大升級! / 備戰海鷗繞圈賽 Canyon Aerod & TIME 一起改 / MIT大廠 CEMA對鎖式陶瓷培林BB & 導輪 / 公路車 / CT Yeh
2 年前