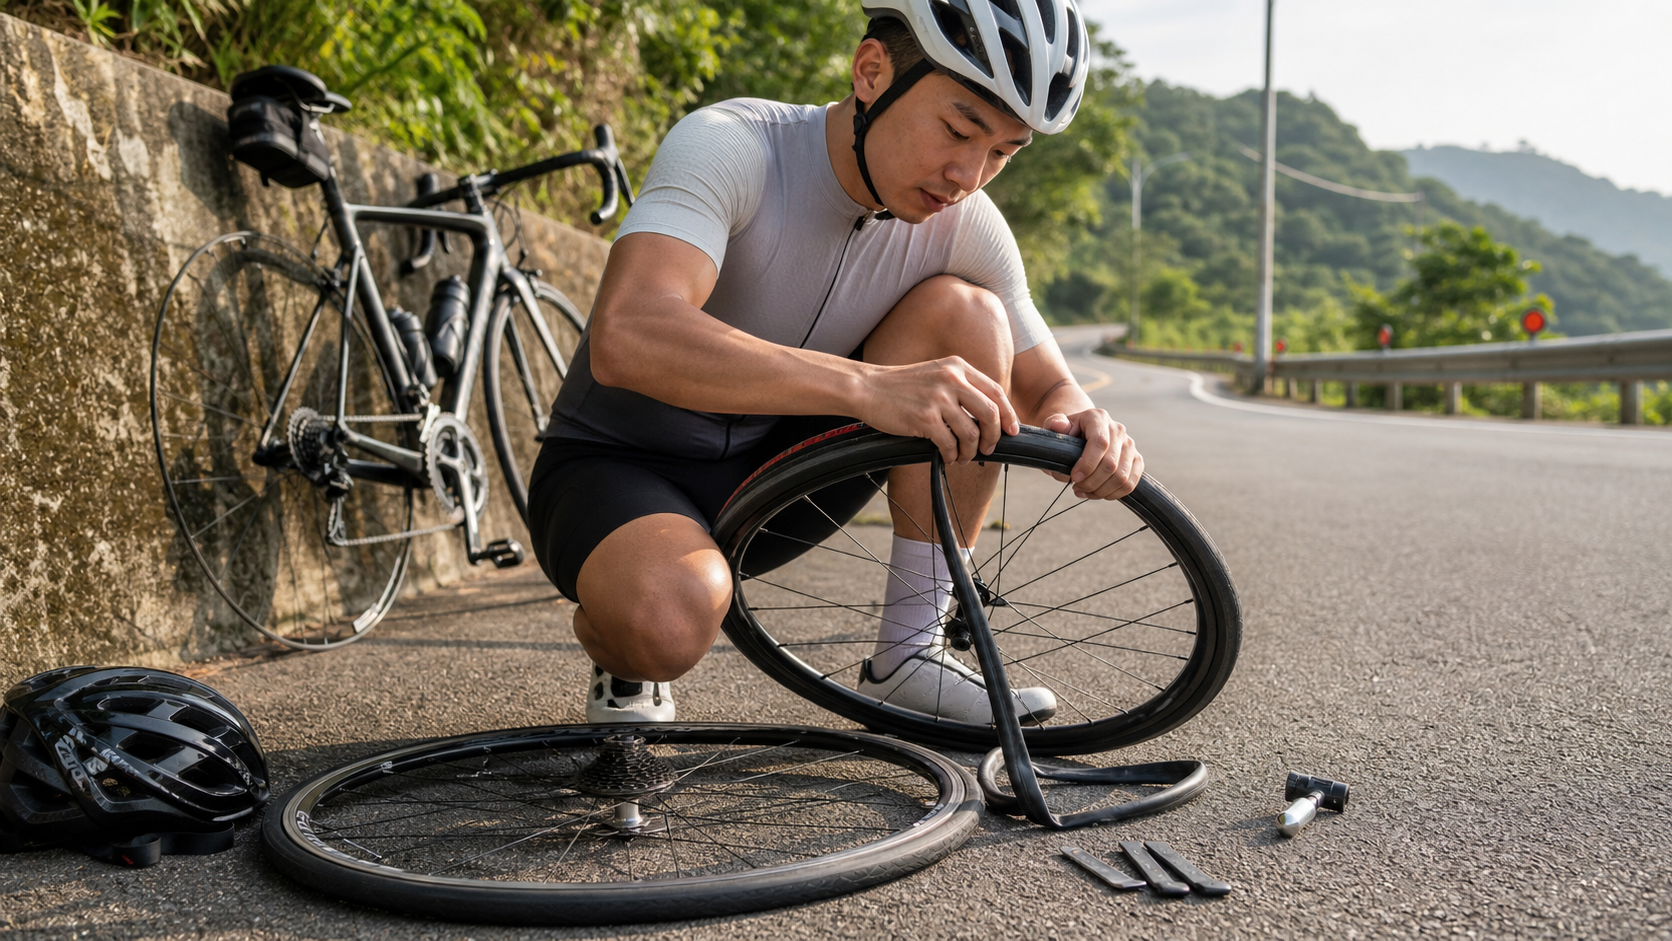
Emergency Flat Tire Repair: A 10-Minute Guide to Changing an Inner Tube on the Road
Introduction
A flat tire is a reality every cyclist must eventually face. When riding on Taiwan’s roads, gravel, glass shards, or even metal strips in pavement seams can instantly deflate your tire. Whether you’re alone on a mountain road or a group of riders is waiting on you, the pressure can make you more prone to mistakes. This article provides the most efficient tire-changing process and practical tips to avoid common errors.
Preparation Before You Ride (The Key to Successful Roadside Repairs)
Half of your success in changing a tire is determined before you leave home. Before every ride, confirm you carry:
| Item | Recommended Spec | Notes |
|---|---|---|
| Spare inner tube × 1–2 | Matches your current tire size | Store in a jersey pocket or saddle bag |
| Tire levers × 2 | Plastic material | Never use metal, to avoid scratching the rim |
| CO2 cartridges × 1–2 | 16g or 25g | Pair with the corresponding inflator head |
| Mini pump (optional) | Folding type | Backup plan if CO2 runs out |
| Gloves (optional) | Thin type | Avoid hard-to-clean grease stains |
Complete 10-Minute Quick Tire Change Process
Minutes 0–1: Stop Safely and Assess
- Stop immediately: If you hear an unusual sound or feel the bike losing control, find a flat, safe spot to stop. Do not keep riding (riding can damage the rim).
- Identify which tire is flat: Gently rock the handlebars to feel which side is soft, or press down with your hand to confirm.
- Move to a safe location: If you’re on the road, move to the shoulder or a safe area and turn on your rear light.
Minutes 1–3: Remove the Wheel
Front wheel:
- Make sure the brake caliper is open (there’s a quick-release tab on top of the caliper).
- Open the quick-release skewer (loosen counterclockwise, flip the lever open), and remove the front wheel.
Rear wheel (more complex):
- Shift the chain onto the smallest cog (hardest gear) to reduce tension.
- Open the rear quick-release skewer.
- Pull the rear derailleur back to let the chain slip off easily.
- Remove the axle from the left (non-drive) side first.
Minutes 3–6: Change the Tube
- Fully deflate: Press the valve core to ensure the tube is completely empty.
- Use tire levers to remove one side of the bead:
- Insert the first lever between the bead and the rim, hook it, and secure it to a spoke.
- Insert the second lever 10–15cm away, pry it back to pop the bead over the rim.
- Slide the lever along the rim to unseat the entire side of the bead.
- Remove the old tube: Starting at the valve, work your way around to pull it out.
- Find the puncture object: Run your fingers (gloves are safer) along the inside of the tire to locate any nail or glass and remove it.
- Install the new tube:
- Fold the spare tube, add a small amount of air (so it holds its shape and doesn’t get twisted during installation).
- Insert the valve into the rim hole first.
- Tuck the rest of the tube inside the tire.
- Refit the tire:
- Starting at the valve, use the base of your thumb to press the bead back onto the rim.
- Hold the installed section in place with one hand while continuing to work your way around.
- For the final section (the hardest part): press with both thumbs simultaneously, rolling it into place.
Minutes 6–8: Inflate and Verify
- Inflate to 20–30 psi first: Confirm the tire is seated evenly all around (the bead line appears uniformly around the rim) and no tube is pinched out anywhere.
- Inflate to riding pressure: CO2 cartridge operation—attach the inflator head first, loosen the Presta valve core, then screw in the CO2 cartridge until inflation is complete (one 16g CO2 cartridge inflates a 700×25c tire to approximately 90 psi).
- Check for leaks: Apply saliva to the valve to confirm there are no bubbles.
Minutes 8–10: Reinstall the Wheel
- Put the wheel back on and tighten the quick-release (once you feel resistance, give it 1–2 more turns, then press down with your palm to lock it).
- Confirm the quick-release is fully tightened (there should be noticeable resistance when pressing with your palm).
- For the rear wheel, confirm the chain is on the correct cog and close the brake quick-release.
- Before setting off, test the brakes lightly to confirm they work.
Five Common Mistakes
| Mistake | Consequence | Correct Approach |
|---|---|---|
| Not checking the inside of the tire | Flat again immediately after changing | Always feel the entire inner surface of the tire before installing a new tube |
| Under-inflating the new tube | Tube twists during installation, causing a pinch flat | Add a small amount of air so the tube holds its shape |
| Using metal tools to pry the tire | Scratches the rim or punctures the new tube | Use only plastic tire levers |
| Quick-release not tightened | Wheel can detach while riding—extremely dangerous | Press the quick-release with your palm to confirm resistance |
| Not topping up after using CO2 | CO2 escapes faster than air; pressure drops after 24 hours | Refill with a regular pump once you reach your destination |
Practical Tips
- Practice matters: Do 2–3 practice tire changes at home so your fingers remember the steps; only then will roadside repairs go smoothly.
- Keep emergency contacts handy: If you lack tools or experience, many cycling groups in Taiwan have a roadside-assistance culture—just post in your riding group chat.
- Carry gloves: Changing a rear tire will inevitably get chain grease on your hands; a thin pair of gloves saves you the cleanup hassle.
Conclusion
Changing a flat tire is a fundamental survival skill for every cyclist. With proper preparation (spare tube, tools) and repeated practice at home, any rider can complete a tire change within 10 minutes. Remember, a flat isn’t a dead end—it’s a small episode in every ride story that helps you grow.
Related Reading
- Complete Guide to Replacing Inner Tubes and Patching: From Tools to Technique
- Bicycle Flat Tire First Aid: The Complete SOP for Roadside Tube Replacement and Patching
- Bicycle Tire Replacement in Practice: The Full Process from Puncture and Patching to Tube Replacement
- Bike Maintenance for Beginners: The First Step to Changing Your Own Inner Tube
單車 一日北高 ( 雙城 ) 肥宅雙人瘋狂行 紀錄片 REACTO
10 年前
爬陡坡被爆胎的車友跑步超車 #cycling #里佳部落
9 個月前
碟煞公路車 銑面器 !? 原來銑完差這麼多! 降低蹭碟機率! | TIME 公路車 保養小記錄 | CT Yeh
3 年前
再一組! 全碳幅條 碟煞/無內胎輪組 開箱! 到底好騎嗎? UNAAS X40 | 公路車 | CT Yeh
4 年前
單車胎壓觀察到的有趣現象,SRAM Quarq TyreWiz 2.0 無內胎胎壓計 / 裝了有哪些幫助? / Tubeless / 公路車 / CT Yeh
1 年前
一日北高常見問題大集合 | 攻略 | 路線 | 訓練 | 補給 | 自行車 單車 | 一日雙城 | 雙塔 | TWB北高360 | 屁股痛
6 年前
摔車後補裝備: 好市多新款單車安全帽& Specialized Romin 北高整路屁股都不痛的坐墊 | 一千元居然有MIPS | CT Yeh | 公路車
4 年前
一日北高前的高裝檢 | 北高 360 | 挑戰11小時的裝備 | 一日雙塔 | 補給
6 年前