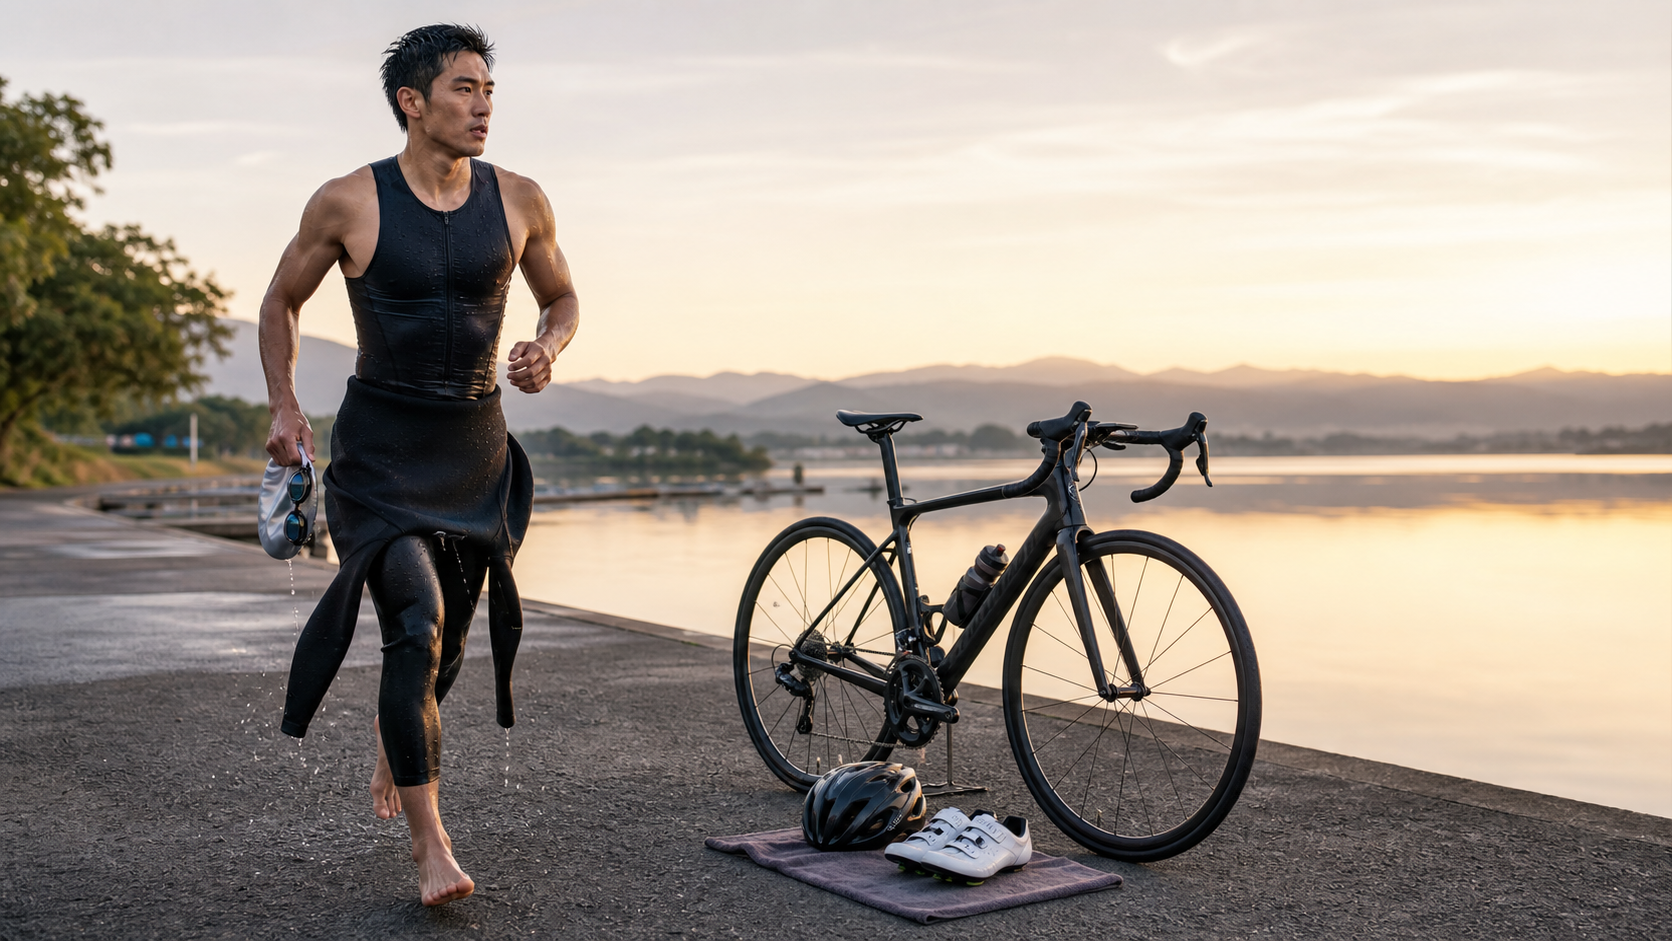
Swim to Bike: The Science of Brick Training and Gear Setup to Beat “Heavy Legs” (Series 84)
This article was written in collaboration between our sports science editorial team and professional coaches, bringing you the most professional knowledge and training advice for the Triathlon Zone.
In today’s Triathlon Zone, more and more athletes are embracing “scientific training.” Whether you’re a beginner aiming just to finish, or an elite athlete chasing a new personal best (PB), precise physiological data management and systematic training plans are the key to pain-free progress. This article takes a deep dive into the relevant physiology and training practices.
The Art of a Smooth Transition: Breaking Down the T1 and T2 Process
In triathlon, the transition area is often called the “fourth discipline.” A well-practiced athlete can complete T1 (swim-to-bike) and T2 (bike-to-run) in as little as 1-2 minutes, while a beginner might take more than 5 minutes. The key to speeding things up is simplifying the process: unzip your wetsuit before exiting the water, pre-clip your cycling shoes to the pedals, and lay out your gear in order on your transition towel. Every unnecessary movement quietly eats into precious race time.
Brick Workouts: Overcoming That Heavy-Leg Feeling
After riding dozens of kilometers on the bike, the first 1-2 kilometers of the run can feel like your legs are filled with lead. This happens because blood is concentrated in the cycling muscles, and running and cycling recruit completely different muscle fibers and neural pathways. “Brick training” — running for 15-30 minutes immediately after finishing a bike session — trains your brain and muscles to redistribute blood flow within minutes, helping your body adapt to this rapid neuromuscular transition.
Triathlon (51.5K Olympic Distance) Transition Checklist for a Smooth Flow
Here is a practical data-driven checklist and recommended setup:
| Transition Stage | Athlete Action Steps | Gear Check | Tactical Focus | Time-Saving Tips |
|---|---|---|---|---|
| Swim Exit (T1 Begins) | Unzip wetsuit, pull down to the waist | Hold swim cap and goggles in hand | Maintain running rhythm, prevent dizziness | Remove the upper half of the wetsuit while running out of the water |
| Bike Setup (T1) | Put on helmet (must be buckled first) -> remove wetsuit -> put on cycling shoes | Helmet, race bib (turned to the back) | Confirm race bib and helmet are secured | Use elastic no-tie laces; pre-clip shoes to the bike |
| Bike Return (T2 Begins) | Feet out of cycling shoes ~500m before the line, feet resting on top of shoes | Prepare to dismount | Watch the dismount line, do not dismount early | Dynamic dismount — run the bike into the transition spot |
| Run Start (T2) | Rack the bike -> remove helmet -> put on running shoes -> grab nutrition | Running shoes, sun visor, energy gel | Turn race bib to the front | Use talc in running shoes for easy entry; ease the pace for the first 1K |
Core Gear and Nutrition Checklist
For this kind of training or race, we recommend having the following ready:
- Lightweight, breathable gear: High-breathability fabric reduces sweat resistance and prevents chafing injuries.
- Electrolyte/salt tablets: Prevent electrolyte imbalance and muscle cramps caused by heavy sweating in hot conditions.
- High-osmolarity energy gels: Each packet provides about 25-30g of complex carbohydrates; take one every 40-45 minutes.
- Post-race recovery drink: A carbohydrate-to-protein ratio of 3-4:1, consumed within 30 minutes after finishing training or racing.
- Heart rate monitoring gear: A chest-strap heart rate monitor or high-precision sports watch to track your heart rate zones in real time.
Frequently Asked Questions (FAQ)
Q: Do I have to wear socks during the T1 transition?
A: For shorter-distance races (such as sprint or Olympic distance), many elite athletes skip socks to save time, applying petroleum jelly inside their cycling shoes to prevent chafing. However, for longer distances like a half-Ironman (113km) or full Ironman (226km), it’s best to take the time to put on socks to avoid blisters.
Q: How can I make my wetsuit easier to remove?
A: Apply an anti-chafing balm (like Body Glide) to your wrists, ankles, and neck. When removing the wetsuit, roll it downward and inside-out, then step on the cuff and pull it off firmly.
Conclusion and Outlook
Sport is a lifelong journey — results are just numbers in the moment, while a healthy body and a strong will are the truly precious treasures. Bring this scientific knowledge into your daily training and feel your body transform!
Related Reading
單車 一日北高 ( 雙城 ) 肥宅雙人瘋狂行 紀錄片 REACTO
10 年前
靠單車減肥35公斤 心得分享與整理
7 年前
一日北高常見問題大集合 | 攻略 | 路線 | 訓練 | 補給 | 自行車 單車 | 一日雙城 | 雙塔 | TWB北高360 | 屁股痛
6 年前
西進武嶺 免費訓練分析服務 Intervals | 練不夠還是練過頭?你哪一種類型選手?AI模型告訴你! | 備戰神器 | 公路車 訓練 | CT Yeh
4 年前
單車AI教練!全新 ChatGPT4o 幫你分析訓練成果!排武嶺課表,分析騎車姿勢! 太神了! / 公路車 / CT Yeh / feat. 緯緯
2 年前
多到選擇障礙... 換個單車把帶想一個小時 / BTP / 編織&軟木特有材質超吸睛! / 公路車 / CT Yeh
1 年前
#公路車 #Fitting 靠人工智慧APP 幫你調整單車
6 年前
4K 東眼山 x 水蜜桃冰沙 百人單車約騎! 操完再吃冰 多爽快
7 年前