Complete Guide to Internal Cable Routing: From Route Planning to Threading Techniques
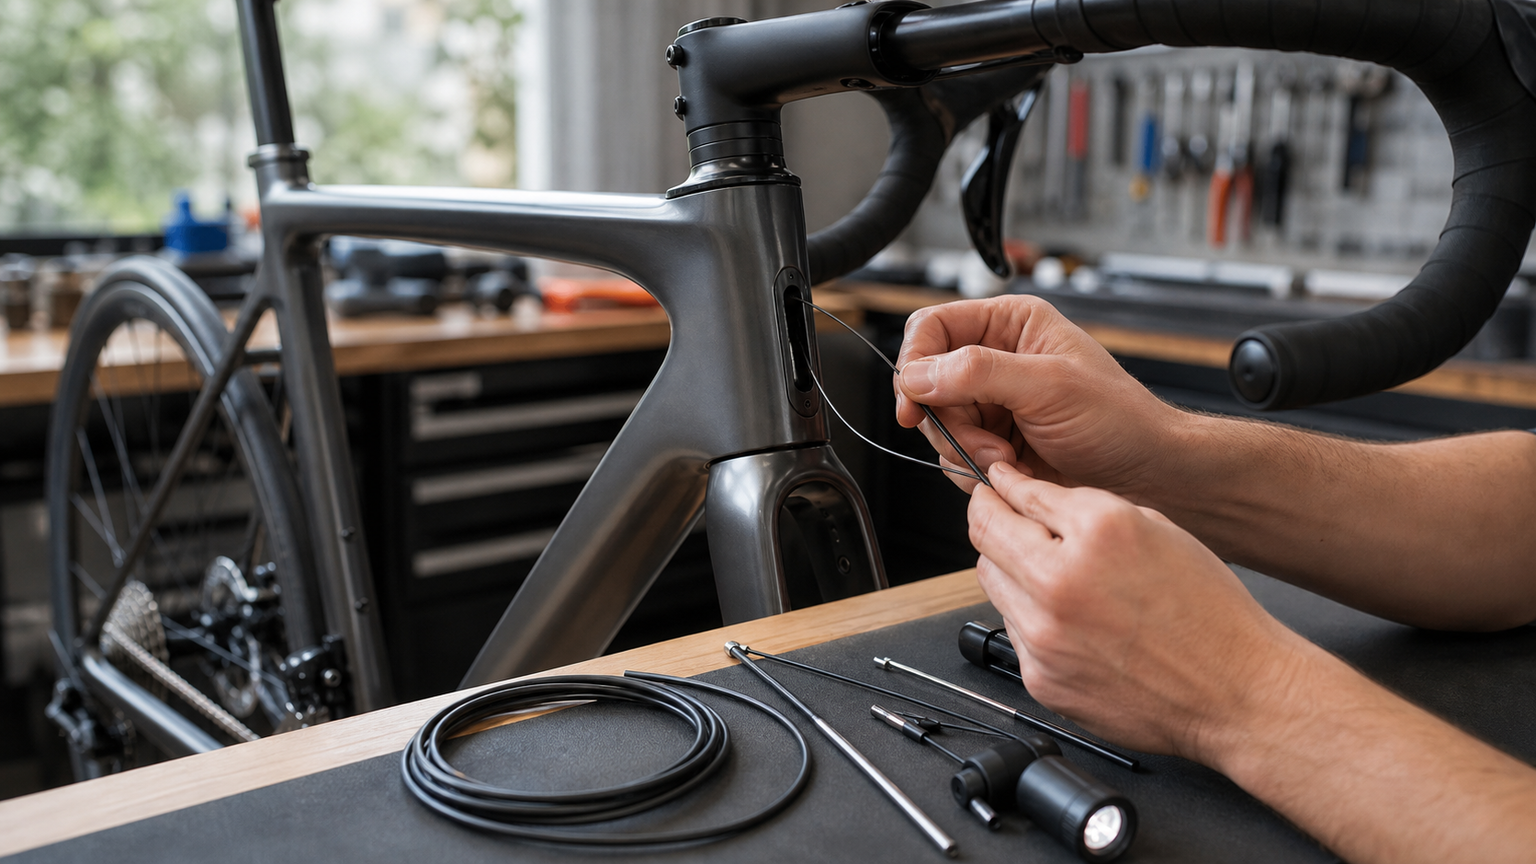
More and more modern bicycles use internal cable routing, from road bikes to mountain bikes and even some urban commuters. Behind that clean look lies a maintenance process that gives many mechanics and riders a headache. This article breaks down the technical details of internal routing so you no longer have to dread it.
Internal vs. External Routing
| Comparison | Internal Routing | External Routing |
|---|---|---|
| Appearance | Clean and sleek | Cables exposed |
| Aerodynamics | Better | Average |
| Maintenance difficulty | High | Low |
| Maintenance time | 30 minutes to several hours | 15-30 minutes |
| Cable lifespan | Longer (protected from sun and rain) | Average |
| Suitable bikes | High-end road bikes, aero bikes | Entry-level to mid-range bikes |
Three Types of Internal Routing
1. Semi-Internal Routing
Cables enter the frame near the stem and exit at the bottom bracket or chainstay area. The frame usually has internal guide tubes.
2. Fully Internal Routing
All cables enter from inside the stem and run through the frame to their destinations. Both brake and shift cables are completely hidden.
3. Integrated Internal Routing
Cables enter from the end of the handlebar, pass through the stem and steerer tube, and into the frame. This is the hardest to service but gives the cleanest appearance, and is common on top-tier aero road bikes.
Essential Tools
The right tools turn internal routing from a nightmare into routine work:
- Internal routing guide magnets (highly recommended): an internal magnet ball paired with an external tracking magnet
- Routing wire (Internal Routing Kit): flexible yet stiff enough guide wire
- Routing tape: for taping the old cable to the new one
- End caps and tape: for securing and marking
- Headlamp or flashlight: to see inside the frame
- Patience: no joke, patience is what internal routing needs most
Advanced Tools
- Park Tool IR-1.3 Internal Cable Routing Kit: includes various guide magnets and threading tools
- Borescope / phone snake camera: lets you see the cable path inside the frame
- Compressed air canister: for cleaning the frame interior and assisting with routing
Preparation Before Threading
Step 1: Document the Existing Routing
This step is critical, skip it and you will regret it!
- Photograph every point where cables enter and exit the frame
- Record the path of each cable (which one runs on top, which runs below)
- Mark each cable (with different colored tape)
- If it’s a brand-new frame, check the manufacturer’s routing diagram
Step 2: Prepare the New Cables
- Don’t cut the new cable to length yet, keep it full length
- Apply a small amount of grease to the cable tip
- Prepare the matching housing (brake housing and shift housing are not interchangeable)
Step 3: Inspect the Inside of the Frame
- Shine a flashlight through each opening to look inside
- Check whether internal guide tubes are present (many new frames already have them built in)
- Clean out dust and debris from inside the frame
Core Threading Techniques
Method 1: Use the Old Cable to Pull the New One (Most Recommended)
This is the simplest method, ideal when replacing cables:
- Do not pull the old cable all the way out
- Create a connection between the tail of the old cable and the tip of the new one:
- Wrap tightly with tape
- Or use a dedicated cable connector
- Slowly pull the old cable out from one end, and the new cable will follow it through
- Keep the cable under tension the whole time to avoid it slipping loose inside the frame
Note: This method doesn’t work if the old cable has already broken or gone missing.
Method 2: Magnet-Guided Method
Useful when there is no old cable to work with:
- Tie a small magnet ball to one end of the routing wire
- Feed the magnet ball into the frame through the entry point
- Use an external tracking magnet along the outside of the frame to guide the internal magnet
- Guide the magnet to the exit point
- Once the magnet ball reaches the exit, pull it out with tweezers
- Attach the actual cable to the other end of the routing wire and pull it back through to finish
Tips for the magnet method:
- Use strong neodymium magnets, an ordinary fridge magnet isn’t strong enough
- Carbon fiber frames are easier to work with than metal frames (carbon fiber isn’t magnetic)
- Aluminum frames aren’t magnetic either, but their tube walls are thicker and need stronger magnets
- Steel frame caution: steel is magnetic, so the magnet may stick to the tube wall instead of guiding the cable
Method 3: Gravity-Assisted Method
Works well for straight, vertical tube sections:
- Turn the frame upside down or tilt it so the entry point is on top
- Feed the routing wire in from the top
- Let gravity pull the wire down naturally toward the exit
- Gently shake the frame to help the wire pass through
Key Points for Each Section
Stem to Head Tube Section
- Integrated stems are the most challenging
- Usually requires removing the fork to work on it
- Space is extremely tight, use the thinnest routing wire available
- Some stems have a pre-built cable channel or guide hole
Head Tube to Down Tube Section
- This is the longest internal section
- Cables tend to tangle near the bottom bracket
- Route one cable at a time to avoid tangling
- Use a magnet at the bottom bracket opening to help guide the cable
Chainstay Section (Rear Derailleur/Rear Brake Cable)
- Enters the chainstay from the bottom bracket area; the path is shorter
- Watch for burrs at internal weld points
- With press-fit bottom brackets, be careful not to let the cable get pinched by the bearing
Special Considerations for Hydraulic Hoses
Routing hydraulic brake hoses involves extra considerations:
- No sharp bends allowed: hydraulic hoses have a larger minimum bend radius than mechanical cables
- Fittings (Olive & Barb): install the fitting only after the hose is fully routed
- Hose length: better to leave it long and trim later than cut it too short
- Bleeding required after routing: this is an extra step, see our hydraulic brake bleeding article for details
Post-Installation Checklist
- [ ] All cable paths are correct with no crossing or tangling
- [ ] No pulling or interference when turning the handlebar fully left to right
- [ ] Braking and shifting operate smoothly and normally
- [ ] Housing end caps are installed and cable ends are crimped with ferrules
- [ ] Rubber sealing plugs at each frame opening are back in place
Preventing Future Headaches
- Always leave the old cable in the frame when replacing cables, until the new one is threaded
- Replace regularly: since internal cables can’t be visually inspected for wear, check them at least once a year
- Clean the frame: take the opportunity to clean the frame interior while the cables are out
- Document the routing path: take photos and save them, you’ll thank yourself next time
Internal routing maintenance is genuinely harder than external routing, but with the right tools and methods, it’s just routine maintenance that takes a bit more time. The most important mindset: don’t rush, impatience is the biggest enemy of internal cable routing.
Related Reading
- Complete Guide to Road Bike Internal Cable Routing: Tools and Techniques
- Bicycle Internal Cable Routing Repair Tips: Stop Fighting the Threading
- When and How to Replace Bicycle Cables: Managing Brake and Shift Cable Lifespan
- Buying Guide for Road Bike Shift Housing and Inner Cables: Optislick vs. Coated Cables
高雄綠園道鐵路自行車道 / 外地人能輕鬆駕馭 還是整路崩潰? / 2025 全線開通 春節實地探索一次!(附GPS連結)/ 公路車 / CT Yeh
1 年前
再一組! 全碳幅條 碟煞/無內胎輪組 開箱! 到底好騎嗎? UNAAS X40 | 公路車 | CT Yeh
4 年前
換車囉! TIME ADH 2023 全內線碟煞公路車 開箱實錄!/ Dyneema 碳纖維真的太猛了 / 曜越單車 / CT Yeh
3 年前
碟煞公路車 優缺點?換車一年半實際經驗分享 / 公路車 / CT Yeh
2 年前
CT 喇低賽) 武嶺牽車 才是王道 西進牽車四小時內秘訣 攝手位置 如何判斷 防抽筋小秘訣
7 年前
碟煞公路車 銑面器 !? 原來銑完差這麼多! 降低蹭碟機率! | TIME 公路車 保養小記錄 | CT Yeh
3 年前
#公路車 #西進武嶺 配速配瓦實驗 坡度分析 四小時內攻略 建大盃 NeverStop #西進武嶺攻略
6 年前
公路車 BB培林大升級! / 備戰海鷗繞圈賽 Canyon Aerod & TIME 一起改 / MIT大廠 CEMA對鎖式陶瓷培林BB & 導輪 / 公路車 / CT Yeh
2 年前