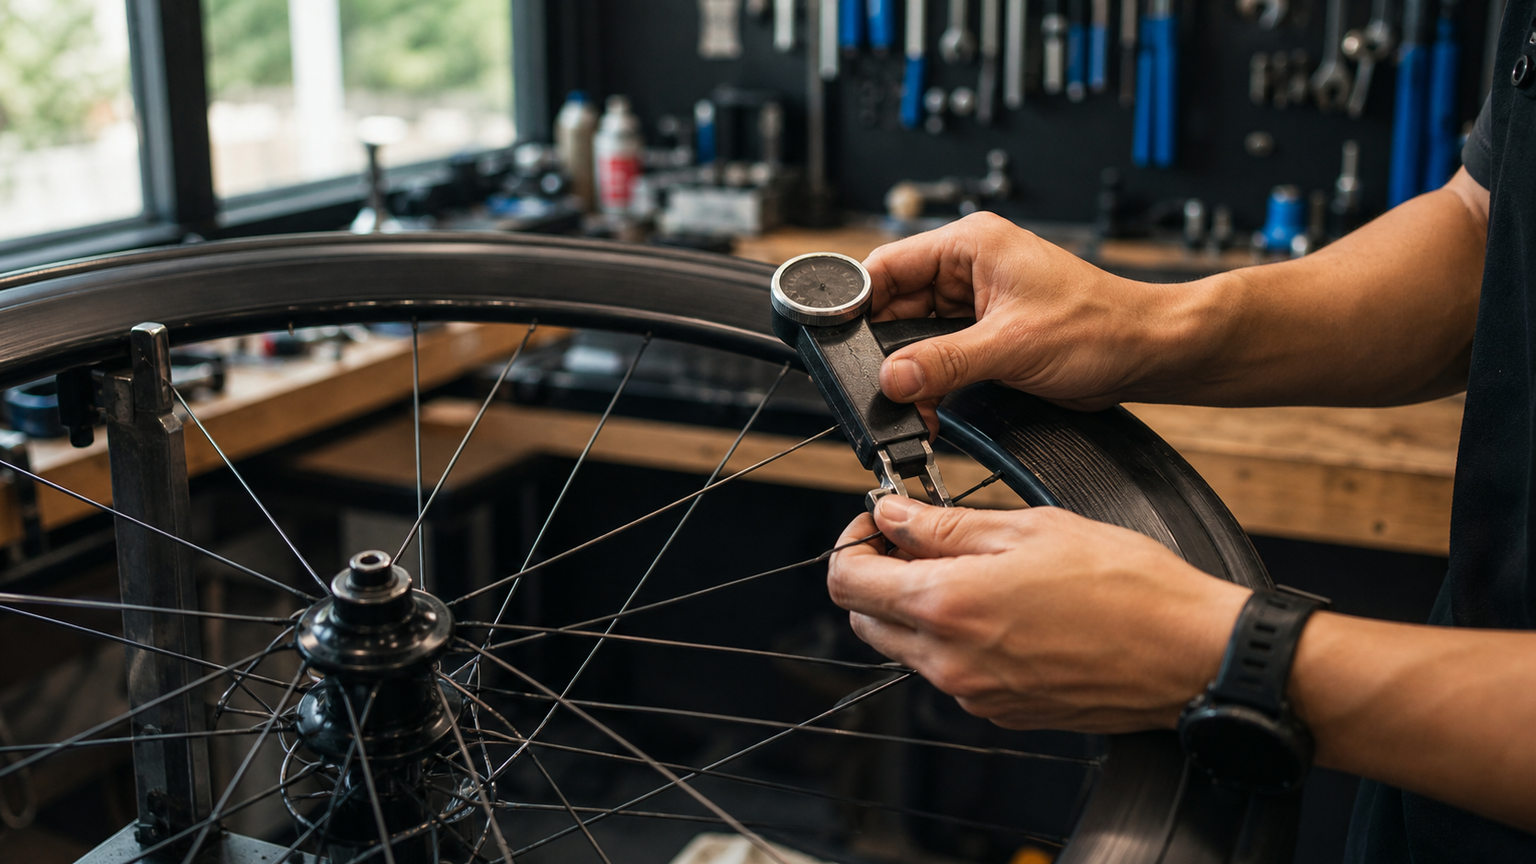
The Complete Guide to Spoke Tension Measurement: Building a Perfectly True Wheelset
Spoke tension is the invisible metric behind a wheelset’s performance. Two wheels can look equally true, but the one with even spoke tension will stay truer for longer and resist going out of round. Whether you’re truing wheels at home or trying your hand at hand-building, mastering tension measurement is an essential skill.
Why Does Tension Measurement Matter So Much?
Consequences of Too-Low Tension
- Spokes alternate between tension and slack while riding, accelerating fatigue failure
- The wheel deforms easily under lateral loads
- Nipples work loose, producing “pop” or “click” noises while riding
Consequences of Too-High Tension
- The rim endures excessive compressive stress, which can cause it to crack
- Excessive pressure at the nipple seat is especially dangerous on carbon rims
- Increased risk of spoke breakage
Consequences of Uneven Tension
- The lowest-tension spokes loosen first, triggering a chain reaction of wobble
- Uneven load causes specific spokes to fatigue prematurely
- The wheel becomes unstable under high loads (climbing, sprinting, cornering)
Choosing a Tension Meter
| Tension Meter Model | Price Range | Accuracy | Features |
|---|---|---|---|
| Park Tool TM-1 | NT$2,000-2,800 | ±5% | Best entry-level choice, uses a conversion chart |
| Unior 1752 | NT$3,000-4,000 | ±5% | European brand, sturdy construction |
| DT Swiss Tensio | NT$4,000-5,500 | ±3% | DT Swiss’s own tool, good accuracy |
| Wheel Fanatyk | NT$6,000+ | ±2% | Top-tier accuracy, favored by professional wheelbuilders |
| Phone App (vibration method) | Free | ±10-15% | For reference only, not recommended as your sole method |
Beginner recommendation: The Park Tool TM-1 is the best value for money. Although it requires looking up a conversion chart, its accuracy is more than sufficient for home truing and entry-level wheelbuilding.
How to Use a Tension Meter
Using the Park Tool TM-1 as an example:
Basic Operation
- Calibrate to zero: Confirm the meter’s needle reads zero with no load applied
- Clamp the spoke: Clamp the meter’s two contact points onto the middle section of the spoke (avoiding crossing points)
- Read the value: After fully squeezing, read the value on the dial
- Look up the chart: Based on the spoke’s specification (material, diameter, shape), find the corresponding kgf value on the conversion chart
Measurement Tips
- Measure each spoke 2-3 times and take the average
- Keep the clamping position consistent (recommended at the spoke’s midpoint, equidistant from rim and hub)
- Avoid measuring at spoke crossing points (the bend there affects the reading)
- Make sure the spoke isn’t twisted (a twisted spoke gives an inaccurate reading)
Understanding Tension Distribution
Front Wheel Tension Distribution
The front wheel’s structure is relatively symmetrical, and ideally:
- Tension on both sides should be equal
- All spoke tension deviations should be within ±10%
- Recommended tension range: 80-120 kgf (depending on rim specification)
Rear Wheel Tension Distribution — The Mystery of Asymmetry
Because of the cassette, the rear wheel’s structure is inherently asymmetrical. This is a point of confusion for many riders:
- Drive side (right) spokes have a steeper angle and higher tension
- Non-drive side (left) spokes have a flatter angle and lower tension
- The tension ratio between drive side and non-drive side is roughly 2:1 to 1.5:1
Example rear wheel tension (based on a Shimano 11-speed wheelset):
| Side | Target Tension | Acceptable Range |
|---|---|---|
| Drive side | 110 kgf | 100-120 kgf |
| Non-drive side | 55-70 kgf | 50-80 kgf |
Important concept: Lower tension on the rear wheel’s non-drive side is normal and necessary. Don’t try to bring both sides to the same tension — doing so will throw off the rim’s centering (dish).
Standard Procedure for Tension Measurement
Step One: Establish a Baseline
- Mount the wheel on a truing stand
- Measure the tension of each spoke one by one
- Record the values (a table noting each spoke’s position is recommended)
Example recording table:
| Spoke No. | Side | Reading | Converted (kgf) | Note |
|---|---|---|---|---|
| 1 | Drive | 22 | 108 | Normal |
| 2 | Non-drive | 15 | 62 | Normal |
| 3 | Drive | 20 | 95 | Low |
| 4 | Non-drive | 13 | 48 | Low |
| … | … | … | … | … |
Step Two: Analyze the Data
- Calculate the average tension for spokes on the same side
- Identify spokes that deviate more than ±10% from the average
- Check for systematic deviation (e.g., several consecutive spokes reading low)
Step Three: Adjust Tension
Adjustment principles:
- Address the spokes with the largest tension anomalies first
- Adjust in 1/4-turn increments
- After adjusting one spoke, re-measure the neighboring spokes
- Alternate between tension adjustment and trueness correction
Recommended adjustment order:
- First raise overall tension (if it’s generally too low)
- Then balance left and right (trueness correction)
- Finally fine-tune tension evenness
- Stress-relieve after every round of adjustment
Step Four: Stress-Relieve, Then Re-Measure
- After completing adjustments, squeeze each pair of spokes to relieve stress
- Re-measure all spoke tensions
- A 5-10% tension change is typical after stress relief
- Fine-tune once more to bring everything into the target range
Tension Considerations for Different Spoke Specifications
| Spoke Type | Diameter | Characteristics | Recommended Tension |
|---|---|---|---|
| 14g straight-gauge | 2.0mm throughout | Most common, moderate weight | 100-130 kgf |
| 14/15g double-butted | 2.0/1.8mm | Weight savings, slightly more elastic | 90-120 kgf |
| 14/15/14g triple-butted | 2.0/1.8/2.0mm | Best weight-to-strength ratio | 90-120 kgf |
| Bladed spokes | 2.0x0.9mm | Aerodynamic advantage, requires a spoke holder to prevent twisting | 90-130 kgf |
| 14/17g double-butted | 2.0/1.5mm | Ultra-lightweight | 80-110 kgf |
Special note for carbon rims: Carbon rims usually have a manufacturer-specified maximum tension value — always check and follow it. Excessive tension can damage the area around the spoke holes on a carbon rim.
Advanced Techniques
Using Pitch as an Auxiliary Check
Experienced wheelbuilders use the “pluck and listen” method to quickly gauge tension evenness:
- Pluck the spoke lightly with a finger or the handle of a screwdriver
- Spokes on the same side should produce a similar pitch
- A noticeably lower pitch indicates lower tension
- This can’t replace a tension meter, but it’s a quick way to screen for problems
Environmental Factors
- Temperature changes can slightly affect tension readings
- Measuring in a stable indoor environment gives the most accurate results
- New wheels typically show slight tension loss after the first 100-200 km of riding — this is normal
- It’s recommended to re-check tension on new wheels after the break-in period
Common Pitfalls in Tension Measurement
- Chasing numbers while ignoring trueness: Even tension with a wobbly rim is meaningless
- Over-obsessing over precision: A ±5% deviation won’t be noticeable during actual riding
- Skipping stress relief: Tension readings without stress relief are “false” and will shift after just one ride
- Using the wrong conversion chart: Spokes of different materials (stainless steel vs. titanium) require different conversion tables
Once you master tension measurement, you’ll gain an unprecedented understanding of your own wheelset. It won’t just help you solve problems — it will help you prevent them in the first place.
Related Reading
- Wheel Spoke Adjustment Basics: Truing Your Own Rim
- Balancing a Bicycle Wheelset: DIY Techniques for Spoke Tension Adjustment
- The Complete Guide to Cable Tension and Barrel Adjusters: Mastering Precision Shifting and Braking Setup
- Wheel Trueness and Tension Evenness: The Difference Between Hand-Built and Machine-Built Wheels
Vision Metron RS 37碳幅條輪組 (非SL)官網沒有的 低調開箱 / 這重量太銷魂了 / 公路車 / CT Yeh
6 個月前
鉅齒紋輪組!? ControlTech MEG-T50 EVO 碳纖維幅條輪組/ 功率對比實驗 / 公路車 / CT Yeh
2 年前
再一組! 全碳幅條 碟煞/無內胎輪組 開箱! 到底好騎嗎? UNAAS X40 | 公路車 | CT Yeh
4 年前
Nepest NOVA 碳條輪組:輕量、空力、舒適一次滿足!/ 公路車 / CT Yeh
7 個月前
車錶新黑馬? / 超狂續航 / 超好用錶冠 / 無敵準定位 / Dash圖表合成!?/ COROS DURA 評測!/ 公路車 / CT Yeh
2 年前
洗單車神器 吹水機! 實際洗車用用看 暴力洗鍊條大法 | 公路車 | CT Yeh
4 年前
Unaas X50 全碳纖幅條輪 數據實測對比PK | Lun Hyper 的高階版 | 板輪爬坡也可以很厲害? ! 武嶺2小時大師一起親測! CP值超高 | 公路車 | CT Yeh
4 年前
Bryton Rider S500 全面實測 有什麼缺點嗎?| CT Yeh | 公路車 車錶
4 年前