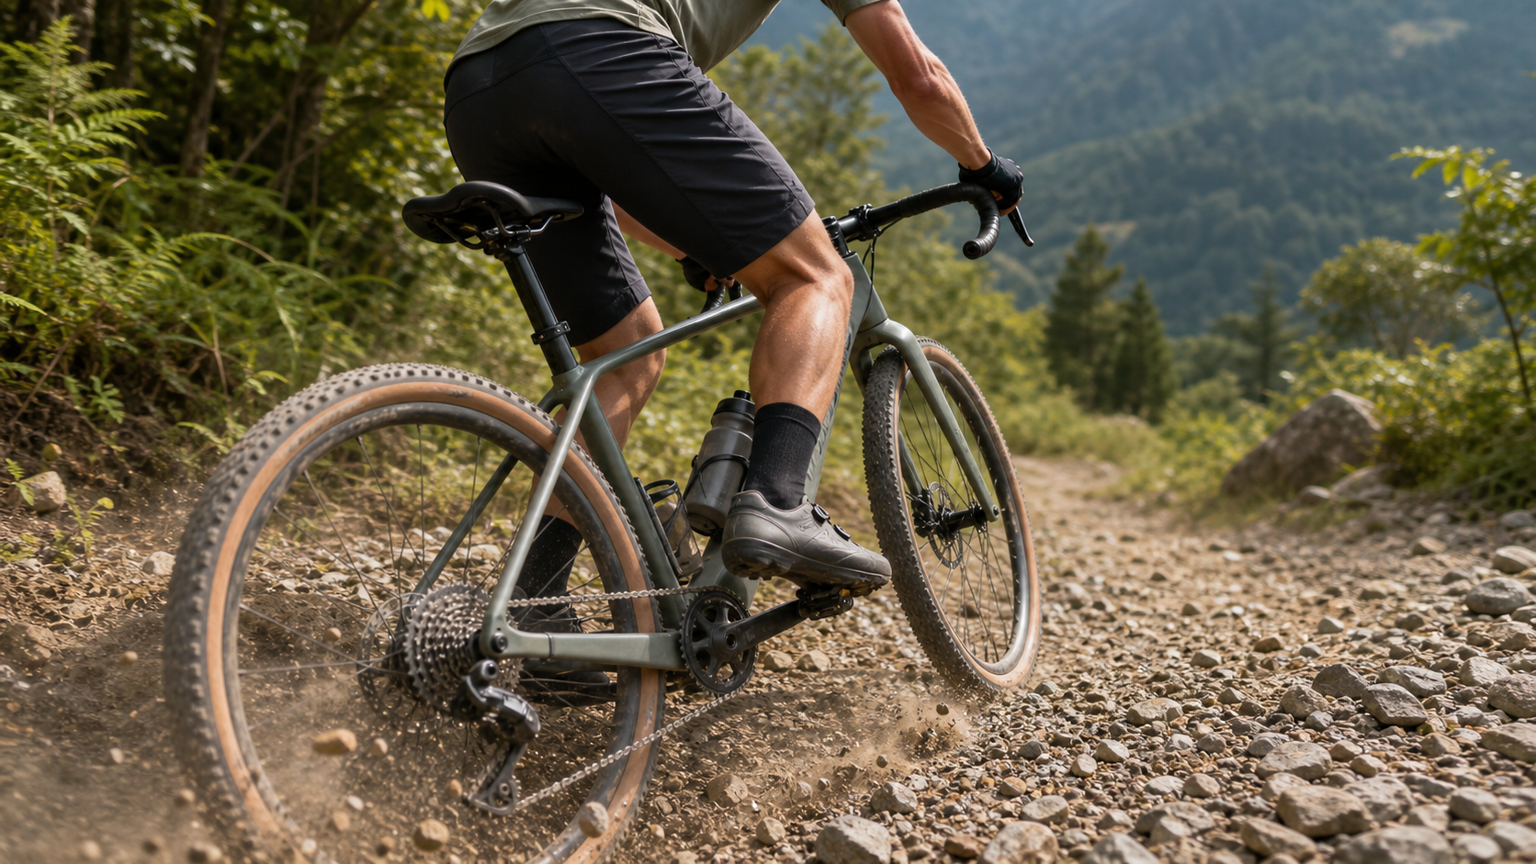
Gravel Bike Dropper Post Complete Guide: Is It Worth Installing? How to Choose?
The dropper post—a component that has long been standard equipment on mountain bikes—is quietly changing the face of Gravel riding. Since 2020, more and more Gravel bikes have been designed with internal routing provisions for dropper posts, and major component brands have been releasing Gravel-specific dropper posts one after another. But is it really worth the investment? This article will provide an in-depth analysis from every angle.
What Is a Dropper Post?
A dropper post (Dropper Post / Dropper Seatpost) is a seatpost that allows you to adjust its height in real time while riding. Through a lever mounted on the handlebar, the rider can lower the saddle by 50-150mm without stopping, lowering the center of gravity to tackle technical descents. When the lever is released, the post automatically returns to its original height.
Why Do Gravel Riders Need a Dropper Post?
Safety on Gravel Descents
This is the core value of a dropper post. On steep descents over gravel roads or forest trails, lowering the saddle height allows the rider’s center of gravity to shift significantly downward and rearward, bringing several key advantages:
- Better center-of-gravity control: The hips can move behind the saddle or even lower, avoiding the fear of being thrown over the bars on steep slopes
- More room for body movement: The legs have more space to absorb impacts from the terrain, acting like a natural suspension system
- More confident braking: With the center of gravity shifted rearward, the front brake can be used more aggressively, providing stronger braking power
- Reduced risk of going over the bars: On extremely steep descents, a high saddle is one of the main causes of endos
Handling on Technical Sections
Not just on descents—on flat technical sections (such as tree roots, rocks, deep water holes), lowering the saddle also allows you to maneuver the bike more nimbly. When the saddle no longer restricts your legs’ range of motion, shifting your body weight becomes much freer.
The Psychological Impact
This point is often overlooked, but it may be the greatest value of a dropper post. When you know you can lower the saddle at any moment, the anxiety of facing unknown terrain is greatly reduced. This psychological sense of security allows you to explore new routes and tackle more difficult terrain with greater boldness.
Disadvantages of a Dropper Post
Added Weight
Gravel-specific dropper posts typically weigh between 350-500g, which is about 150-300g heavier than a standard carbon seatpost (approximately 180-220g). For riders chasing weight savings, this is a weight penalty that cannot be ignored.
Increased Mechanical Complexity
A dropper post is a mechanical device with seals, air chambers, and pistons that requires regular maintenance. Hydraulic models need their hydraulic fluid replaced, and air-sprung models may need air pressure topped up. On long bikepacking trips, if the dropper post fails, you have one more component to repair.
Installation Limitations
Not all Gravel bikes can easily accommodate a dropper post. Factors to consider include:
- Seatpost diameter: Most Gravel bikes use a 27.2mm seatpost, while most mountain bike dropper posts are 30.9mm or 31.6mm. You’ll need to choose a product in the 27.2mm specification.
- Internal routing space: Internally routed dropper posts require the frame to have corresponding cable routing ports
- Insertion depth: The minimum insertion depth of a dropper post is usually longer than a standard seatpost, and smaller frame sizes may not be able to accommodate one
Cost
A quality Gravel dropper post costs between NT$5,000-15,000, and when you add the lever and installation labor, the total investment can approach NT$8,000-18,000.
How to Choose a Gravel Dropper Post?
Drop Travel
Gravel riding doesn’t require the 150-200mm of travel used on mountain bikes. Common options:
- 50-75mm: Light use, suitable for riders who occasionally hit gravel sections
- 75-100mm: Moderate use, suitable for regular Gravel riding
- 100-125mm: Heavy use, suitable for riders who frequently tackle technical terrain
For most Gravel riders, 75-100mm is the sweet spot. It’s enough to significantly lower the center of gravity on descents without adding too much weight and complexity from excessive travel.
Seatpost Diameter
Confirm your frame’s seatpost diameter. Most Gravel bikes use 27.2mm, while some newer models use 30.9mm or a proprietary specification. Be sure to verify before purchasing.
Control Method
There are several ways to control a Gravel dropper post:
- Left-hand handlebar lever: The most common method, mounted on the left side of the handlebar. If you’re running a 1x drivetrain (no front derailleur), the left shifter position is conveniently vacant
- Integrated lever: A design integrated with the brake lever, such as the SRAM AXS system, which allows the shift button on the left brake lever to be reprogrammed as the dropper post control
- Electronic: Wireless electronic control, the easiest to install but at a higher price
Recommended Products
Entry-Level
- KS Rage-i 27.2: Travel 50-65mm, approximately NT$4,500
- TranzX YSP40: Travel 80mm, approximately NT$3,500
Mid-Range
- BikeYoke Divine SL 27.2: Travel 70-100mm, approximately NT$8,000
- Fox Transfer SL 27.2: Travel 75mm, approximately NT$9,500
High-End
- RockShox Reverb AXS XPLR: Wireless electronic, travel 50-75mm, approximately NT$14,000
- BikeYoke Revive 2.0 27.2: Travel 100mm, extremely smooth, approximately NT$11,000
Installation and Setup Tips
Saddle Height Setting
The height of the dropper post when fully extended is your normal pedaling height. During installation, first adjust the dropper post to the same height as your original seatpost, then confirm that the amount of drop when fully compressed meets your needs.
Lever Position
The lever should be positioned so that your thumb can naturally reach it while gripping the handlebar, without needing to move your hand significantly. It’s recommended to spend time adjusting it indoors, repeatedly, to find the most intuitive position.
Maintenance Schedule
- After every ride: Clean the exposed portion of the seatpost and wipe off mud and grit
- Monthly: Check that the post operates smoothly and without unusual noises
- Every 6 months: Perform a full service according to the product manual (replace seals, add lubricant, etc.)
- After every water crossing or muddy ride: Perform extra cleaning and lubrication
Real-World Experience
Honest impressions after six months of riding with a dropper post:
The most surprising benefit is the psychological effect. Knowing you can lower the saddle at any moment nearly eliminates the fear when facing steep slopes and unknown terrain. Sections I previously would have stopped to consider whether to ride, I now just hit the lever and go.
The most noticeable performance gain is speed on gravel descents. With the saddle lowered, your body can shift its center of gravity more freely, braking points can be delayed, and cornering can be more aggressive. By conservative estimate, speed on steep gravel descents has improved by at least 15-20%.
The hardest thing to get used to is the weight. Switching from a carbon seatpost to a dropper post adds about 250g, and on long climbs you can occasionally feel the difference. But considering the confidence and speed gains on descents, this trade-off is worth it.
Who Is the Dropper Post Best For?
Highly Recommended:
- Riders who frequently ride technical gravel roads and singletrack
- Riders transitioning from mountain biking to Gravel (already accustomed to having a dropper post)
- Riders lacking confidence on gravel descents
Worth Considering:
- Riders who encounter occasional gravel sections but mostly ride on pavement
- Riders preparing for Gravel races with technical sections
Not Needed for Now:
- Riders whose routes are primarily on pavement
- Riders who are extremely weight-conscious
- Riders on a tight budget who would be better off investing in other key components
Conclusion
A dropper post is not a necessity for a Gravel bike, but it is definitely an upgrade that can significantly enhance the riding experience. Especially in an environment like Taiwan, with its many mountain roads and steep gradients, the safety and confidence boost provided by a dropper post is hard to measure in monetary terms.
If you’re still on the fence, we suggest borrowing a friend’s bike and trying a gravel descent with a dropper post. After experiencing that sense of freedom, your credit card will likely make the decision for you.
Related Reading
安裝) 超酷! RGT Cycling 最新 訓練台 騎乘軟體 模擬一級賽經典路線 選手 Road Grand Tours 安裝教學 Zwift 替代方案
7 年前
#公路車 #Fitting 靠人工智慧APP 幫你調整單車
6 年前
訓練台體驗) 2019台北自行車展 三大家 訓練台體驗 Tacx Neo Flux 2 Xepdo Apx Wahoo Kickr
7 年前
Nepest NOVA 碳條輪組:輕量、空力、舒適一次滿足!/ 公路車 / CT Yeh
7 個月前
再一組! 全碳幅條 碟煞/無內胎輪組 開箱! 到底好騎嗎? UNAAS X40 | 公路車 | CT Yeh
4 年前
Wilier 盤爺車大升級! SRAM RED D1 升級到 RED E1 新版,爽度、重量有差嗎?/ 你以為只有改這樣嗎XD? / 鈔能力 / 公路車 / CT Yeh
1 年前
GoPro Hero 10 過熱救星?GoPro Volta 開箱! 這麼坑爹的配件,值不值得買? | CT Yeh
4 年前
詳測) 小米 電動打氣筒 公路車胎要充多久? 值得買嗎? 米家充氣寶 小心燙手!
7 年前