Bicycle Derailleur Adjustment Guide: DIY Calibration Steps for Front/Rear Gear Skipping and Noise
文章導覽
DIY Derailleur Adjustment: Fine-Tuning Steps for Front and Rear Derailleurs
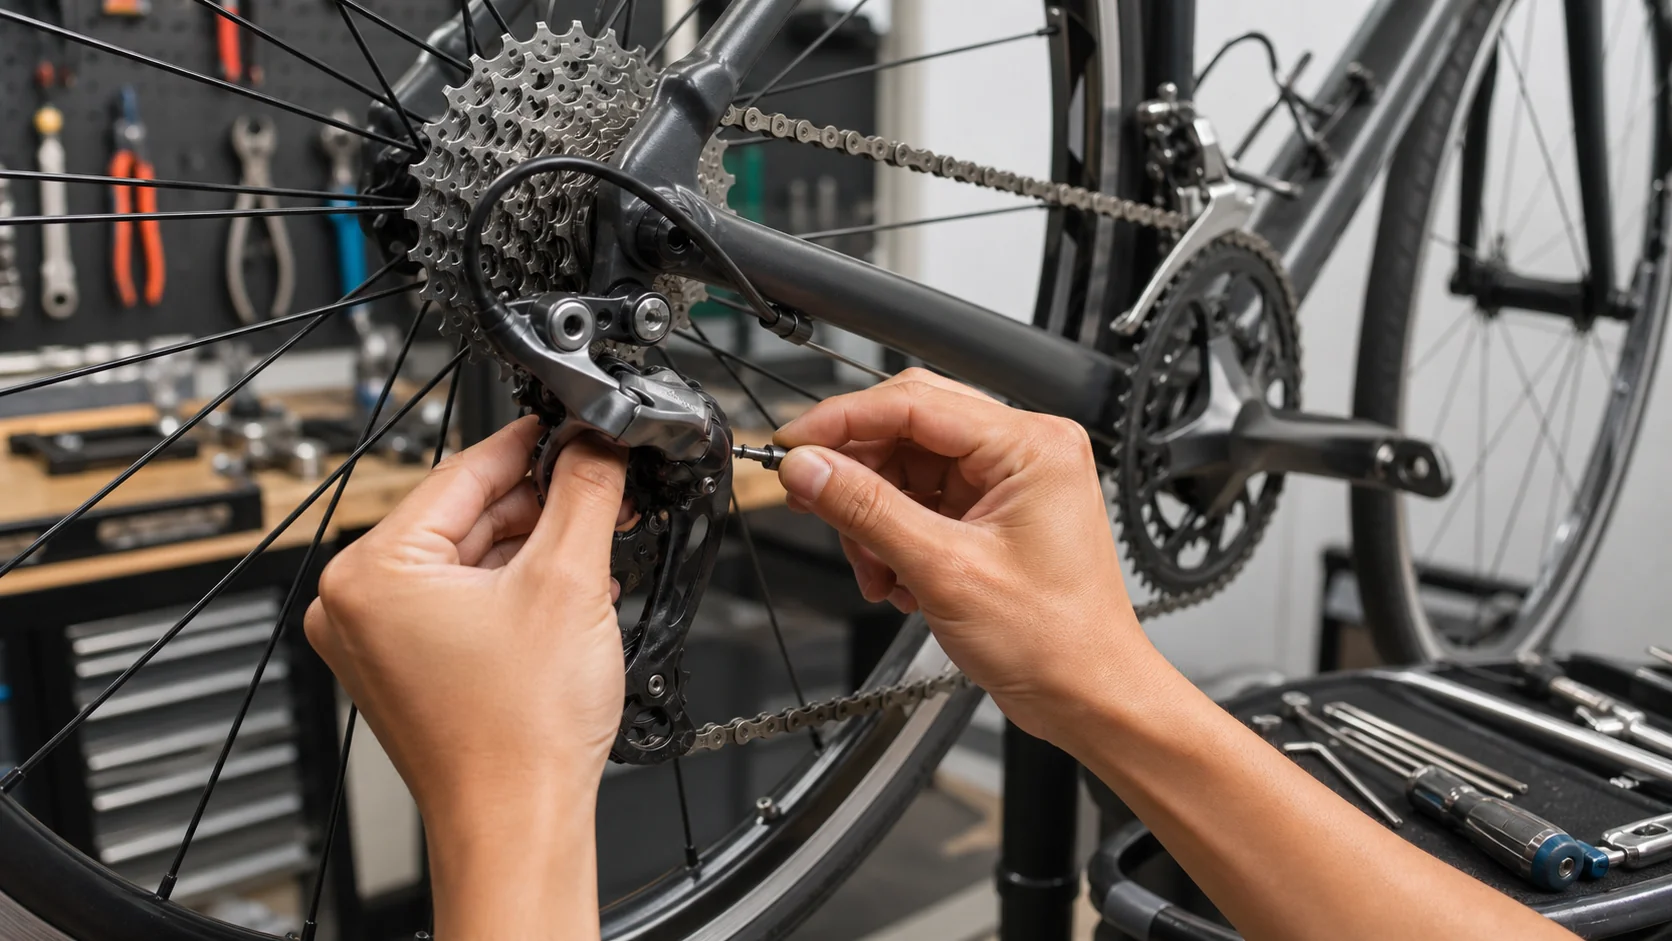
Adjusting a bicycle’s drivetrain is a skill that confuses many riders, but once you understand the principles and master a few key points, you can achieve precise tuning at home. This article focuses on cable-actuated drivetrains commonly found on road bikes / mountain bikes, detailing the adjustment steps for both front and rear derailleurs.
Basic Principles and Preparation
Derailleur action is determined by three elements working together:
- Cable Tension: Determines the derailleur’s baseline position
- Limit Screws: Determine the maximum/minimum gear positions, preventing the chain from falling off
- B-Screw (rear derailleur specific): Adjusts the distance between the rear derailleur guide pulley and the cassette sprockets
Before adjusting, please confirm:
- The drivetrain is clean and the chain is properly lubricated
- The cable and housing are free of damage and corrosion
- The bicycle is secured on a repair stand or inverted and stable
Rear Derailleur Adjustment
Step 1: Initializing Cable Tension
- Shift the derailleur to the smallest cog (easiest gear, usually the smallest sprocket on the outermost side).
- Locate the rear derailleur cable fixing bolt and loosen it with a 4mm hex wrench.
- Screw the barrel adjuster at the shifter end all the way in (clockwise), then back it out 2 turns as a baseline.
- Pull the cable taut by hand without applying extra tension, then tighten the fixing bolt.
Step 2: Adjusting the Limit Screws
The rear derailleur typically has two limit screws, marked H (High) and L (Low):
H Screw (highest gear, smallest cog):
- Confirm the derailleur is in the smallest cog position.
- Visually check whether the guide pulley is in line with the smallest sprocket (vertically aligned).
- If the guide pulley sits too far inward (toward the hub), turn the H screw clockwise to move the guide pulley outward; if it sits too far outward, turn it counterclockwise.
L Screw (lowest gear, largest cog):
- Manually push the rear derailleur to the largest cog position (since the cable is not yet clamped, you can push the derailleur body by hand).
- Visually confirm the guide pulley is in line with the largest sprocket.
- Adjust the L screw until aligned, ensuring the chain cannot overshoot the largest cog and fall between the wheel and the cassette.
Step 3: Adjusting Cable Tension (Barrel Adjuster Fine-Tuning)
- Shift from the smallest cog to the second-smallest cog (one click), and observe the shifting action.
- If the shift is sluggish or fails to engage: Turn the barrel adjuster counterclockwise to increase cable tension (half a turn at a time, then test).
- If the shift overshoots or makes a rattling noise: Turn the adjuster clockwise to reduce tension.
- Repeat testing across all gear combinations until every shift is crisp and clean.
Step 4: Adjusting the B-Screw
The B-Screw controls the distance between the rear derailleur guide pulley and the cassette. If the distance is too close, the guide pulley will contact the sprocket when shifting to the largest cog; if too far, shifting becomes sluggish.
- Place the chain on the largest cassette cog + largest chainring.
- Visually check or use a ruler to measure the distance from the guide pulley to the tip of the largest sprocket’s teeth.
- Adjust according to the rear derailleur brand specifications (Shimano standard is typically 6mm; SRAM is typically 5–7mm).
- Turn the B-Screw clockwise to increase the distance, counterclockwise to decrease it.
Front Derailleur Adjustment
The front derailleur handles shifting between 2 or 3 chainrings. The adjustment logic is similar but places greater emphasis on height and angle settings.
Step 1: Confirming Mounting Height and Angle
The lower edge of the front derailleur’s outer plate should be 1–3mm above the teeth of the largest chainring, and the outer plate should be parallel to the chainring (no more than 2 degrees of deviation). If the mounting position is incorrect, first adjust the clamp band or the direct-mount bolt position.
Step 2: Adjusting the Limit Screws (L and H)
L Screw (smallest chainring):
- Shift to the smallest chainring.
- Visually confirm the gap between the chain and the front derailleur’s inner plate is approximately 0.5–1mm—no contact, but not too far either.
- Turn the L screw clockwise to move the inner plate closer to the chain; counterclockwise to push it outward.
H Screw (largest chainring):
- Shift to the largest chainring.
- Maintain the same 0.5–1mm gap between the chain and the outer plate.
- Adjust the H screw to the correct position, ensuring the chain does not overshoot and drop off.
Step 3: Cable Tension Fine-Tuning
Same as the rear derailleur, use the barrel adjuster to fine-tune tension until both upshifts and downshifts are smooth and free of noise.
Common Problem Troubleshooting
| Problem | Possible Cause | Solution |
|---|---|---|
| Won’t shift to a larger cog | Insufficient cable tension | Increase tension (turn adjuster counterclockwise) |
| Won’t shift back to a smaller cog | Excessive cable tension | Decrease tension (turn adjuster clockwise) |
| Chain drops off the largest cog | L screw too loose | Turn L screw clockwise |
| Chain drops off the smallest cog | H screw too loose | Turn H screw clockwise |
| Rubbing noise in certain gears | Front/rear misalignment (cross-chaining) | Fine-tune front derailleur position |
Derailleur adjustment requires a bit of patience and repeated testing. The first time may take 30–60 minutes, but once you’re proficient, a full drivetrain calibration can be completed in about 15 minutes. Master this skill, and no matter where you encounter shifting problems, you’ll be able to quickly resolve them on your own.
Related Reading
- The Complete Guide to Derailleur Adjustment: Precise Setup for Front and Rear Derailleurs
- Road Bike Drivetrain Adjustment: Fine Calibration of Front and Rear Derailleurs
- Adjust Your Rear Derailleur Yourself: No More Skipping Gears and Strange Noises
- Rear Derailleur Adjustment Masterclass: Mastering Precise Shifting from Zero