Bicycle Bearing Maintenance: Lubrication and Replacement of Hubs, Bottom Bracket, and Headset
Bearings are the foundation of every rotating part on a bicycle, and their condition directly affects the bike’s drivetrain efficiency and handling feel. Even the most expensive components will deliver a poor ride experience if their bearings fail. Learning basic bearing maintenance can effectively extend component life and help you catch potential problems early.
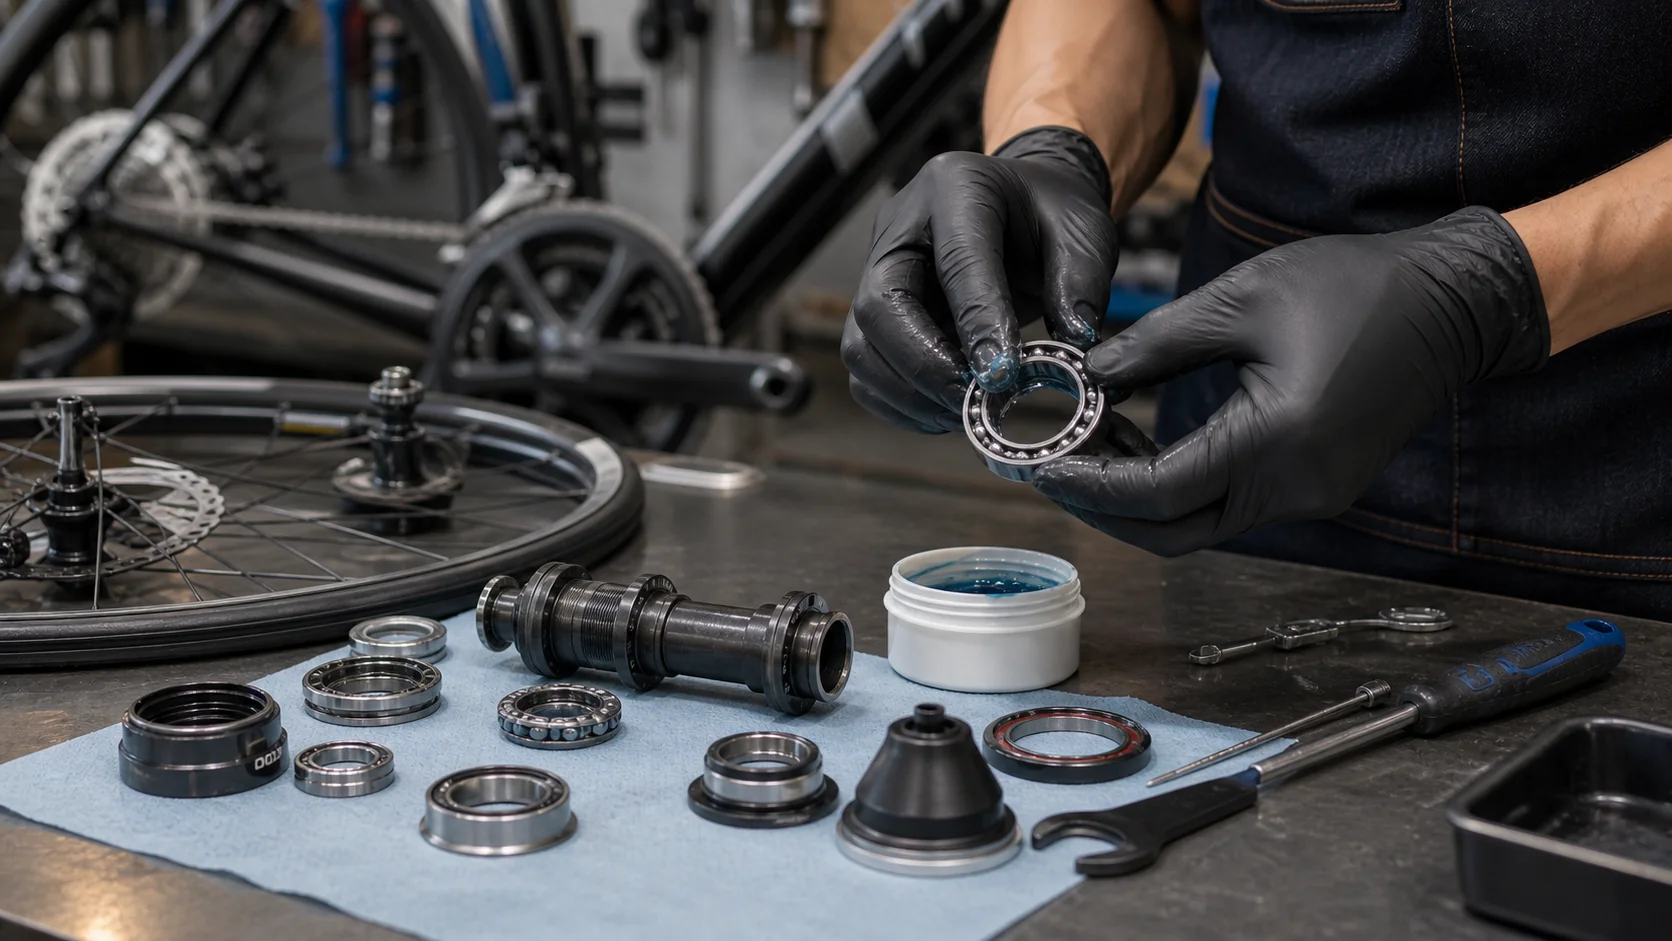
The Three Major Bearing Systems on a Bicycle
| System | Location | Function |
|---|---|---|
| Hub | Center of front and rear wheels | Supports wheel rotation, transmits drive power (rear wheel) |
| Bottom Bracket (BB) | Bottom bracket shell (center of the down tube) | Supports crankset rotation, transmits pedaling force |
| Headset | Head tube (fork steering) | Supports fork steering, determines handling feel |
Types of Bearings
Modern bicycles use two main types of bearings:
-
Cup and Cone Bearings: Made up of adjustable cups/cones and loose ball bearings (or a retainer), allowing preload to be adjusted manually. Older hubs and headsets often use this design. The advantage is that they’re serviceable and fine-tunable; the drawback is that setup is more involved.
-
Sealed Cartridge Bearings: A fully sealed bearing unit that’s easy to install and offers good dust/water resistance, but usually must be replaced as a complete unit once damaged – it can’t be disassembled and adjusted. Modern BBs and press-fit headsets commonly use this design.
Hub Maintenance
Warning Signs of Failure
- Slight resistance or roughness when spinning the wheel
- A hissing or clicking/grinding noise from the hub
- Noticeable play (side-to-side wobble) when you rock the hub axle by hand
Cup-and-Cone Hub Maintenance Steps
- Remove the wheel by releasing the quick release or through-axle.
- Disassemble the hub: Following the manufacturer’s instructions, remove the axle end caps and locknuts, then take out the axle. Ball bearings are very small, so work over a tray to prevent them from rolling away.
- Clean: Use a degreaser to clean the cups, ball bearings, and axle, removing old grease and grime.
- Inspect for wear: Ball bearing surfaces should be smooth with no pitting, and the cup contact surfaces should have no grooves. Replace any parts showing significant wear.
- Re-grease: Fill the cups to about 1/3 capacity with bicycle-specific bearing grease, press the ball bearings evenly into the grease, then apply a thin layer of grease on top.
- Reassemble: Reinstall the axle and adjust the locknut so the axle spins smoothly with no play, then secure it with a locking tool.
Sealed Cartridge Hub Maintenance
Sealed cartridge hubs can’t be disassembled and re-greased like cup-and-cone hubs, so maintenance options are more limited:
- If the bearing has a seal ring on the outside, you can carefully lift it, inject a small amount of light oil with a syringe, and then reseat the seal.
- If the bearing already shows noticeable noise or resistance, it’s recommended to replace the entire bearing unit (using a bearing press/puller tool).
Bottom Bracket (BB) Maintenance
Common BB Types
- Threaded BB (e.g., BSA 68mm): Threads into the frame’s bottom bracket shell; removal requires a BB tool.
- Press-Fit BB (e.g., BB86, PF30): Pressed into the frame’s bottom bracket shell; requires a press/removal tool.
- Integrated Spindle Systems (GXP, DUB, etc.): The spindle is integrated with the crank, with the bearings housed inside the BB.
Warning Signs of Failure
- A regular clicking/grinding noise while pedaling (occurring once per revolution)
- Noticeably increased pedaling resistance
- Noise from the bottom bracket area that persists even after ruling out frame creaks
Maintenance and Replacement
- Remove the crankset: Use a crank puller tool appropriate to the crank type.
- Remove the BB:
- Threaded: Unscrew using a BB tool (e.g., Shimano TL-BB32), noting that the left and right sides thread in opposite directions (English/BSA standard: left side is right-hand thread, right side is left-hand thread).
- Press-fit: Use a BB removal tool to press it out.
- Clean the bottom bracket shell: Remove grease and debris, and check that the threads or bore walls are undamaged.
- Install the new BB: For threaded BBs, apply thread grease and tighten to the specified torque; for press-fit BBs, press in evenly and confirm it’s fully seated.
Once a sealed cartridge BB starts making noise or shows resistance, it’s generally recommended to replace it outright rather than disassemble and re-lubricate it.
Headset Maintenance
Warning Signs of Failure
- A gritty feeling or clicking sound when turning the stem
- Front-to-back play in the fork when you hold the front brake and gently rock the bike
- An unstable handling feel when riding in a straight line
Adjusting Headset Preload (For Integrated A-Head Headsets)
- Loosen the stem’s side pinch bolts (the bolts on the sides – do not remove them completely).
- Adjust the top cap bolt: Tighten clockwise to increase preload until the fork has no play but still turns smoothly. The adjustment needed is usually very small (no more than 1/4 turn).
- Re-tighten the stem’s side pinch bolts to the specified torque.
- Confirm proper function: Ride in a straight line and check for any handling abnormalities; while stationary, hold the front brake and rock the bike to confirm there’s no play.
Replacing Headset Bearings
If the headset bearings show noticeable wear or noise, the headset needs to be disassembled to replace the bearings:
- Remove the handlebar, stem, and fork.
- Press out the old bearings using a headset press tool (for press-fit types), or tap them out from the inside with a screwdriver (applying even pressure around the circumference).
- Install the new bearings, pressing them in evenly with a headset press tool to ensure they’re fully seated and not tilted.
- Reassemble the fork and stem, then adjust the preload.
Recommended Maintenance Intervals
| System | Typical Rider | Heavy-Duty Rider (Rain/Long Distance) |
|---|---|---|
| Hub | Every 5,000-10,000 km | Every 2,000-3,000 km |
| Bottom Bracket | Every 2-3 years or when noise appears | Annually or when noise appears |
| Headset | Every 2-3 years | Annually |
Bearing maintenance may seem tedious, but doing it regularly keeps your drivetrain running at peak efficiency and helps you catch component wear early, preventing more serious failures from occurring mid-ride.
Related Reading
- Complete Guide to Bicycle Wheel Maintenance: Caring for Hubs, Spokes, and Rims
- Hub Maintenance: Service Intervals for Sealed Cartridge and Cup-and-Cone Bearings
- The Complete Guide to Bicycle Bearings: Types, Lifespan, and When to Replace
- Complete Road Bike Hub Maintenance Tutorial: Disassembly, Cleaning, Lubrication, Assembly
公路車 BB培林大升級! / 備戰海鷗繞圈賽 Canyon Aerod & TIME 一起改 / MIT大廠 CEMA對鎖式陶瓷培林BB & 導輪 / 公路車 / CT Yeh
2 年前
2025 自行車錶排行榜 兩萬車友大數據 / Garmin Bryton 排名會大洗牌嗎? / 全新的碼表前身分析 /公路車 / CT Yeh
1 年前
超開放的自行車錶!可以玩遊戲裝APP!?/ SRAM合併的 Hammerhead Karoo深入開箱!/ 即時爬坡偵測 / 全球導航地圖 / Garmin Bryton / CT Yeh
1 年前
碟煞公路車 銑面器 !? 原來銑完差這麼多! 降低蹭碟機率! | TIME 公路車 保養小記錄 | CT Yeh
3 年前
2026 車錶排行榜!誰是最多車友正在使用?練家子最愛哪款?🏆 (2萬名車友數據) / 公路車 / CT Yeh
5 個月前
2022 前十五大自行車錶 !? 兩萬名車友大數據統計 | 你的上榜了嗎? | 菁英車友都用哪些錶? | Bryton Garmin 誰能拔得頭籌?| 車錶推薦 | 公路車 CT Yeh
4 年前
再一組! 全碳幅條 碟煞/無內胎輪組 開箱! 到底好騎嗎? UNAAS X40 | 公路車 | CT Yeh
4 年前
單車胎壓觀察到的有趣現象,SRAM Quarq TyreWiz 2.0 無內胎胎壓計 / 裝了有哪些幫助? / Tubeless / 公路車 / CT Yeh
1 年前