2026 Road Cycling Shoes and Pedal Systems: The Science of Red Cleats, Black Cleats, and Fixed Angles
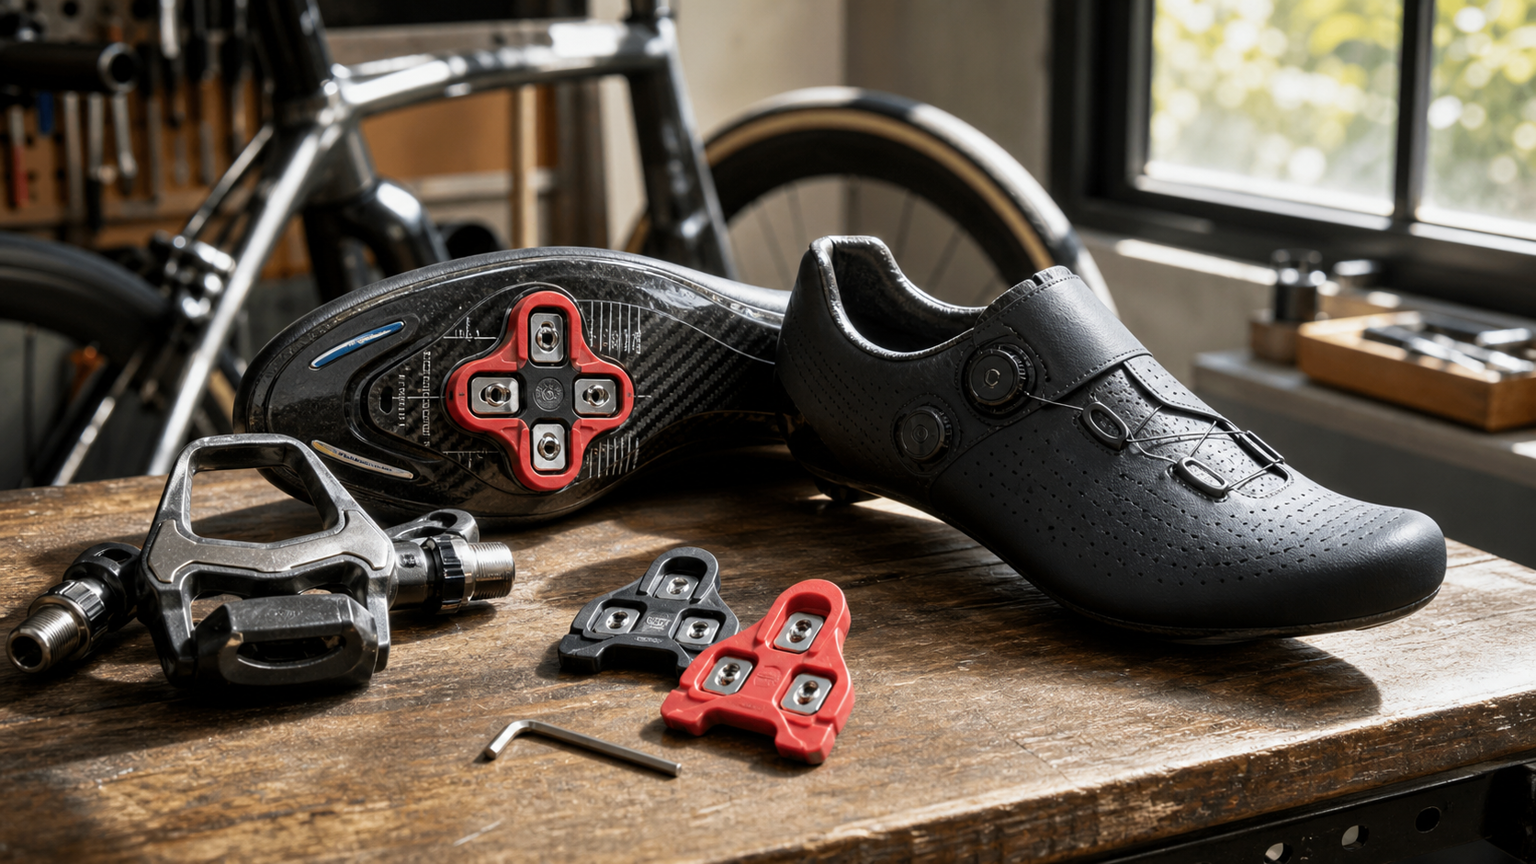
Cycling Shoes Are Not Just “More Professional”
Clipless pedals and shoes lock your feet to the pedals, allowing power transfer on both the push and pull phases, improving pedaling efficiency and stability. But choosing the wrong cleat angle is one of the most common hidden culprits behind chronic knee injuries. It’s a system where efficiency and health go hand in hand.
Road vs. Mountain Pedal Systems
| System | Characteristics | Best For |
|---|---|---|
| Road 3-bolt system | Large contact area, high pedaling stiffness, hard to walk in | Pure road riding, chasing efficiency |
| Mountain 2-bolt system | Small cleats recessed in the sole, easy to walk in, easy to release | Commuting, gravel, frequent dismounts |
For commuters or those who frequently need to dismount and walk, the mountain system’s ability to “walk normally” is often more practical than efficiency.
Cleat Float
Road cleats are often color-coded by float angle (e.g., fixed-angle models vs. models with several degrees of float). Float allows a small amount of natural rotational movement of the foot on the pedal, which is friendlier to knee joint alignment and is the safer choice for most riders—especially those who have had knee discomfort. Zero-float models feel stiff and rigid, and even slight misalignment can accumulate into knee pain over time; they’re only recommended for racers with an optimized fit.
Sole Stiffness
Carbon fiber soles are stiff, resist flexing under power, and deliver energy transfer well, but they demand more from the feet. Nylon/composite soles offer more flex, are more comfortable over long hours, and cost less. Long-distance comfort vs. racing stiffness is the main trade-off.
Four Key Cleat Installation and Adjustment Steps
No matter how good the shoes are, a misaligned cleat negates everything—this is the most common hidden cause of knee pain. Follow this order for installation and fine-tuning:
| Step | Key Point | How to Judge |
|---|---|---|
| 1. Fore-aft position | Cleat sits under the metatarsal ball (widest part of the forefoot) | Best power transfer, avoids calf overwork |
| 2. Side-to-side position | Match natural stance, avoid pigeon-toed or duck-footed | Knee should move up and down in a straight line |
| 3. Angle | Align with natural toe direction | Forced angles = long-term twisting of the knee joint |
| 4. Float amount | Choose floating cleats if you’ve had knee discomfort | Gives the joint room to self-align |
Make small adjustments each time (1–2mm / 1–2 degrees). After installing, take a short test ride first; if there’s any discomfort in the knees or ankles, adjust again immediately. If you can’t get it right on your own, setting it up together with a professional bike fit is the safest approach.
Transitioning for Beginners
When you first switch to clipless pedals, be sure to repeatedly practice “anticipatory unclipping” in a safe area (unclip one foot early before intersections or stops). Slow-speed falls are a rite of passage for beginners—practice in an open area until it becomes a reflex before heading out on the road.
The most important lesson clipless pedals teach beginners is “prepare to unclip early.” It’s also a metaphor for life—those who stop smoothly aren’t the fastest to react; they’ve already thought ahead about the moment they’d need to stop.
Related Reading
- Cycling Ankle Injuries: Ankle Joint Problems Caused by Improper Cleat Angles
- The Complete Guide to Cycling Shoes and Pedal Systems: How to Choose Between SPD-SL, Look, and Speedplay
- 2025 Road Cycling Shoe Buying Guide: BOA, Stiffness Index, and Brand Comparisons
- Cycling Shoes and Pedal Systems Buying Guide: How to Choose Between SPD, SPD-SL, Look, and Time
再一組! 全碳幅條 碟煞/無內胎輪組 開箱! 到底好騎嗎? UNAAS X40 | 公路車 | CT Yeh
4 年前
碟煞公路車 優缺點?換車一年半實際經驗分享 / 公路車 / CT Yeh
2 年前
公路車 BB培林大升級! / 備戰海鷗繞圈賽 Canyon Aerod & TIME 一起改 / MIT大廠 CEMA對鎖式陶瓷培林BB & 導輪 / 公路車 / CT Yeh
2 年前
#公路車 #Fitting 靠人工智慧APP 幫你調整單車
6 年前
Nepest NOVA 碳條輪組:輕量、空力、舒適一次滿足!/ 公路車 / CT Yeh
7 個月前
碟煞公路車 銑面器 !? 原來銑完差這麼多! 降低蹭碟機率! | TIME 公路車 保養小記錄 | CT Yeh
3 年前
超開放的自行車錶!可以玩遊戲裝APP!?/ SRAM合併的 Hammerhead Karoo深入開箱!/ 即時爬坡偵測 / 全球導航地圖 / Garmin Bryton / CT Yeh
1 年前
Unaas X50 全碳纖幅條輪 數據實測對比PK | Lun Hyper 的高階版 | 板輪爬坡也可以很厲害? ! 武嶺2小時大師一起親測! CP值超高 | 公路車 | CT Yeh
4 年前