Introduction
In Taiwan’s mountainous riding environment, on descents such as Wuling, Beiyi, and Nanheng, the reliability of the braking system is directly related to rider safety. Many cyclists know to replace tires and clean chains, but overlook brake pad wear. Brake pads (friction material) are consumables that inevitably wear thin after extended use. If left unreplaced, they can scratch the carbon rim surface or disc rotor, and repair costs far exceed the price of new brake pads.
This article covers two major systems—rim brakes and disc brakes—with separate replacement procedures and adjustment guidelines.
Rim Brakes: Brake Pad Replacement and Adjustment
Wear Assessment
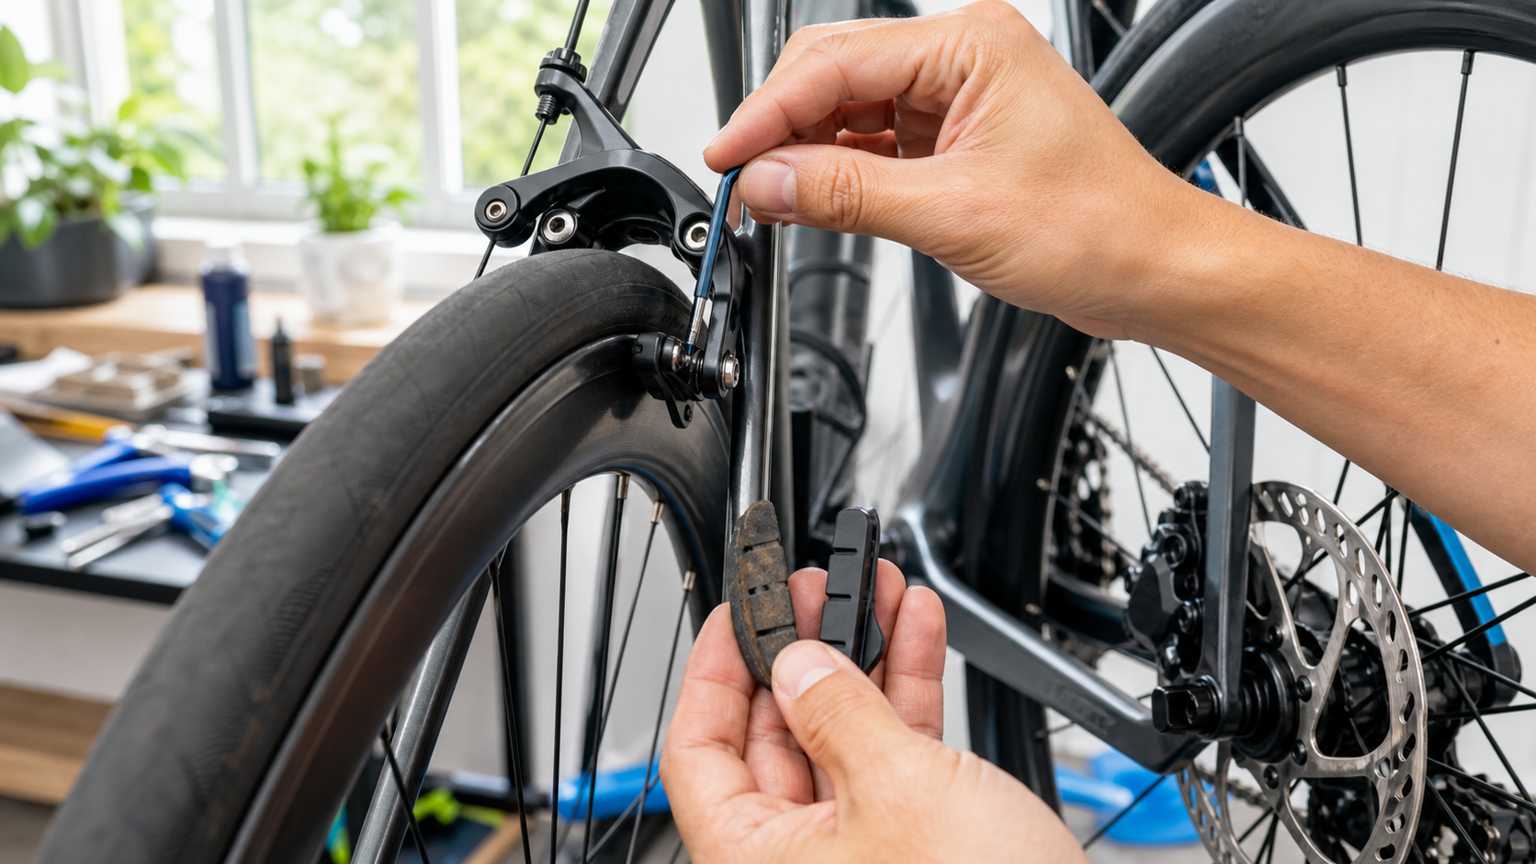
Most rim brake pads have a wear indicator line on the surface. When the groove is worn flat, replacement is needed. OEM pads such as the Shimano R55C4 last approximately 3,000–5,000 km depending on riding conditions.
Replacement Steps
- Use a 5 mm hex wrench to loosen the fixing nut and remove the old brake pad.
- Confirm the direction of the new brake pad (usually marked with a “→” for the direction of travel), then insert it into the pad slot.
- Pay attention to pad positioning: the front end of the pad should be slightly more inward than the rear end (toe-in), with a gap of about 0.5–1 mm. This eliminates squealing during braking and improves braking efficiency.
- After tightening the nut, confirm the brake pad makes full contact with the rim and does not touch the tire.
Position Adjustment
- Height: The brake pad should contact the metal braking surface of the rim, with the top edge not exceeding the rim’s upper edge and the bottom edge not touching the tire.
- Left/Right Clearance: Ideally, both pads contact the rim simultaneously when the brake lever is at mid-stroke. Use the adjustment screws on the back of the caliper to fine-tune any left/right asymmetry.
Disc Brakes: Brake Pad Replacement and Adjustment
Wear Assessment
| Brake Pad Type | Replacement Thickness | Notes |
|---|---|---|
| Resin (Organic) | Friction material below 1 mm | Good initial bite, suitable for daily use |
| Sintered (Metallic) | Friction material below 1.5 mm | Better heat resistance, suitable for long descents |
Shimano disc pads such as the B03S (resin) and B05S (resin with metal backing plate) have replacement intervals depending on riding conditions. For frequent use on rainy mountain roads, replace at least once a year.
Replacement Steps (Using Shimano Mechanical Disc Brakes as an Example)
- Remove the wheel and open the axle anti-rotation washer (if equipped).
- Use a flathead screwdriver or a pad pin removal tool to withdraw the brake pad retaining pin.
- Remove the old brake pads and the spring plate, noting the spring’s orientation so the new pads are installed in the same direction.
- Check whether the pistons have extended too far outward due to pad wear. If the pistons are visibly protruding, gently press them back using a piston reset tool.
- Install the new brake pads and insert the retaining pin to secure them.
Bedding-in
New brake pads must be bedded in to achieve optimal braking performance:
- On a flat, open area, gradually slow from 30 km/h to 5 km/h (without coming to a complete stop), repeating 10 times.
- After allowing some cooling, repeat the same procedure from 50 km/h 5 times.
- Avoid hard braking or prolonged high-temperature braking (such as on long descents) during the bedding-in period; otherwise, the resin may vitrify from heat, causing a permanent loss of braking power.
Rotor Flatness and Noise Troubleshooting
If a metallic grinding sound persists after replacing brake pads, it is usually caused by slight rotor warping. After remounting the wheel on the frame, slowly spin the wheel by hand and observe the gap between the rotor and the caliper: if the gap narrows at a certain section, use a rotor truing tool to gently bend it back.
Practical Advice
- Disc brake parts are available at Giant and Merida flagship stores as well as online bike shops in Taiwan. It is recommended to choose OEM brake pads, as aftermarket quality varies significantly.
- Absolutely avoid grease contamination on disc brake systems: if you accidentally touch the rotor or the pad friction surface during replacement, wipe it with disc brake cleaner. Contaminated pads usually cannot be fully restored, so it is best to replace them directly.
- After replacing rim brake pads, it is recommended to test-brake 5–10 times in a parking lot to confirm even braking on both sides before heading out on the road.
Conclusion
Brake pads are the one consumable on a road bike where you should never cut costs. The price of a set of OEM brake pads is trivial compared to the medical expenses of an emergency accident. Develop the habit of visually inspecting them every 2,000 km or every season, keeping the braking system in a reliable state at all times.
Related Reading
- Bicycle Brake Adjustment: Setup Tips for Caliper Brakes and Disc Brakes
- Disc Brakes vs. C-Clamp Brake Adjustment: Complete Maintenance Guide for Both Brake Systems
- Brake System Adjustment: Complete Steps for Disc Brake Centering and Caliper Adjustment
- Road Bike Rim Braking Surface Wear Assessment: When to Replace Your Wheelset
碟煞公路車 銑面器 !? 原來銑完差這麼多! 降低蹭碟機率! | TIME 公路車 保養小記錄 | CT Yeh
3 年前
碟煞公路車 優缺點?換車一年半實際經驗分享 / 公路車 / CT Yeh
2 年前
再一組! 全碳幅條 碟煞/無內胎輪組 開箱! 到底好騎嗎? UNAAS X40 | 公路車 | CT Yeh
4 年前
公路車 BB培林大升級! / 備戰海鷗繞圈賽 Canyon Aerod & TIME 一起改 / MIT大廠 CEMA對鎖式陶瓷培林BB & 導輪 / 公路車 / CT Yeh
2 年前
SRAM FORCE E1 首發!/ 改成短腿了 / 煞車升級有感嗎? / TIME ADH 變速大升級 / 公路車 / CT Yeh
1 年前
換車囉! TIME ADH 2023 全內線碟煞公路車 開箱實錄!/ Dyneema 碳纖維真的太猛了 / 曜越單車 / CT Yeh
3 年前
Canyon 公路車斷把手 五年老車特規還能修嗎? 維修保養全記錄 feat. 501單車監理站 | 公路車 | CT Yeh
4 年前
功率實測 Lun Hyper 2023 碳幅條輪組 D45 碟煞 | 公路車 | CT Yeh
3 年前