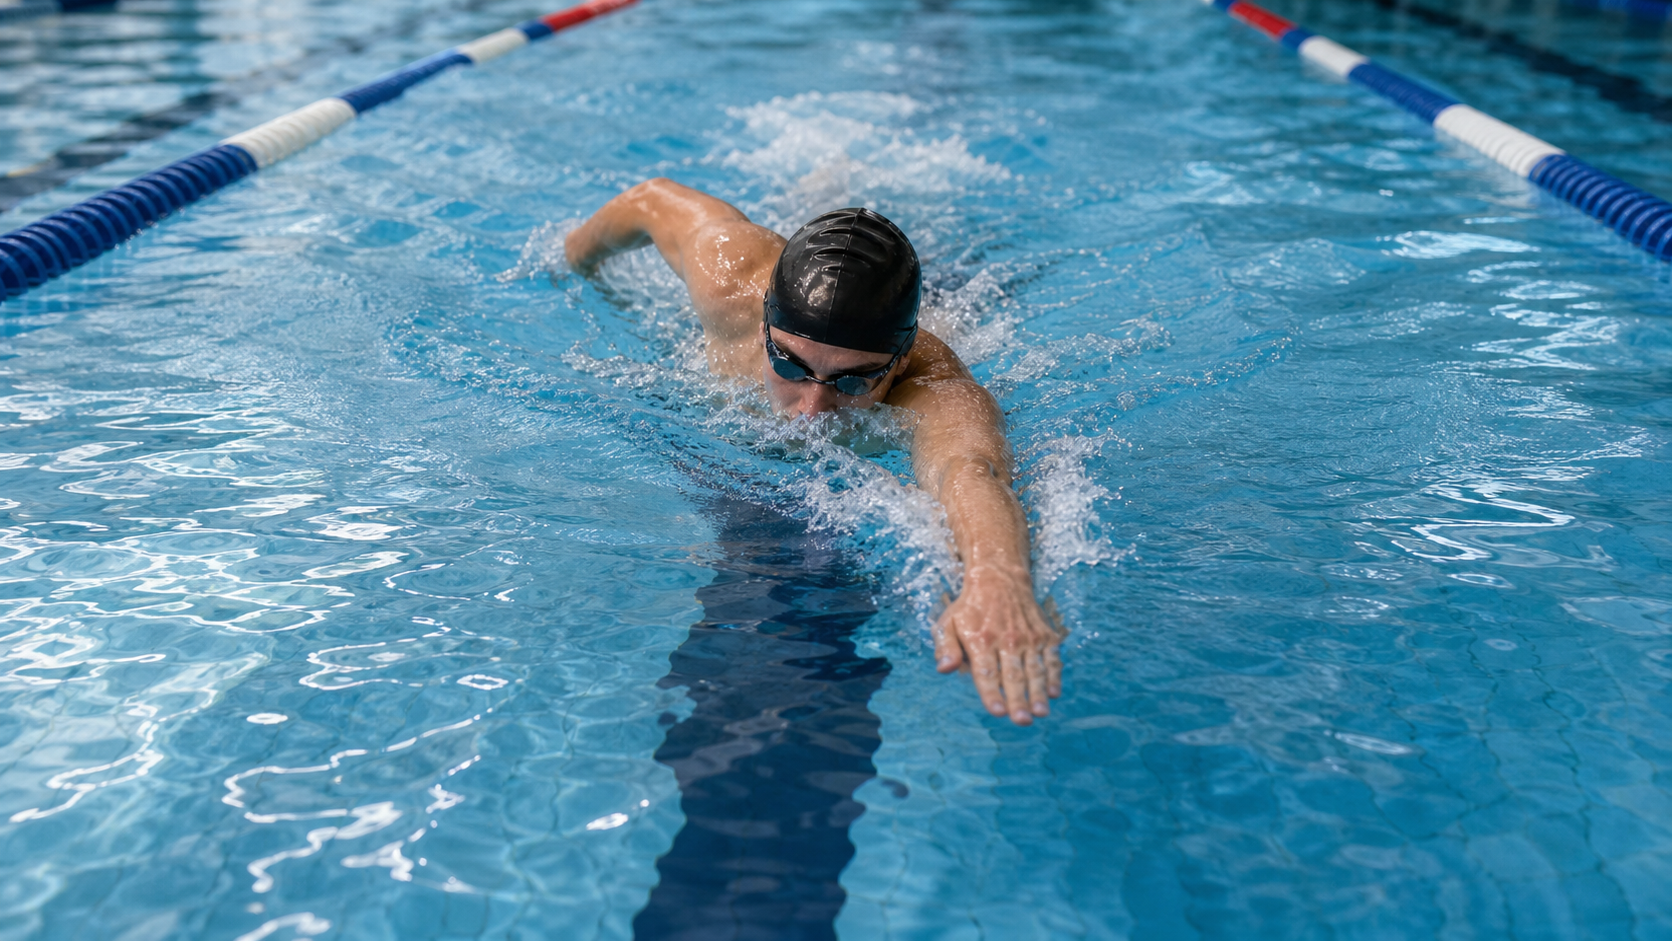
Introduction
Among the technical elements of freestyle, the hand entry point is often the first issue coaches point out at a glance. The ideal entry point should be directly in front of the line extending from the shoulder width, but many swimmers habitually cross the body’s midline when entering the water, forming what is known as a “Crossover Entry.” This habit not only wastes propulsive force but is also one of the primary culprits behind shoulder impingement injuries over the long term.
This article will analyze the impact of the entry point from anatomical and mechanical perspectives and provide systematic corrective training methods.
What Is Crossover Entry
Crossover entry refers to when the hand crosses the body’s midline upon entering the water, landing in the water area in front of the opposite shoulder. Taking the right hand as an example, during a crossover entry, the right hand does not land directly in front of the right shoulder but instead drifts toward the bridge of the nose or even the area in front of the left shoulder.
The roots of this error typically include the following:
- Over-rotation compensation: Excessive head rotation during breathing pulls the shoulders along with it, forcing the entering hand to cross the line.
- Insufficient shoulder flexibility: Restricted range of motion in the shoulder joint makes it difficult for the arm to complete the forward extension in the correct position.
- Habitual neural patterns: Muscle memory formed from long-term incorrect movements repeats unconsciously.
Mechanical Consequences of Crossover Entry
| Affected Aspect | Crossover Entry | Correct Entry |
|---|---|---|
| Body Balance | Causes snaking/swaying | Straight-line propulsion |
| Propulsive Efficiency | Pull arc deviates, force disperses | Direct force transmission |
| Shoulder Pressure | Increased impingement angle, higher injury risk | Natural shoulder joint alignment |
| Breathing Quality | Linked to excessive head rotation | Easier breathing |
When the hand crosses the midline to enter the water, the underwater pull must first “loop back” to the correct path. This detour not only wastes time but also causes the body to sway side to side. A swaying body is like a boat moving in a serpentine path—its cross-sectional area repeatedly expands, significantly increasing drag.
Position and Angle of the Correct Entry Point
There are three key parameters for a correct hand entry point:
- Lateral position: The hand should land aligned with the same-side shoulder, roughly within shoulder width, and never cross the midline.
- Longitudinal distance: Enter the water about 20–30 cm in front of the head, avoiding too close (which causes slapping the water) or too far (which overextends the arm).
- Entry angle: Fingertips point downward, palm slightly outward, cutting into the water at approximately a 45-degree angle, allowing the palm to establish catch surface area in the shortest time possible.
After the hand enters the water, there should be a brief “Extension/Catch-up” phase, allowing the arm to fully extend underwater before beginning the high elbow catch. This extension establishes the longest effective working distance for the subsequent pull.
Corrective Training Methods
Method 1: Single-Arm Drill
Swim with one arm while the other holds a kickboard against the thigh, forcing focus on the entry point of the pulling arm. It is recommended to practice in a lane with a black line to visualize the body’s midline, ensuring each entry lands on the same side of the line.
Method 2: Fingertip Drag Drill
During the recovery phase, deliberately drag the fingertips along the water’s surface. Before entering, confirm the fingers are directly above the shoulder before placing them into the water, building correct spatial awareness.
Method 3: Fist Drill
Swim with clenched fists—the position of the fist during entry is easier to perceive than with a flat palm. Confirm the fist does not cross the midline. After finishing the drill and returning to normal swimming, entry accuracy typically improves noticeably.
- Before each practice session, simulate the entry motion in front of a mirror on land to feel the correct angle.
- Ask a coach or training partner to observe from the front of the lane to check whether the entry point crosses the line.
- Underwater video is the most intuitive—footage from directly ahead clearly reveals the extent of crossover entry.
Practical Recommendations
Correcting crossover entry requires patience, as it involves reshaping neural patterns. It is recommended to adopt a “conscious swimming” strategy:
- Start by swimming 50 meters at a slow pace (about 60% of normal speed), focusing on feeling each entry point.
- Gradually increase speed, slowing back down whenever accuracy begins to decline.
- Schedule at least one pure technique session per week, disregarding time and distance, focusing solely on the entry point.
For those with insufficient shoulder flexibility, incorporating external rotation stretches and pectoralis major stretches is recommended. Once on-land mobility improves, the underwater entry motion typically becomes more natural as well.
Conclusion
The hand entry point may seem like a minor detail, but it is the starting point of the entire pull cycle. An incorrect entry point is like a crooked foundation for a building—all subsequent technique operates on an unstable base. Taking the time to correct this “root error” often allows swimmers to experience the dual benefits of improved pacing and reduced fatigue in a short period.
Related Reading
[教學] Premiere 影片 手震 修正 教學 防抖 單眼 影像 GoPro 穩定 Video Stabilization
8 年前
西進武嶺 免費訓練分析服務 Intervals | 練不夠還是練過頭?你哪一種類型選手?AI模型告訴你! | 備戰神器 | 公路車 訓練 | CT Yeh
4 年前
如何把 GoPro 影片 翻轉 批次 轉正?
6 年前
抖肩舞 台灣x日本交流版 (台灣 vs 前橋) 赤城山登山賽 coincidance
8 年前
西進武嶺 自製新版AI配速表產生器 x 賽前攻略 抱佛腳! 沒有功率計也可以產生配速表嗎?有什麼其他眉角賽前要注意的呢? | 西進武嶺 / 東進武嶺 KOM 攻略 | 公路車 | CT Yeh
4 年前
CT 喇低賽) 武嶺牽車 才是王道 西進牽車四小時內秘訣 攝手位置 如何判斷 防抽筋小秘訣
7 年前
Insta 360 One 超級防手震技術實測
7 年前
戰略) Zwift Race 如何咬在第一集團 如何評估自己要開多少推力 (請開1.5倍速看)
7 年前