Introduction
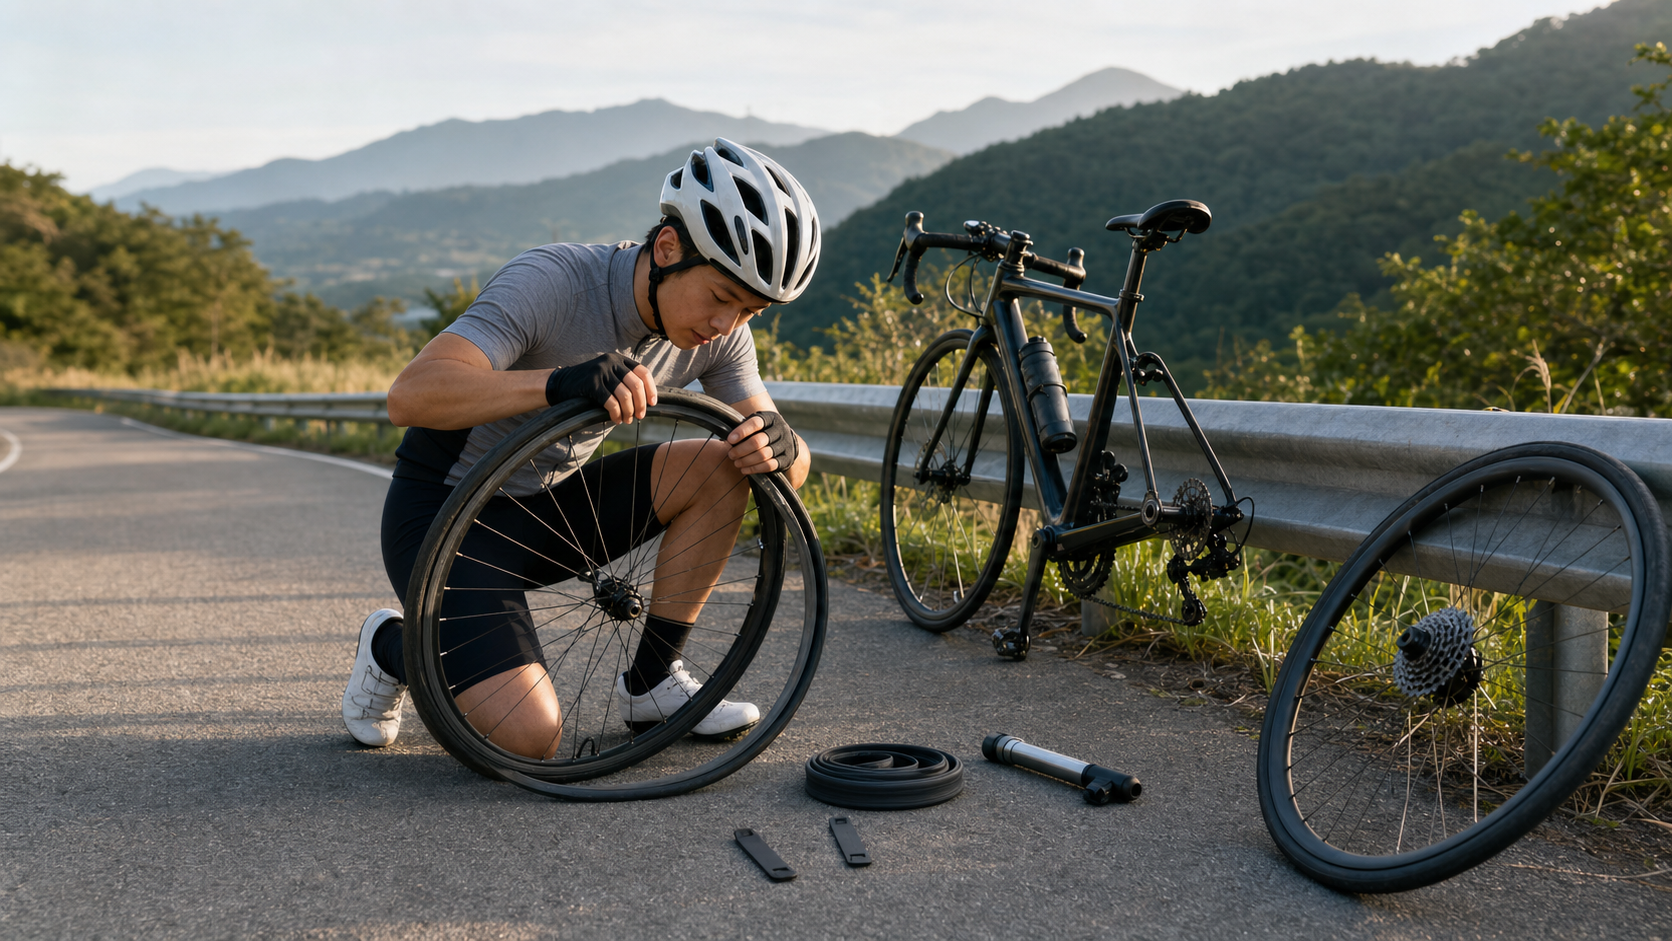
It’s a Sunday morning, and you’re riding hard on the mountain roads of Yangmingshan. Suddenly, a muffled bang, and your bike starts to wobble—a flat tire. If you don’t know how to change a tube, what follows is an awkward walk pushing your bike or waiting for rescue; if you do, it’s just a 15-minute pause before you’re on your way again.
Changing an inner tube is a fundamental skill every cyclist should learn. It requires no special talent or expensive tools, just one dedicated practice session. This article will guide you from zero to mastering this skill with the clearest steps, empowering you to ride truly independently.
Preparation Before Changing a Tube
Essential Tool Checklist
When heading out for a ride, you should always carry the following tools:
| Tool | Purpose | Notes |
|---|---|---|
| Spare inner tube | Replacing a flat | Size must match wheel diameter (e.g., 700c x 25c) |
| Tire levers (x2–3) | Prying off the tire | Plastic ones to avoid damaging the rim |
| Portable pump | Inflating | CO2 inflator or manual pump both work |
| Patch kit (optional) | Repairing old tube (not for emergency spare) | For quick roadside repairs |
Understanding Basic Tire Structure
Before changing a tube, understand the basic structure:
- Tire: The rubber casing that contacts the ground, protecting the inner tube from punctures.
- Inner tube: The inflatable rubber tube that actually holds the air.
- Valve: The inflation port connected to the inner tube, available in two types: Presta (French) and Schrader (American).
Detailed Steps for Changing a Tube
Here is the standard roadside tube-changing procedure:
Step 1: Deflate and Remove the Wheel
- Completely deflate the inner tube (for Presta valves, unscrew the top nut first).
- Loosen the quick-release lever or axle nuts and remove the wheel.
- For the rear wheel, shift the chain onto the smallest cog first to make removal and installation easier.
Step 2: Pry Off the Tire
- Insert a tire lever into the gap between the tire and the rim.
- Once the first lever has lifted a section of the tire bead, use a second lever to pry another section.
- Slide the lever along the rim to completely detach one side of the tire bead from the rim.
Step 3: Remove the Old Inner Tube
- Starting from the valve area, completely remove the old inner tube.
- Carefully inspect the inside of the tire to find and remove the foreign object (nail, glass shard) that caused the flat.
Step 4: Install the New Inner Tube
- Inflate the new inner tube slightly (just enough to give it shape, about 10–15 psi).
- Insert the valve through the rim hole, then tuck the entire inner tube inside the tire.
- Ensure the inner tube is not twisted or pinched.
Step 5: Reseat the Tire and Inflate
- Use both thumbs to push the tire bead back into the rim, starting from the side opposite the valve and working towards both sides.
- The last few centimeters are the hardest to push on; apply force while making sure the inner tube is not exposed.
- Inflate to the recommended tire pressure (usually printed on the tire sidewall, e.g., 90–120 psi).
Common Problems and Solutions
- Tire bead won’t seat: Ensure the tube is fully deflated, and start pushing the bead in from the point farthest from the valve.
- Air leaks after inflation: The foreign object in the tire may not have been removed, or the inner tube was pinched during installation.
- Can’t find the puncture: Inflate the old inner tube slightly and submerge it in water; bubbles will indicate the hole.
Practical Advice
- Practice the entire tube-changing process once at home, so you won’t panic when it happens on the road.
- Check tire pressure before every ride; maintaining recommended pressure significantly reduces the chance of flats.
- Before heading out, confirm the spare inner tube size matches your current tires to avoid discovering a mismatch in an emergency.
- After learning to change a tube, you can further learn tire booting (repairing small cuts in the tire) to extend the tire’s lifespan.
Conclusion
Learning to change an inner tube marks a crucial transition for a cyclist, from “needing help from others” to “being able to take care of oneself.” The feeling of calmly removing a wheel, changing a tube, inflating it by the roadside, and then riding off smoothly brings a confidence that no equipment upgrade can provide. Prepare your tools before you set off, practice once at home, and then ride with peace of mind—no situation on the road will faze you.
Related Topic Reads
- Emergency Flat Tire Handling: A 10-Minute Guide to Quickly Changing an Inner Tube Mid-Ride
- Bicycle Tire Replacement in Practice: The Complete Process from Patching a Flat to Changing a Tube
- Bicycle Flat Tire First Aid: The Complete SOP for Roadside Tube Changes and Patching
- Complete Guide to Installing a New Inner Tube and Patching on a Wheelset: From Tools to Techniques
單車 一日北高 ( 雙城 ) 肥宅雙人瘋狂行 紀錄片 REACTO
10 年前
單車胎壓觀察到的有趣現象,SRAM Quarq TyreWiz 2.0 無內胎胎壓計 / 裝了有哪些幫助? / Tubeless / 公路車 / CT Yeh
1 年前
自助洗車場 洗單車 50元有找 清鍊條大法 居然還有小小兵
7 年前
碟煞公路車 銑面器 !? 原來銑完差這麼多! 降低蹭碟機率! | TIME 公路車 保養小記錄 | CT Yeh
3 年前
#公路車 #Fitting 靠人工智慧APP 幫你調整單車
6 年前
摔車後補裝備: 好市多新款單車安全帽& Specialized Romin 北高整路屁股都不痛的坐墊 | 一千元居然有MIPS | CT Yeh | 公路車
4 年前
洗單車神器 吹水機! 實際洗車用用看 暴力洗鍊條大法 | 公路車 | CT Yeh
4 年前
再一組! 全碳幅條 碟煞/無內胎輪組 開箱! 到底好騎嗎? UNAAS X40 | 公路車 | CT Yeh
4 年前