Introduction
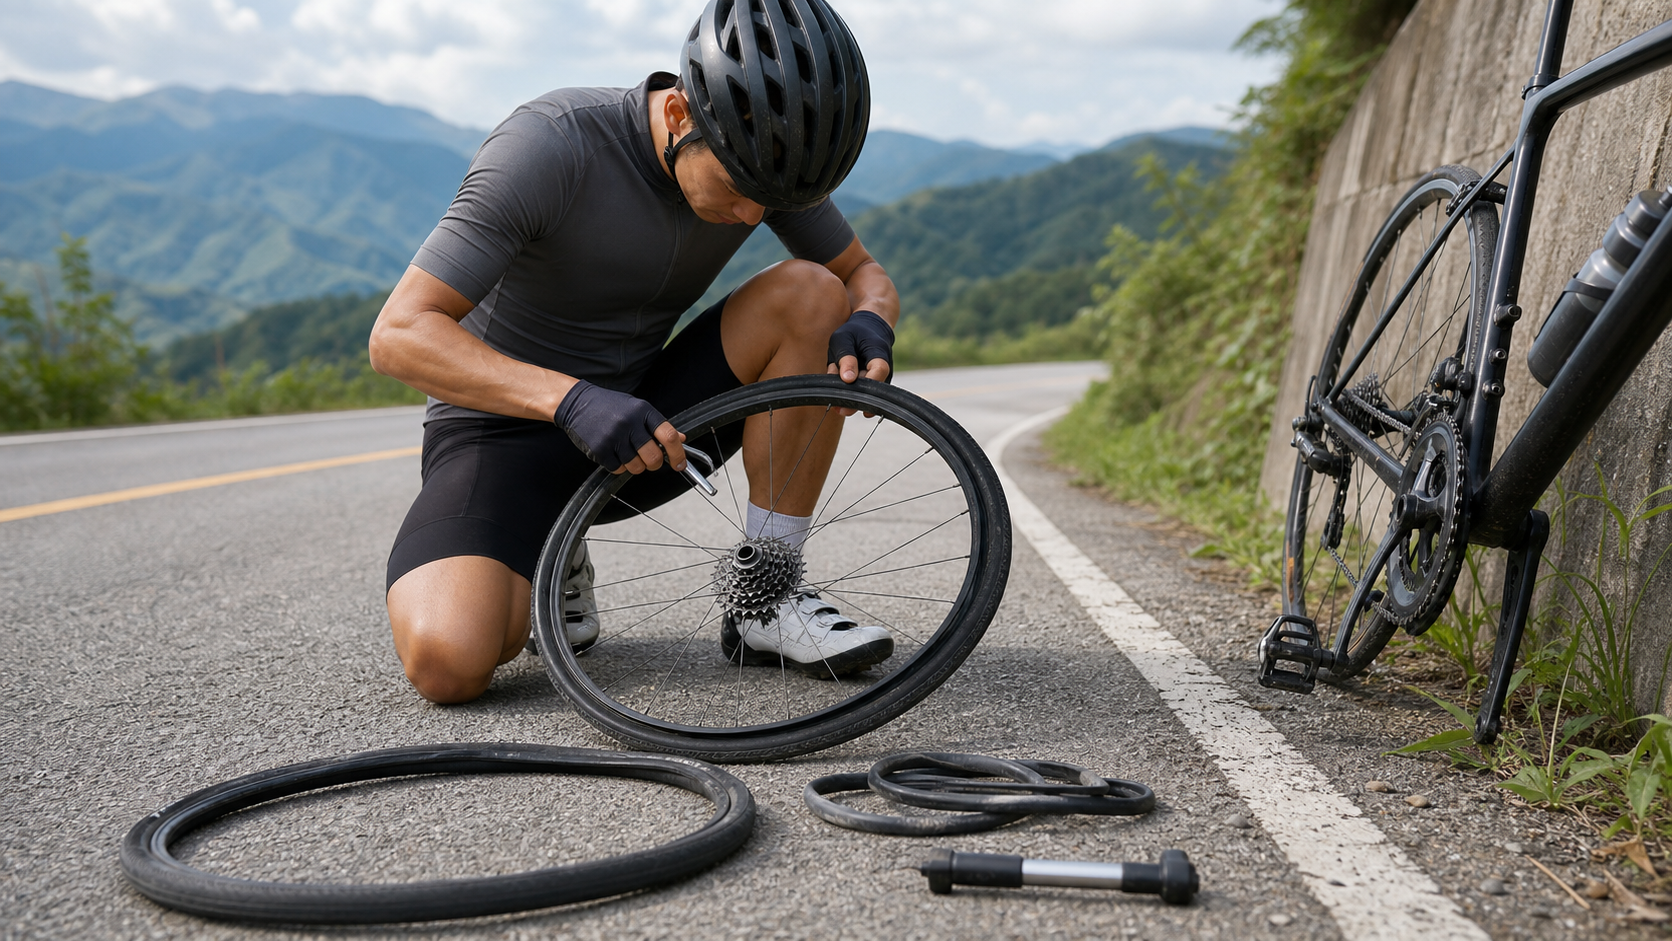
Getting a flat is something almost every cyclist experiences sooner or later, especially on the mountain roads of northern Taiwan or in city traffic, where gravel, broken glass, and metal shards are everywhere. Being able to fix a flat quickly on the roadside doesn’t just get you moving again — it’s an essential self-sufficiency skill for long-distance touring. This article covers the complete practical process, from the most common inner tube puncture to the less-understood task of replacing a worn-out outer tire.
Flat Repair Toolkit
Whether you’re on a daily ride or a long tour, the following tools are worth carrying with you:
| Tool | Purpose | Notes |
|---|---|---|
| Spare inner tube × 1–2 | Quickly replace a punctured tube | Confirm the size and valve type match |
| Patch kit | Repair small punctures, emergency backup | Includes sandpaper, glue, and patches |
| Tire levers × 3 | Remove the tire | Plastic levers recommended to avoid damaging the rim |
| Portable pump | Inflate the tire | Confirm compatibility with Presta or Schrader valves |
| Quick-release wrench | Remove the wheel | Quick-release design usually needs no tools |
Roadside Quick Tire Change Steps (Replacing the Inner Tube)
Step 1: Secure the Bike and Remove the Wheel
- Flip the bike upside down so it rests on the handlebars and saddle (if you have bar tape or a saddle bag, just turn it over as is).
- For the rear wheel, first shift the chain to the smallest cog (highest gear) to make removal easier.
- Release the quick-release lever or remove the axle nuts, then take off the wheel.
- Disc brake note: do not squeeze the brake lever after removing the wheel, or the piston will extend and become difficult to reset.
Step 2: Remove the Tire and Take Out the Inner Tube
- First try removing the tire from the rim by hand (a high-pressure tire takes some effort, but avoid using tire levers if possible).
- If you can’t do it by hand, hook one tire lever under the bead and secure it to a spoke, then use a second lever to pry the bead over the rim, working a little at a time along the rim until the bead is completely off.
- Take out the inner tube and leave the tire on the rim.
Step 3: Find the Cause of the Puncture
Many cyclists skip this step, but it’s crucial:
- Re-inflate the old tube and locate the leak (listen for the hiss, or submerge it in a bucket of water to spot bubbles).
- With the leak location identified, carefully run your fingers slowly around the inside of the tire to find and remove the object that caused the puncture (such as a nail or glass fragment).
- If you don’t remove the object, the new tube will likely puncture again very soon.
Step 4: Install the New Inner Tube
- Put a small amount of air into the new tube (just enough to give it shape) — this makes it less likely to get pinched during installation.
- Insert the valve into the valve hole on the rim first, then work outward from both sides of the valve, tucking the tube in between the tire and the rim.
- Make sure the tube isn’t twisted.
Step 5: Reseat the Tire
- Using both thumbs, push the tire bead into the rim channel starting from the side opposite the valve, finishing near the valve last.
- The final section of bead is usually the tightest — push in with both thumbs simultaneously and go slowly. Avoid using tire levers here, as they can easily pinch the tube and cause a blowout.
- Important: before inflating, run your fingers all the way around the sidewall to confirm the tube isn’t pinched outside the bead — this is the most common mistake beginners make.
Step 6: Inflate and Check
- Inflate to the recommended pressure (usually printed on the tire sidewall).
- After inflating, visually check that the tire is seated evenly all the way around. If one side looks off, deflate and reseat before re-inflating.
Using a Patch (Emergency Fix)
If you don’t have a spare tube, a patch can serve as an emergency alternative:
- Locate the puncture and lightly sand a 2cm area around it using the sandpaper included in the patch kit, to roughen the rubber surface.
- Apply an even, thin layer of glue and let it sit for 3–5 minutes until tacky (it should no longer feel wet to the touch).
- Apply the patch, pressing firmly from the center outward to ensure the edges seal completely.
- Wait 2–3 minutes for the adhesive to cure before test-inflating.
- A patch is a temporary fix — it’s still recommended to replace the tube once you’re back home.
Assessing Tire Wear and When to Replace
When to Replace the Outer Tire
- The center of the tread shows noticeable flattening (tread pattern worn away or a flat spot has formed)
- The sidewall shows cracking or the casing fabric is exposed
- The tread has a history of multiple patches or a visible bulge from repeated punctures
- Measured tread thickness is below 2mm (for racing tires)
Recommended Tire Pressure for Road Bikes
| Tire Width | Reference PSI at 60kg body weight | Reference PSI at 75kg body weight |
|---|---|---|
| 23c | 90–100 psi | 100–110 psi |
| 25c | 80–90 psi | 90–100 psi |
| 28c | 70–80 psi | 80–90 psi |
| 32c | 55–65 psi | 65–75 psi |
Practical Tips
- On Taiwan’s mountain roads, carry two spare tubes: bike shops are far away up in the mountains, so one spare alone isn’t enough of a safety margin.
- For a long-tour repair kit: include 2 inner tubes, 3 tire levers, a patch kit, a small pump, and quick CO₂ inflator cartridges.
- Tubeless systems: with sealant installed, most punctures under 5mm will seal automatically, but you should still carry a spare tube just in case.
- Valve protection: Presta valves are relatively fragile — it’s a good idea to keep the valve cap screwed on while riding to prevent the valve stem from bending in an impact.
Conclusion
A flat tire is an emergency, but once you’re practiced, the whole process takes less than 10 minutes. It’s worth practicing a few times at home so your hands build muscle memory — that way you can stay calm and handle it confidently even under roadside pressure. Master this basic skill, and whether you’re on Provincial Highway 3, the Suhua Highway, or the summit of Hehuanshan, you’ll be able to solve the problem on your own and keep enjoying a worry-free ride.
Related Reading
單車 一日北高 ( 雙城 ) 肥宅雙人瘋狂行 紀錄片 REACTO
10 年前
單車胎壓觀察到的有趣現象,SRAM Quarq TyreWiz 2.0 無內胎胎壓計 / 裝了有哪些幫助? / Tubeless / 公路車 / CT Yeh
1 年前
碟煞公路車 銑面器 !? 原來銑完差這麼多! 降低蹭碟機率! | TIME 公路車 保養小記錄 | CT Yeh
3 年前
再一組! 全碳幅條 碟煞/無內胎輪組 開箱! 到底好騎嗎? UNAAS X40 | 公路車 | CT Yeh
4 年前
摔車後補裝備: 好市多新款單車安全帽& Specialized Romin 北高整路屁股都不痛的坐墊 | 一千元居然有MIPS | CT Yeh | 公路車
4 年前
高雄綠園道鐵路自行車道 / 外地人能輕鬆駕馭 還是整路崩潰? / 2025 全線開通 春節實地探索一次!(附GPS連結)/ 公路車 / CT Yeh
1 年前
爬陡坡被爆胎的車友跑步超車 #cycling #里佳部落
9 個月前
#公路車 #Fitting 靠人工智慧APP 幫你調整單車
6 年前