Introduction
The headset is the steering hub that connects the fork to the frame’s head tube. If the bearings inside it become worn or run dry of lubricant, you’ll notice a “notchy” feeling and rough steering, and in severe cases even a “front-end shudder” when riding in a straight line, which undermines handling stability. Because the headset sits in an inconspicuous spot, many riders neglect its routine maintenance. This article will walk you through the construction of a modern integrated headset and how to clean and replace the bearings at home.
Basic Headset Types
| Headset Type | Characteristics | Prevalence Today |
|---|---|---|
| Integrated Headset | Bearings sit directly inside the head tube; clean appearance | High (mainstream on road bikes) |
| Semi-Integrated | Cups are pressed into the head tube; bearings are removable | Medium (some MTB and road bikes) |
| Threaded Headset | Secured by threads; cups are external | Low (older bikes, some city bikes) |
Modern road and mountain bikes mostly use integrated headsets, where the cups are pressed directly into the head tube and the bearings (usually sealed cartridge bearings) can be replaced individually.
How to Judge Headset Wear
Before disassembly, check whether the headset needs maintenance using the following methods:
Front Brake Rock Test
- Hold the fork with both hands, hooking your thumbs against the top of the head tube.
- With your other hand, grip the front brake lever and apply the brake, then gently rock the bike forward and backward.
- If you can feel a rocking or loose sensation in the bearings, this indicates insufficient preload or worn bearings.
Steering Smoothness Test
- Lift the front of the bike off the ground and slowly turn the handlebar left and right.
- If you feel notchiness or a gritty, sandy sensation, the bearings need cleaning or replacement.
Tools and Steps for Disassembling the Headset
Tools Needed
- 6mm / 5mm hex wrenches
- Bearing puller or needle-nose pliers
- Cotton swabs, cloth, cleaning solvent
- Bearing grease (such as Park Tool PPL-1 or genuine Shimano grease)
Disassembly Steps
- Remove the handlebar (or the stem’s top cap): Loosen the pinch bolts on the side of the stem, then loosen the top cap’s fixing bolt, and remove the top cap and top plug.
- Remove the stem: Loosen the bolts that clamp the stem to the fork’s steerer tube, then gently tap the stem loose and remove it.
- Remove the fork: Support the fork with your hand and let it slide slowly down through the head tube, taking care not to let the bearings and spacers fall out and scatter.
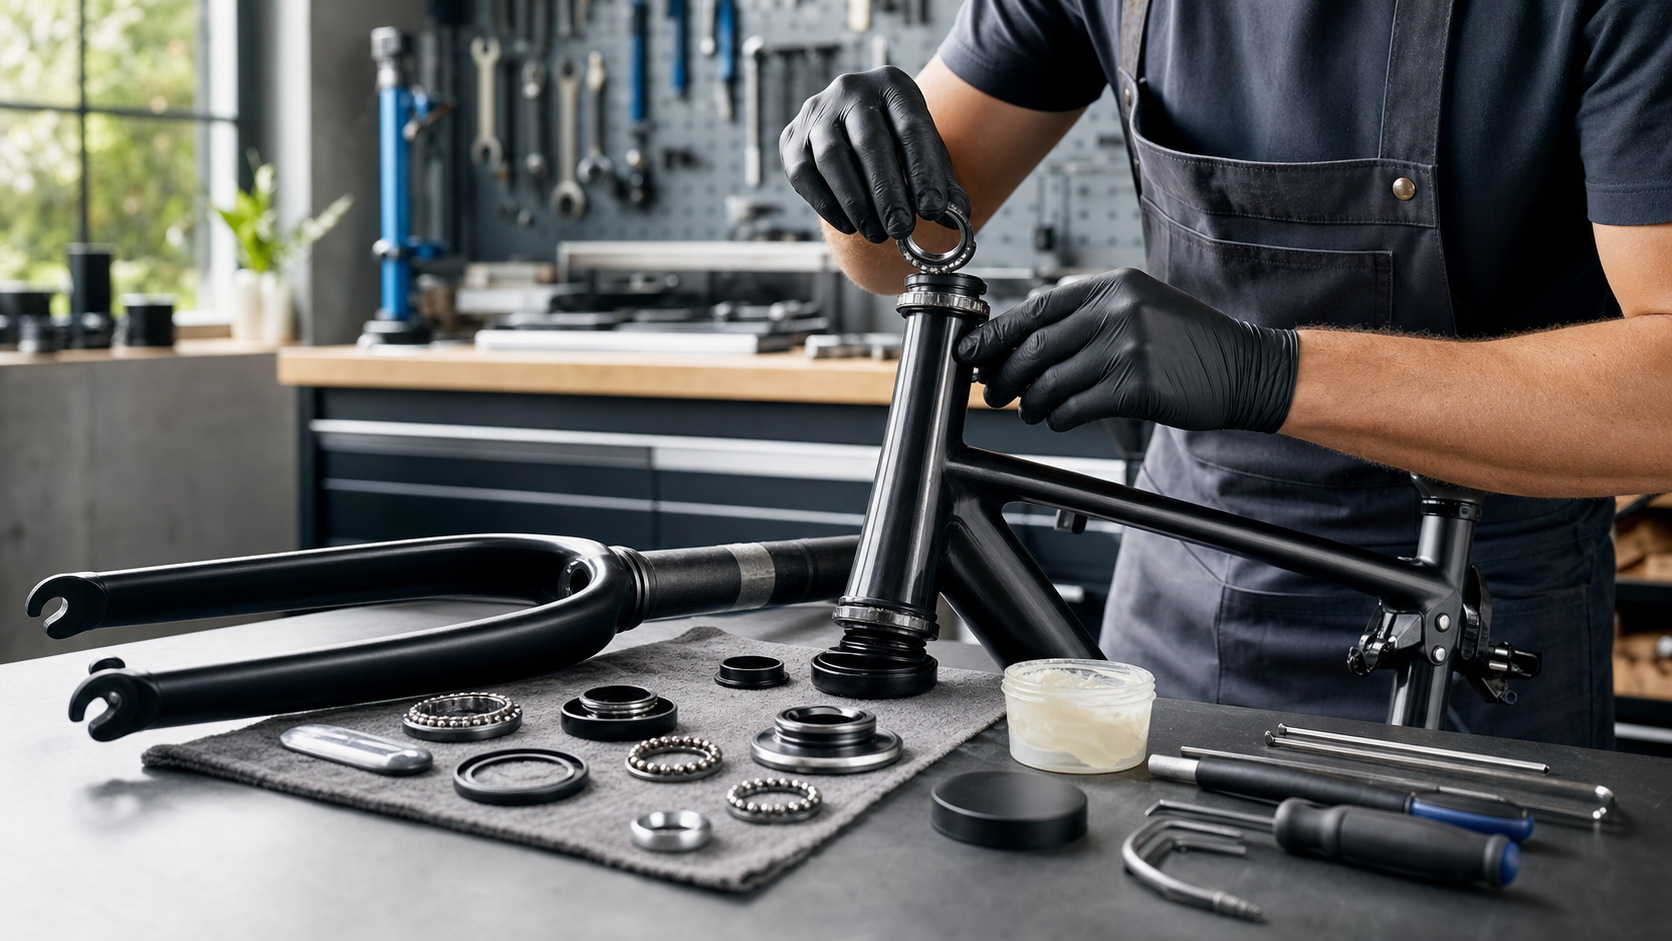
- Remove and lay out each component: Carefully note the order and orientation of each part, including the upper bearing, spacer rings, lower bearing, and weather seal.
Layout of Integrated Headset Components (Top to Bottom)
- Top plug (star nut or expander plug)
- Top cap
- Spacers (there may be several)
- Stem
- Upper bearing seal
- Upper bearing
- Upper cup (integrated, pressed into the head tube)
- Head tube
- Lower cup (integrated, pressed into the head tube)
- Lower bearing
- Lower bearing seal (crown race seal)
- Crown race (fixed to the base of the fork’s steerer tube)
Bearing Cleaning and Replacement
Cleaning Steps
- Remove the bearing. If it is a sealed cartridge bearing, gently pry off the seal cover with a fingernail or a thin piece of metal (if it is designed to be removable).
- Use a cotton swab soaked in degreaser to remove old grease and dirt.
- Spin the bearing to check whether the balls still roll smoothly; if you feel grittiness, play, or uneven rotation, the bearing needs to be replaced.
- After cleaning, apply fresh grease evenly, using just enough to fill the gaps between the balls — do not overfill (excess grease will get flung out and attract dirt).
- Reinstall the seal cover.
Replacing the Bearing
- Record the old bearing’s specifications: outer diameter (OD), inner diameter (ID), and thickness, which are usually printed on the side of the bearing (e.g., 41mm x 30mm x 6.5mm).
- Purchase a replacement bearing with the same specifications; a sealed bearing rated ABEC 3 or higher is recommended.
- When installing the new bearing, press it evenly into the cup seat with your fingers, making sure the bearing sits level and fully seated.
Assembly and Preload Setup
- Reinstall the crown race onto the base of the fork (a crown race setting tool is required to seat it fully).
- Reassemble all components in reverse order of disassembly, paying attention to bearing orientation.
- Setting the preload: Tighten the top cap bolt (typically about 4-6 Nm), testing the steering feel as you tighten. The top cap bolt’s job is to set the preload — it does not secure the stem — so tighten it only enough to remove any looseness; do not overtighten.
- Once you’ve confirmed there is no rocking sensation at the front end, tighten the stem’s pinch bolts (typically 4-5 Nm; for carbon steerer tubes, follow the torque value printed on the frame/fork).
- Finally, redo the rock test and the steering test to confirm everything is correct.
Practical Tips
- Recommended maintenance interval: For general riding, service the headset roughly every 1-2 years; if you frequently ride in rain or humid conditions, shorten this to 6-12 months.
- Waterproofing for Taiwan’s plum rain season: The upper bearing of an integrated headset can easily let water in through the gap at the stem, so it’s worth fitting an aftermarket weather seal cover.
- Watch the torque on carbon steerer tubes: Overtightening the top cap bolt on a carbon steerer can crush the tube — always follow the torque specification in your frame’s manual.
- Diagnosing unusual noise: If you still hear a “clicking” sound while riding after adjustment, it may be brinelling (indentation marks) on the bearing’s contact surface, which means the bearing needs to be replaced.
Conclusion
Maintaining your headset takes a bit more patience than changing a tire, but the process itself really isn’t complicated. Cleaning it regularly and replenishing the grease can substantially extend bearing life and keep your steering silky smooth. For riders who like to service their own bikes, learning headset maintenance is an important technical milestone toward truly understanding your bike’s condition.
Related Reading
- Bicycle Headset Maintenance: The Key Component You May Have Never Noticed
- Steerer Tube System Maintenance: Fork Removal and Head Tube Bearing Replacement Steps
- Hands-On Headset Bearing Replacement: The Complete Process from Removal to Installation
- Bicycle Bearing Maintenance: Lubrication and Replacement for Hubs, Bottom Bracket, and Headset
公路車 BB培林大升級! / 備戰海鷗繞圈賽 Canyon Aerod & TIME 一起改 / MIT大廠 CEMA對鎖式陶瓷培林BB & 導輪 / 公路車 / CT Yeh
2 年前
碟煞公路車 銑面器 !? 原來銑完差這麼多! 降低蹭碟機率! | TIME 公路車 保養小記錄 | CT Yeh
3 年前
鉅齒紋輪組!? ControlTech MEG-T50 EVO 碳纖維幅條輪組/ 功率對比實驗 / 公路車 / CT Yeh
2 年前
洗單車神器 吹水機! 實際洗車用用看 暴力洗鍊條大法 | 公路車 | CT Yeh
4 年前
#公路車 #Fitting 靠人工智慧APP 幫你調整單車
6 年前
一日北高/長距離團騎 常見問題補充篇 / 組團或跟團的眉角 / 壯車友容易被瘦車友慢性拉爆 / 原來屁股痛可能是這個原因...? / 風場配速法 / 公路車 / CT Yeh
2 年前
Canyon 公路車斷把手 五年老車特規還能修嗎? 維修保養全記錄 feat. 501單車監理站 | 公路車 | CT Yeh
4 年前
2025 自行車錶排行榜 兩萬車友大數據 / Garmin Bryton 排名會大洗牌嗎? / 全新的碼表前身分析 /公路車 / CT Yeh
1 年前