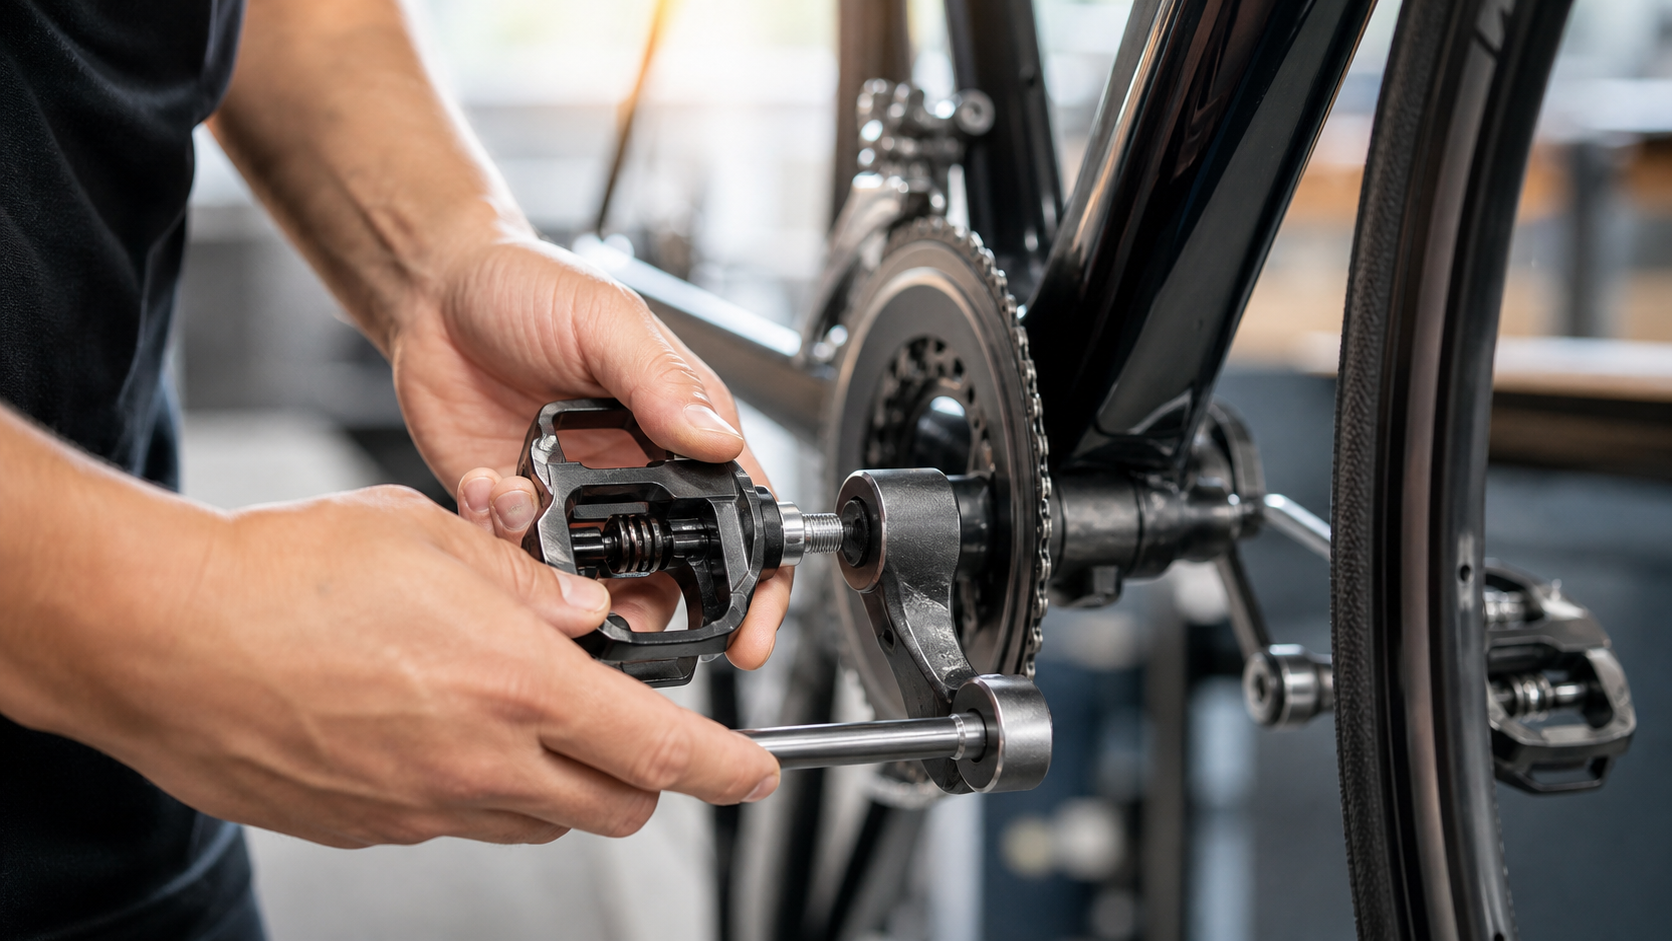
Introduction
The pedal looks like one of the simplest parts on a bicycle, but it’s also where riders most often make mistakes — especially first-timers swapping pedals on their own, who often don’t realize that the left and right pedals use opposite thread directions. Get it wrong and the left pedal keeps loosening the more you tighten it, or worse, comes off mid-ride, creating a serious hazard. This article fully explains the thread rules for pedal removal and installation, the tools you need, and the correct steps to keep your pedals safely secured.
Basic Rules for Pedal Thread Direction
This is the single most important — and most commonly mixed up — piece of knowledge about pedal removal and installation:
| Pedal Position | Thread Direction | Tightening Direction | Removal Direction |
|---|---|---|---|
| Right Pedal (Drive Side) | Standard (right-hand) thread | Clockwise (turn forward) | Counterclockwise |
| Left Pedal (Non-Drive Side) | Reverse (left-hand) thread | Counterclockwise (turn backward) | Clockwise |
Why Is the Left Pedal Reverse-Threaded?
This is an intentional piece of engineering that uses the rotational force of pedaling itself to prevent the pedal from loosening:
- Right pedal (right foot pedaling, the pedal itself orbits clockwise with the crank): if the pedal threads were standard, the friction from pedaling would naturally “tighten” the pedal further into the crank threads — the more you ride, the tighter it gets.
- Left pedal (left foot pedaling, the crank orbits counterclockwise): if it used a standard thread, pedaling friction would instead make the pedal progressively looser. That’s why the left pedal uses a reverse thread, so that riding friction produces the same “self-locking” effect.
A memory trick: “Turning forward tightens, on both sides alike” — for either pedal, turning in the direction your foot pushes (i.e., forward) is always the tightening direction.
How to Identify Left and Right Pedals
Before swapping pedals, confirm which is which:
- Most pedal axles are stamped with an “R” (Right) or “L” (Left) marking.
- If there’s no marking, try turning the threaded end of the axle by hand: the right pedal threads in easily clockwise; the left pedal needs to be turned counterclockwise to thread in.
- Some pedals mark the left side with a colored dot (often red) to distinguish it.
Steps to Remove a Pedal
Tools Needed
- A 15mm pedal wrench: thin by design, so it can fit into the narrow gap between the pedal axle and the crank arm. A standard wrench from a hardware store is usually too thick to fit.
- Or an 8mm hex (Allen) wrench: many modern pedals (such as Look KEO and Shimano SPD-SL) have an 8mm hex fitting on the inside of the axle, which can be reached and turned from the back of the crank arm — often more convenient.
Procedure
- Rotate the crank to a horizontal or forward position to give the wrench a good angle for applying force.
- Confirm left vs. right: double-check which pedal you’re working on and use the correct loosening direction accordingly.
- Apply force to remove: pedal threads are usually torqued quite tight (35–50 Nm) and need significant force. Place the wrench flat against the pedal axle, brace the crank with your other hand, and push down using your body weight rather than just your wrist.
- Pedals that have been in place a long time may be seized: if the threads won’t budge at all, tap the wrench handle with a piece of wood to add torque, or apply a few drops of penetrating oil to the threads, let it sit for 10 minutes, and try again.
Steps to Install a Pedal
- Clean the crank’s pedal hole: use a cotton swab to remove old grease and debris, and visually confirm the threads are undamaged.
- Apply anti-seize compound: apply a thin layer of anti-seize compound or pedal thread grease to the pedal axle threads to prevent galling between an aluminum crank arm and the pedal threads — this is especially important in Taiwan’s humid climate. For carbon-fiber cranks, use carbon assembly paste instead.
- Thread in by hand first: start the pedal by hand and confirm the threads aren’t cross-threaded (it should turn smoothly for 3–4 turns without resistance) before tightening with a wrench.
- Tighten to the recommended torque:
- Standard pedals (aluminum crank): 35–40 Nm
- Carbon-fiber cranks: 25–30 Nm (follow the manufacturer’s spec)
- Use a torque wrench to avoid over- or under-tightening.
- Test-ride after installation: after 50–100 pedal revolutions, check again that the pedal hasn’t loosened. If it has, stop riding immediately and re-secure it.
Things to Check When Buying Pedals
Axle Thread Specification
- Most pedals sold today (including most Shimano SPD and Look pedals) use a 9/16" × 20 TPI thread, which is compatible with the majority of three-piece cranksets.
- BMX bikes and some entry-level bicycles use a smaller 1/2" × 20 TPI thread, which cannot be mixed with the other size.
- Confirm your crank’s thread spec before buying pedals, or bring your old pedals to the shop to compare.
Practical Tips
- Remove pedals at least once a year: even if the pedals seem fine, cleaning the threads and reapplying grease during annual maintenance helps prevent seizing.
- Recheck torque after the first three rides on new pedals: new pedal threads can settle slightly after initial use, so rechecking torque is a good habit.
- Quick-swap pedals (e.g., for triathlon or indoor trainers): riders who change pedals frequently should consider a quick-thread design, and make sure to reapply grease every time the pedal goes back on.
Conclusion
Removing and installing pedals may look like a simple piece of basic maintenance, but the key fact that “the left pedal is reverse-threaded” has tripped up countless riders. Once you understand the mechanics behind it, the mistake is easy to avoid. With the right tools and the correct torque, every pedal installation can be safe and reliable — an important foundation for riding safety.
Related Reading
碟煞公路車 銑面器 !? 原來銑完差這麼多! 降低蹭碟機率! | TIME 公路車 保養小記錄 | CT Yeh
3 年前
再一組! 全碳幅條 碟煞/無內胎輪組 開箱! 到底好騎嗎? UNAAS X40 | 公路車 | CT Yeh
4 年前
公路車 BB培林大升級! / 備戰海鷗繞圈賽 Canyon Aerod & TIME 一起改 / MIT大廠 CEMA對鎖式陶瓷培林BB & 導輪 / 公路車 / CT Yeh
2 年前
風櫃嘴 | 全台最多大砲的單車路線 | 尋寶網攝影師告訴你怎麼擺拍起來才好看 | 熱門攝影地點巡禮
6 年前
#公路車 #Fitting 靠人工智慧APP 幫你調整單車
6 年前
Canyon 公路車斷把手 五年老車特規還能修嗎? 維修保養全記錄 feat. 501單車監理站 | 公路車 | CT Yeh
4 年前
公路車 爬坡 破PR 紀錄 小技巧 分享
6 年前
鉅齒紋輪組!? ControlTech MEG-T50 EVO 碳纖維幅條輪組/ 功率對比實驗 / 公路車 / CT Yeh
2 年前