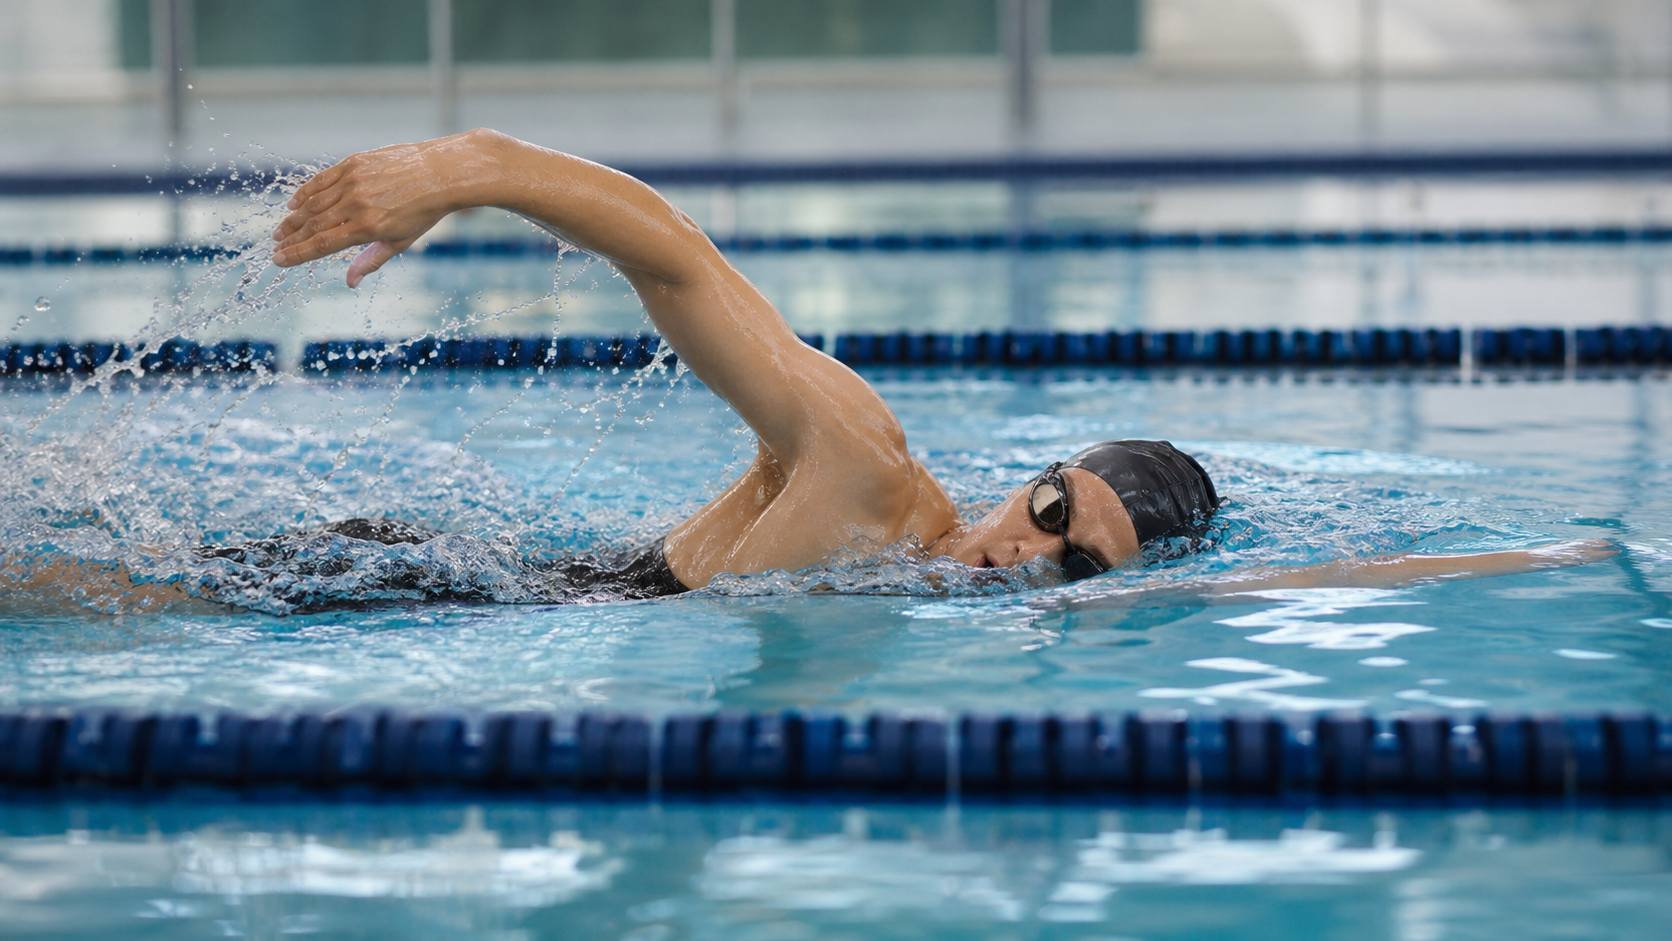
Introduction
In the weekly training schedules of elite swimmers, 15–25% of time is typically devoted to “drill training”—strengthening specific technical elements through isolated, slowed-down, and segmented practice. Compared to swimming large volumes directly, drill training allows the nervous system to perceive movements with greater precision and correct faulty patterns at low intensity.
Single Arm Drill and Catch-Up Drill / High Elbow Catch Drill are the two most frequently used and most effective swimming drills. This article details the technical requirements and integration methods for both.
Single Arm Drill
Basic Concept
Single Arm Drill involves swimming freestyle (or butterfly) using only one arm to pull while the other arm remains extended and stationary in front. This approach:
- Allows the brain to focus on perceiving the full sequence of entry, catch, and pull of one arm
- Slows down stroke rate, making technical details easier to detect
- Strengthens coordination between body roll and arm movements
- Exposes asymmetries between the two sides of the stroke
Correct Execution Steps
- Starting position: In the water in a normal swimming posture, choose the arm to practice (using the left arm as an example), with the right arm extended in front
- Left arm entry: Lift the left arm high from the side (high elbow entry), fingertips entering first, at a point directly in front of the shoulder (not crossing the midline)
- Catch phase: After entry, extend the left hand forward 10–15 cm, feeling the water pressure against the palm (this is the “catch feel”)
- Pull phase: Bend the elbow (approximately 90–120 degrees) and pull the water backward to beside the thigh
- Recovery phase: After the left arm exits the water, return it to the front and hold still, completing one cycle
- Switch sides: Typically practice 25 meters on one arm before switching to the other
Common Error Corrections
| Faulty Movement | Manifestation | Correction Method |
|---|---|---|
| Entry position too wide | Hand crosses the body midline on entry | Place a rope along the lane midline to prevent the hand from crossing |
| Inability to lift the elbow high | Elbow drops during the pull | Perform shoulder mobility exercises on land first |
| Stationary arm sinks | The other arm drifts downward in the water | Use a pull buoy under the stationary arm for support |
| Excessive body rotation | Torso rotation exceeds 45 degrees | Use a kickboard to stabilize the upper body sensation |
High Elbow Catch Drill
Basic Concept
The “catch” is the most important propulsive initiation in swimming—between hand entry and the start of the pull, the arm maintains a “high elbow position” (Elbow Up) to maximize the palm’s surface area against water resistance. Many swimmers drop their elbow during this phase, significantly reducing propulsion.
There are two main forms of catch drills:
Form 1: Catch-Up Drill
- While swimming freestyle, the left arm must wait until the right arm returns to the front and “touches” the left hand before beginning its pull
- This forces each stroke to have sufficient “extension time,” helping to establish the arm extension feel before the catch
- Drawback: Overuse can decrease stroke rate, and the “waiting” action does not match normal swimming rhythm
Form 2: High Elbow Scull
- Extend both arms straight in front, using small “figure-8 outward” hand movements to propel the body forward
- Palms open outward then sweep inward, feeling the “rudder effect” of the hands against the water
- This method directly trains the catch sensation of the hands and forearms
Detailed Steps for High Elbow Scull
- Float flat on the water surface with both arms extended in front of the shoulders (like a Superman position)
- Open the palms outward (thumbs pointing down), feeling water resistance with the forearms and palms
- Sweep the palms inward (thumbs pointing up), at which point the body should feel a slight forward propulsion
- Repeat the cycle, keeping the elbows higher than the hands (key point)
- Practice 25 meters per set, for 4–6 sets total
Integrating Drills Back into Full Swimming
The biggest challenge of drill training is the “transfer problem”—swimmers perform well during drills, but forget everything the moment they switch back to full swimming. Here are common integration methods:
Method 1: 2+2 Alternating Swim
- Swim 2 cycles of Single Arm Drill, then immediately switch to 2 cycles of full freestyle
- Key point: During those 2 full-stroke cycles, actively replicate the hand feel from the drill
Method 2: Feel Anchoring
- Immediately follow drill training with uninterrupted full swimming
- While swimming full stroke, mentally describe the sensations from the drill just performed (“high elbow,” “reach,” etc.)
Method 3: Comparison Swim
- First swim 25 meters using a drill, and note the “feel”
- Immediately swim 25 meters full stroke, comparing the difference in propulsion
- This contrast quickly helps the brain identify technical gaps
Practical Advice
- Drill training should be performed when energy levels are sufficient (early in the session); doing drills while fatigued yields poor results
- Limit each drill to 3–4 sets × 25–50 meters per session; excessive volume can cause the movement pattern to become rigid
- Video assistance: Have someone film your drill work and full swimming to compare the technical differences
- Practice Single Arm Drill on both sides, even if you only race freestyle
Conclusion
Drill training is not just for beginners—elite professional swimmers continue it every week. Single Arm Drill helps you perceive the details of each stroke, while catch drills help you build the propulsive feel of a high elbow. The key is to actively integrate the sensations into full swimming after completing the drills, rather than mechanically finishing the prescribed sets. Technical improvement always yields more lasting performance gains than mere physical conditioning.
Related Reading
- The Technical Enhancement Effects of Catch-Up Drill Training
- Swimming Technique Sessions: Designing a Weekly Schedule with One Technique-Focused Session
- Swimming Technique Workouts: How to Add 10 Minutes of Technique Practice to Every Session
- Strength Movements for Swimmers: Pull-Ups, Shoulder Stability, Core
一個測試有沒有認真練車的方法😂 #公路車
10 個月前
CT 喇低賽) 武嶺牽車 才是王道 西進牽車四小時內秘訣 攝手位置 如何判斷 防抽筋小秘訣
7 年前
[教學] Premiere 影片 手震 修正 教學 防抖 單眼 影像 GoPro 穩定 Video Stabilization
8 年前
戰略) Zwift Race 如何咬在第一集團 如何評估自己要開多少推力 (請開1.5倍速看)
7 年前
一起升級!海鷗盃LSD團練...JJSC Zone2招待 騎到手抖 / 公路車 / CT Yeh
1 天前
西進武嶺 免費訓練分析服務 Intervals | 練不夠還是練過頭?你哪一種類型選手?AI模型告訴你! | 備戰神器 | 公路車 訓練 | CT Yeh
4 年前
FTL 與 SYB 車隊專訪 西進武嶺 實用攻略分享! 2小時 如何練?!你不知道的眉角!新手準備武嶺必看 EP1 | 實力派女車友 | 精華版 | 公路車 | CTYeh
4 年前
滑雪新手們慘摔學習全紀錄(請開字幕),滑雪好好玩 | Snowboard + Ski | 岩原 スキー場 | 滑雪APP使用 | GoPro Max
6 年前