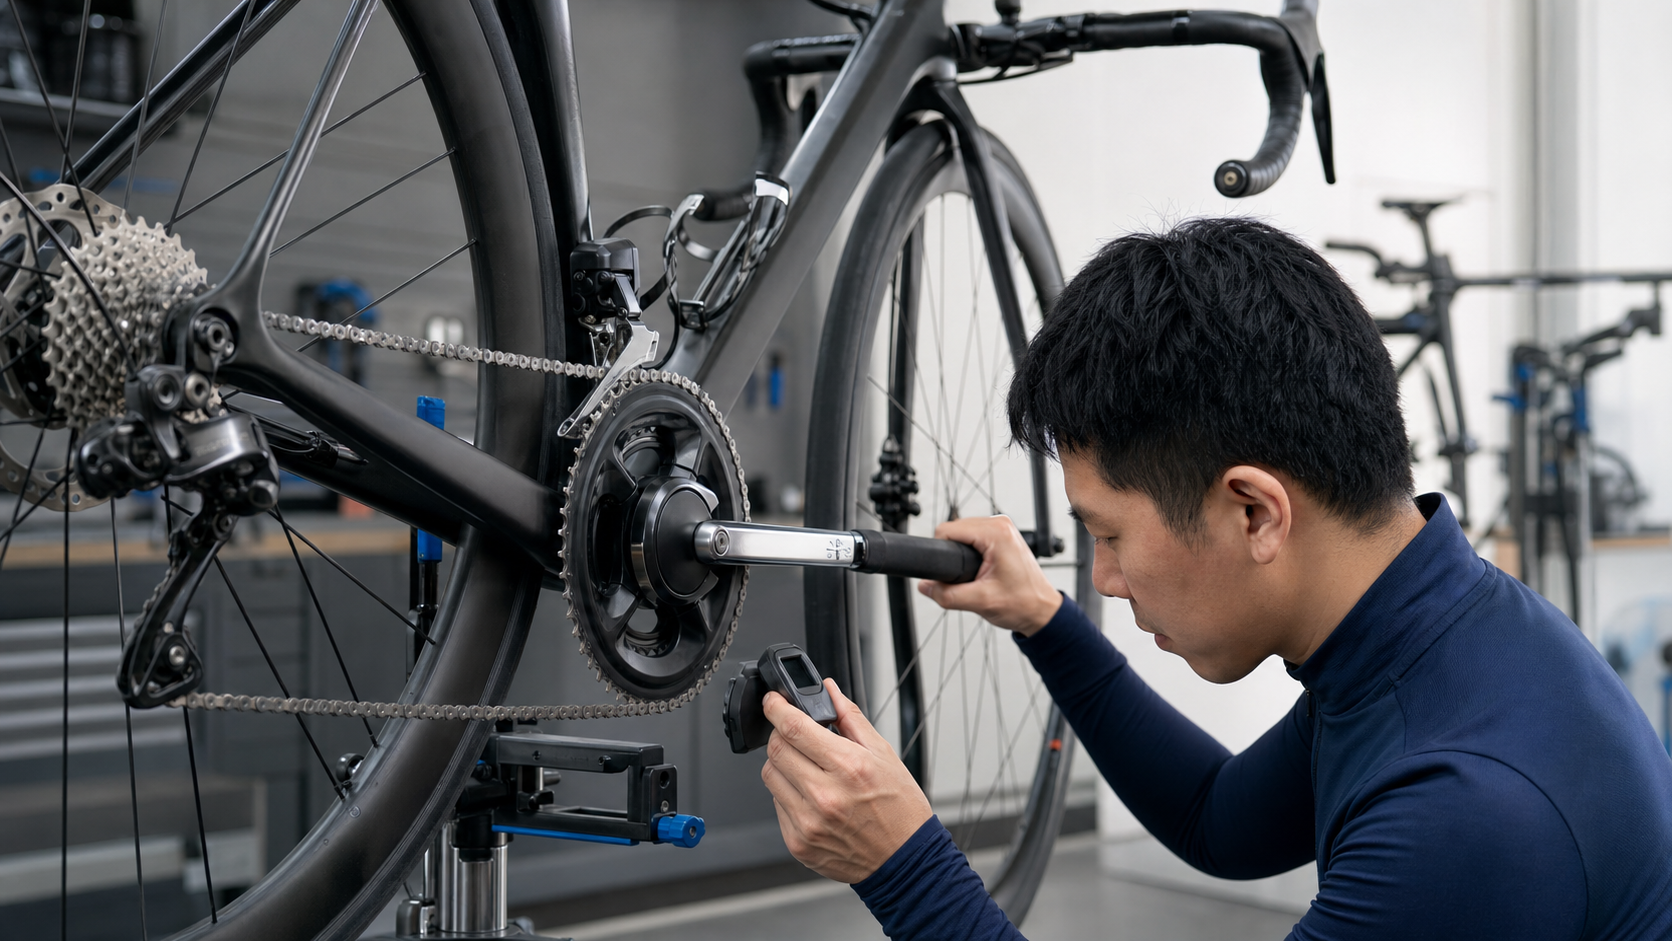
Introduction
Purchasing a power meter is the first step into quantified training, but many riders, after spending a considerable amount of money, fail to realize that “numbers from different power meters cannot be directly compared,” nor do they know how to calibrate them properly. A power meter with poor accuracy could make your FTP test read 5–10% higher or lower, and that 5–10% error means all your training zone intensity settings are wrong—sweet spot could become threshold, and aerobic training could become sweet spot. Understanding the technical specifications and calibration methods of power meters is the fundamental groundwork for taking power-based training seriously.
How Power Meters Work
Strain Gauge Technology
Almost all bicycle power meters are based on the strain gauge principle: when force is applied, the resistance of the metal wire inside the strain gauge changes, and the deformation is measured through a Wheatstone bridge circuit, which is then converted into torque and power.
Power (watts) = Torque (newton-meters) × Angular velocity (radians/second)
Cadence is measured by a separate accelerometer or magnet sensor and combined with torque to calculate power.
Power Meters at Different Mounting Positions
| Position | Representative Brands | Advantages | Disadvantages |
|---|---|---|---|
| Rear Hub | PowerTap | Measures actual output after all drivetrain losses | Swapping wheels is troublesome; some models discontinued |
| Crank | Quarq, FSA | High accuracy, works with different wheels | Reinstallation required when changing frames |
| Left crank arm | Stages, 4iiii | Low price, easy installation | Measures only the left leg, estimates by multiplying by 2 (has error) |
| Both crank arms | Garmin Rally, Favero Assioma | Measures independent data from both legs | Higher price |
| Pedals | Garmin Rally, Favero Assioma | Easiest to move between bikes | Some models are heavier |
| Bottom bracket | Rotor, Pioneer | High accuracy | Many specifications; compatibility needs verification |
| Spider | Quarq, Power2Max | Accurate and durable | Chainring changes require disassembly |
Understanding Accuracy Specifications
Manufacturer Stated Accuracy vs. Real-World Accuracy
Most mainstream power meter manufacturers state an accuracy of ±1–2%. However, this figure comes with several important caveats:
- Precision: The consistency of the same device when repeatedly measuring the same output
- Accuracy: The absolute error compared to a “gold standard” (such as a torque calibration rig)
- Temperature compensation: Whether accuracy is maintained across different temperatures (Taiwan’s summer 35°C vs. winter 10°C is a significant difference)
In reality, even with a stated ±1%, errors can reach ±3–5% under different environmental conditions.
The Special Problem with Left-Side Power Meters
Riders using single-sided left crank power meters (Stages, 4iiii, etc.) should note: these power meters assume each leg contributes half the power (50/50), then multiply the left-leg measurement by 2. But in reality, most people have a dominant leg, and the left/right output ratio changes continuously throughout a ride.
- Steady riding on flat terrain: Left/right difference is typically 5–10%, relatively small error
- Hard efforts while climbing: Left/right difference can expand to 15–20%, significant error
- Late-stage fatigue: The dominant leg “compensates” more noticeably, further increasing error
If your budget allows, a dual-sided power meter is the more reliable choice.
Power Meter Calibration
Zero Offset Calibration
This is the most important and most commonly overlooked step. Zero offset calibration eliminates baseline drift in the strain gauge caused by factors such as temperature and installation tension.
When to calibrate correctly:
- Before every ride, after a 5-minute warm-up (to bring the strain gauge to operating temperature)
- After weather changes with a temperature difference exceeding 10°C
- After a crash or fall
- Every 2–3 hours during long rides (road vibration can cause strain gauge baseline drift)
Calibration steps (using Garmin as an example):
- Position the crank at the 6 o’clock position (pointing straight down)
- Find “Calibrate Power Meter” in the sensor menu on your Garmin device
- Wait for the device to confirm calibration is complete
- Verify the calibration value is within the normal range (normal values vary by brand; Stages is typically between −200 and +200)
Manufacturer Calibration (Torque Calibration)
Unlike zero offset, torque calibration requires a calibration fixture with known weights and is performed by the manufacturer or a professional technician—it cannot be done by the average rider. It is recommended to send the unit in every 1–2 years or when the power meter shows obvious accuracy drift.
Consistency Issues in a Multi-Power-Meter Environment
Outdoor Power Meter vs. Trainer
This is the most common frustration in modern power-based training: your outdoor power meter and trainer display different numbers.
How to handle it:
| Difference Level | Recommended Action |
|---|---|
| Within ±2% | Acceptable, use normally |
| 2–5% | Perform a back-to-back comparison test (ride the same stretch of road with the power meter, then immediately get on the trainer), record the difference ratio as a reference factor |
| Above 5% | Contact the manufacturer or perform zero offset calibration; if the difference persists, consider that one of the units may need service |
Key principle: Don’t let numbers from different devices create confusion—choose one as your primary reference device and maintain data consistency. FTP tests and training zone settings should all be based on the numbers from that same device.
Buying Recommendations
Budget Entry (5,000–12,000 TWD):
- Stages Cycling (left crank, ±2% accuracy)
- 4iiii Precision (left crank, ±1% accuracy)
- Suitable for: riders on a limited budget with balanced left/right legs
Mid-Range Recommendation (15,000–30,000 TWD):
- Favero Assioma Duo (dual pedals, ±1%, easy to move between bikes)
- Garmin Rally (dual pedals, SPD or LOOK systems available)
- Suitable for: riders training seriously who want dual-sided data
Advanced Choice (30,000+ TWD):
- Quarq, Power2Max (crank spider type, ±1%)
- Rotor 2INpower (bottom bracket type, high accuracy)
- Suitable for: athletes with specific drivetrain needs or high-accuracy requirements
Special note: Taiwan’s hot and humid environment places higher demands on a power meter’s waterproof rating (IPX5 or above); confirm the waterproof specification when purchasing.
Practical Tips
- Perform zero offset calibration before every ride—building the habit matters more than any technical knowledge
- Download the manufacturer’s app and update firmware regularly: many accuracy issues are improved with firmware updates
- Pay attention to device pairing: the power meter should be consistently paired with the same Garmin/Wahoo unit to avoid confusion from different device records
- Keep your purchase receipt: mainstream brands offer 1–2 year warranties, and accuracy issues can usually be serviced or replaced within the warranty period
- Don’t leave your power meter in prolonged direct sunlight or in a hot car: high temperatures cause long-term damage to the strain gauge adhesive
Conclusion
The accuracy of a power meter directly determines whether your training data is trustworthy. When purchasing, don’t just look at price—understand the systematic error of the mounting position, the real meaning of the manufacturer’s stated accuracy, and how to properly perform routine calibration. A cheap power meter used correctly is more valuable for training than an expensive one that is never calibrated. Making calibration a habit is the right attitude to ensure your power meter truly serves your training.
Related Reading
- Power Meter Selection and Calibration: Differences Between Static and Dynamic Calibration and Recommended Frequency
- Introduction to Bicycle Power Training: From Buying a Power Meter to Designing Your First Training Plan
- The Complete Guide to Bicycle Power Meters: Accuracy, Installation Methods, and Usage Recommendations by Brand
- 2025 Complete Power Meter Buying Guide: Best Choices from Entry-Level to Advanced
全台首發!邁金P715踏板功率計!市場價格撼動者再出招 / 功率對比實測 / FAVERO ASSIOMA 可參考! / 公路車 / CT Yeh
1 年前
Stages功率計 和 智騎 X7 Pro 訓練檯同時騎兩個 Rouvy 角色會一起進終點嗎?最後來點數據分析 | 公路車
5 年前
Fitting訓練兩用功率車 ! Thinkrider ST900 完整實測!/ 坡度升降 / 鄰居測試/ smart bike/公路車/ CT Yeh
2 年前
西進武嶺配速器 3.0更新 / NEW 免功率FTP估算! / 大數據xAI體能模型 / 如何模擬人止關前集團效應 / 配速儲存功能 / AI全台自行車賽事行事曆 / 公路車 / CT Yeh
1 年前
ThinkRider 智騎 XXPRO 訓練台,高階機種功能 只要 1/3價格!? 實測功率對比、噪音實測 / 公路車 / CT Yeh
1 年前
#公路車 #Fitting 靠人工智慧APP 幫你調整單車
6 年前
西進武嶺 8000名單車友數據分析 PART1 | 從新手到高手數量/瓦數/推力比/FTP推力比/功率計使用率 大解析 | 公路車 | CTYeh
5 年前
西進武嶺 自製新版AI配速表產生器 x 賽前攻略 抱佛腳! 沒有功率計也可以產生配速表嗎?有什麼其他眉角賽前要注意的呢? | 西進武嶺 / 東進武嶺 KOM 攻略 | 公路車 | CT Yeh
4 年前