Introduction
Foam rollers have become quite common among cyclists in Taiwan, from runners to road bike enthusiasts, with more and more people incorporating them into their daily recovery routines. However, there is a world of difference between “casually rolling a few times on your thighs” and “systematically performing myofascial release on cycling-specific muscle groups.”
This article will explain the physiological mechanisms behind foam rolling and provide specific rolling areas, techniques, and duration recommendations tailored to cycling movement patterns.
The Physiological Mechanisms of Foam Rolling
Foam rolling works primarily through the following mechanisms:
Self-Myofascial Release (SMR): Sustained pressure stimulates the Golgi Tendon Organs in the fascia and muscles, triggering an inhibitory reflex that reduces muscle tension (relaxation effect).
Promoting Local Blood Circulation: Rolling causes temporary ischemia in the tissue; once released, reactive hyperemia increases local blood flow and clearance of metabolic waste.
Neuromuscular Inhibition: Applying sustained pressure to trigger points helps “release” localized protective muscle contractions.
Note: Current research shows that foam rolling has limited direct muscle-building effects; its primary benefits lie in improving range of motion, reducing subjective soreness, and potentially slightly accelerating recovery.
Muscle Groups Most Prone to Tightness in Cycling
Cycling is a repetitive sport performed in a fixed position, and the following muscle groups are particularly prone to accumulating tightness:
| Muscle Group | Role During Riding | Common Tightness Symptoms |
|---|---|---|
| Quadriceps (front of thigh) | Primary pedaling muscle group | Discomfort in front of knee, tightness in front of thigh |
| Iliotibial (IT) Band | Stabilizes the knee joint | Lateral knee pain (IT Band syndrome) |
| Gluteus Maximus / Gluteus Medius | One of the power sources for pedaling | Deep soreness in the buttocks, piriformis syndrome |
| Hamstrings | Pull-up phase of pedaling | Tightness in back of thigh, discomfort below the knee |
| Posterior calf (Gastrocnemius / Soleus) | Ankle joint stability | Achilles tendon tightness, calf cramps |
| Lower back (Erector Spinae) | Maintains upper body posture | Stiffness and soreness in lower back after long rides |
Rolling Techniques and Duration for Each Area
Quadriceps (Front of Thigh)
- Position: Lie face down, place the roller under the front of the thigh, support your upper body with your forearms
- Movement: Roll slowly from above the knee to the hip, at a pace of approximately one back-and-forth every 2–3 seconds
- Focus: When you hit a sore spot, hold for 20–30 seconds and wait for the tension to release
- Duration: 60–90 seconds per side
Iliotibial (IT) Band (Outer Thigh)
- Position: Lie on your side, bottom leg extended, roller placed on the outer side above the knee, top leg bent with foot planted for support
- Movement: Roll slowly along the outer thigh up to the outer hip
- Focus: The IT Band is rich in nerves, so significant discomfort during rolling is normal, but it should not be severe pain
- Duration: 60–90 seconds per side, holding on sore spots for 20 seconds
- Note: Rolling directly over the bony area near the outer knee has limited effect; focus on the myofascia of the mid-thigh outer side
Glutes (Gluteus Maximus / Piriformis)
- Position: Sit on the roller, shift your weight toward one side of the buttocks, and place the ankle of that same side over the opposite knee (figure-“4” position)
- Movement: Support yourself with your hands on the ground and move slowly back and forth to apply pressure to the outer and deep muscles of the buttocks
- Duration: 60–90 seconds per side
- Benefits: Particularly effective for piriformis syndrome and gluteal tightness after long rides
Hamstrings (Back of Thigh)
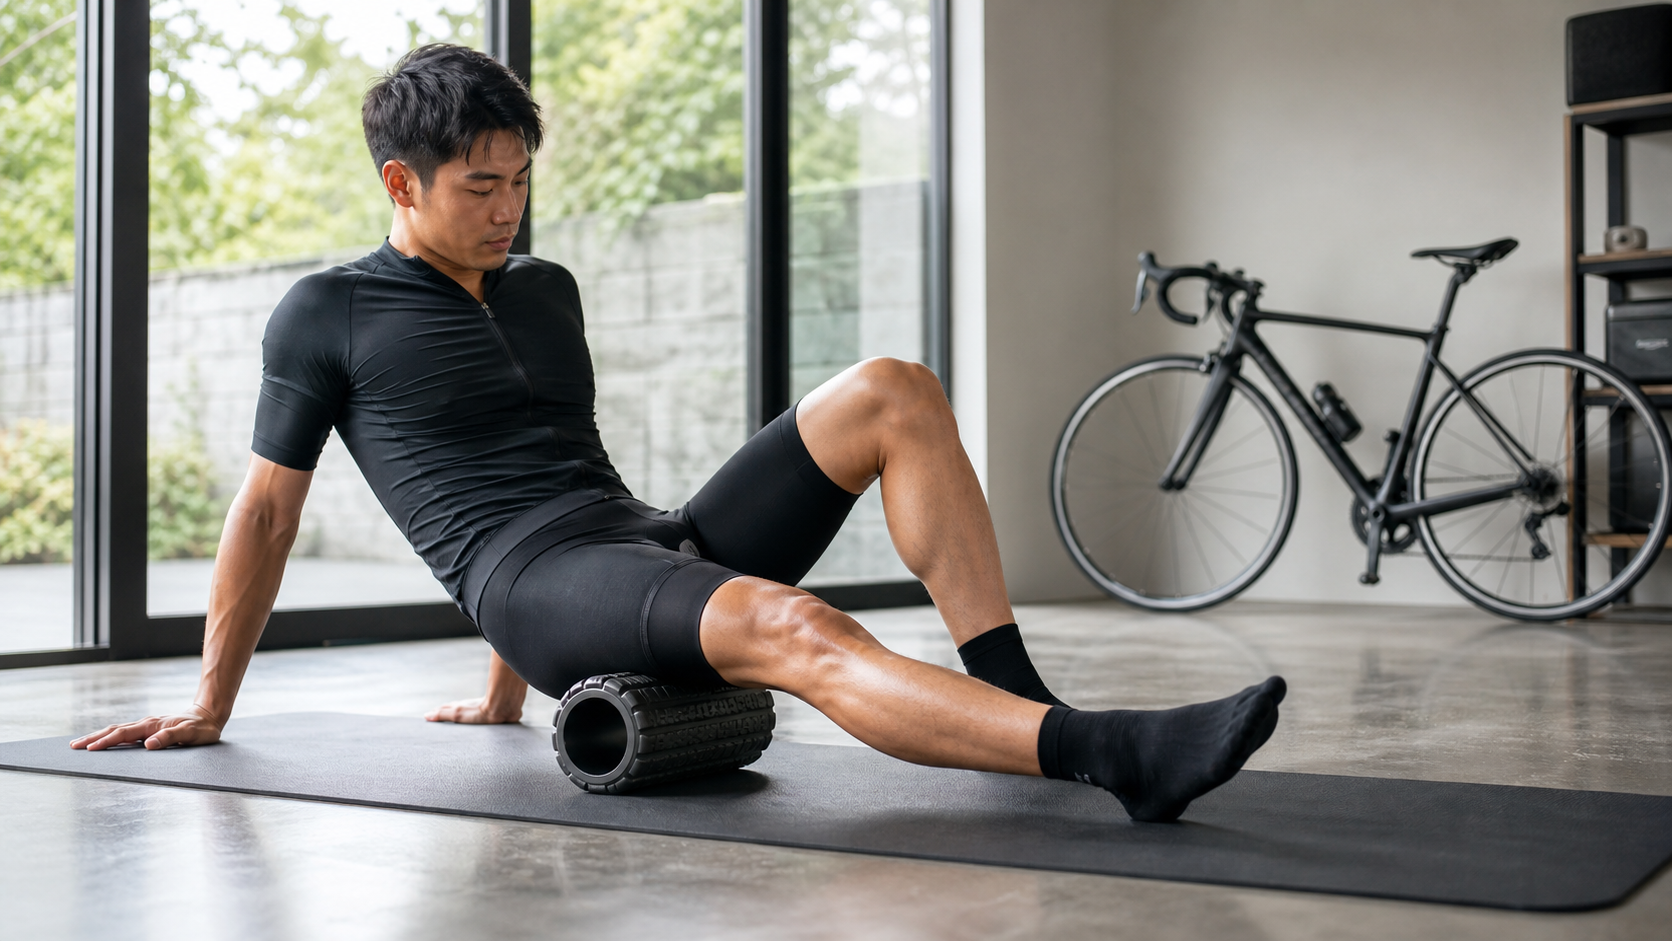
- Position: Seated, legs extended, roller placed under the back of the thighs, hands supporting you off the ground
- Movement: Roll from behind the knee to below the sit bones; you can cross one leg over the other to increase pressure on a single side
- Duration: 60 seconds per side
Posterior Calf
- Position: Seated, roller placed under the calf, supported by your hands
- Movement: Roll from above the ankle to behind the knee, pausing on tight spots
- Duration: 45–60 seconds per side
Lower Back (Erector Spinae)
- Position: Lie on your back, roller placed horizontally under the lower back, knees bent
- Movement: Move slowly up and down, rolling the erector spinae muscles on both sides of the spine (avoid rolling directly on the vertebrae)
- Duration: 60–90 seconds
Timing Recommendations for Rolling
- After training: The best time; tissue elasticity is better when muscles are warm, making the effects more pronounced
- Before training: Can be part of a dynamic warm-up, but only 30 seconds per area—do not “over-relax” and compromise power output
- Before bedtime: Helps relax muscle tension and improve sleep quality
- Weekly frequency: Daily is fine during high-intensity training weeks; 2–3 times per week is sufficient during easy weeks
Practical Tips
- Roller firmness selection: Beginners are advised to start with a softer roller (EVA foam), then progress to firmer options (PVC core) or textured rollers once accustomed
- Move slowly: Rolling quickly is the most common mistake; each back-and-forth should take at least 2–3 seconds, and pause on tender points
- Do not roll directly over bony prominences: Such as the kneecap or tibial crest, as this can cause bruising
- Stay hydrated: Drinking water after fascial release helps with metabolic waste clearance
- Combine with static stretching: Following up with static stretching of the same area immediately after rolling yields better range-of-motion improvements
Conclusion
The foam roller is not a magic tool, but when used correctly, it can effectively relieve common cycling-related muscle tightness and accelerate subjective recovery after rides. The key lies in systematically targeting cycling-specific muscle groups, rolling at a sufficiently slow pace, and staying consistent. A 15–20 minute foam rolling recovery session is one of the most cost-effective investments you can make in improving training quality.
Related Reading
一日北高/長距離團騎 常見問題補充篇 / 組團或跟團的眉角 / 壯車友容易被瘦車友慢性拉爆 / 原來屁股痛可能是這個原因...? / 風場配速法 / 公路車 / CT Yeh
2 年前
洗單車神器 吹水機! 實際洗車用用看 暴力洗鍊條大法 | 公路車 | CT Yeh
4 年前
碟煞公路車 銑面器 !? 原來銑完差這麼多! 降低蹭碟機率! | TIME 公路車 保養小記錄 | CT Yeh
3 年前
一日北高常見問題大集合 | 攻略 | 路線 | 訓練 | 補給 | 自行車 單車 | 一日雙城 | 雙塔 | TWB北高360 | 屁股痛
6 年前
風櫃嘴 | 全台最多大砲的單車路線 | 尋寶網攝影師告訴你怎麼擺拍起來才好看 | 熱門攝影地點巡禮
6 年前
#公路車 #Fitting 靠人工智慧APP 幫你調整單車
6 年前
摔車後補裝備: 好市多新款單車安全帽& Specialized Romin 北高整路屁股都不痛的坐墊 | 一千元居然有MIPS | CT Yeh | 公路車
4 年前
訓練台體驗) 2019台北自行車展 三大家 訓練台體驗 Tacx Neo Flux 2 Xepdo Apx Wahoo Kickr
7 年前