The Golden Rule of Saddle Height: Comparing the KOPS Method, LeMond Method, and Dynamic Fit
Introduction
Ask ten riders, “How did you set your saddle height?” and about eight of them won’t have an answer. Saddle height is the single variable in bike geometry with the deepest impact on pedaling efficiency and knee health—a deviation of just 5 mm can accumulate into significant pain over long-distance rides. The good news is that there are currently three widely used measurement methods that allow you to make a reasonable initial setup without high-end equipment.
Why Is Saddle Height So Critical?
During a complete pedal cycle, the knee joint must repeatedly move from its highest point (approximately 35–45° of flexion) to its lowest point (25–35° of extension reserve). For every 1 cm the saddle is lowered, the knee flexion angle at the lowest point increases by about 2–3°, and over time this places undue stress on the quadriceps tendon and patellar cartilage. A saddle that is too high causes pelvic tilting, and repeated friction on the iliotibial (IT) band leads to pain on the outside of the knee.
Detailed Explanation of the Three Measurement Methods
Method 1: KOPS Method (Knee Over Pedal Spindle)
Steps:
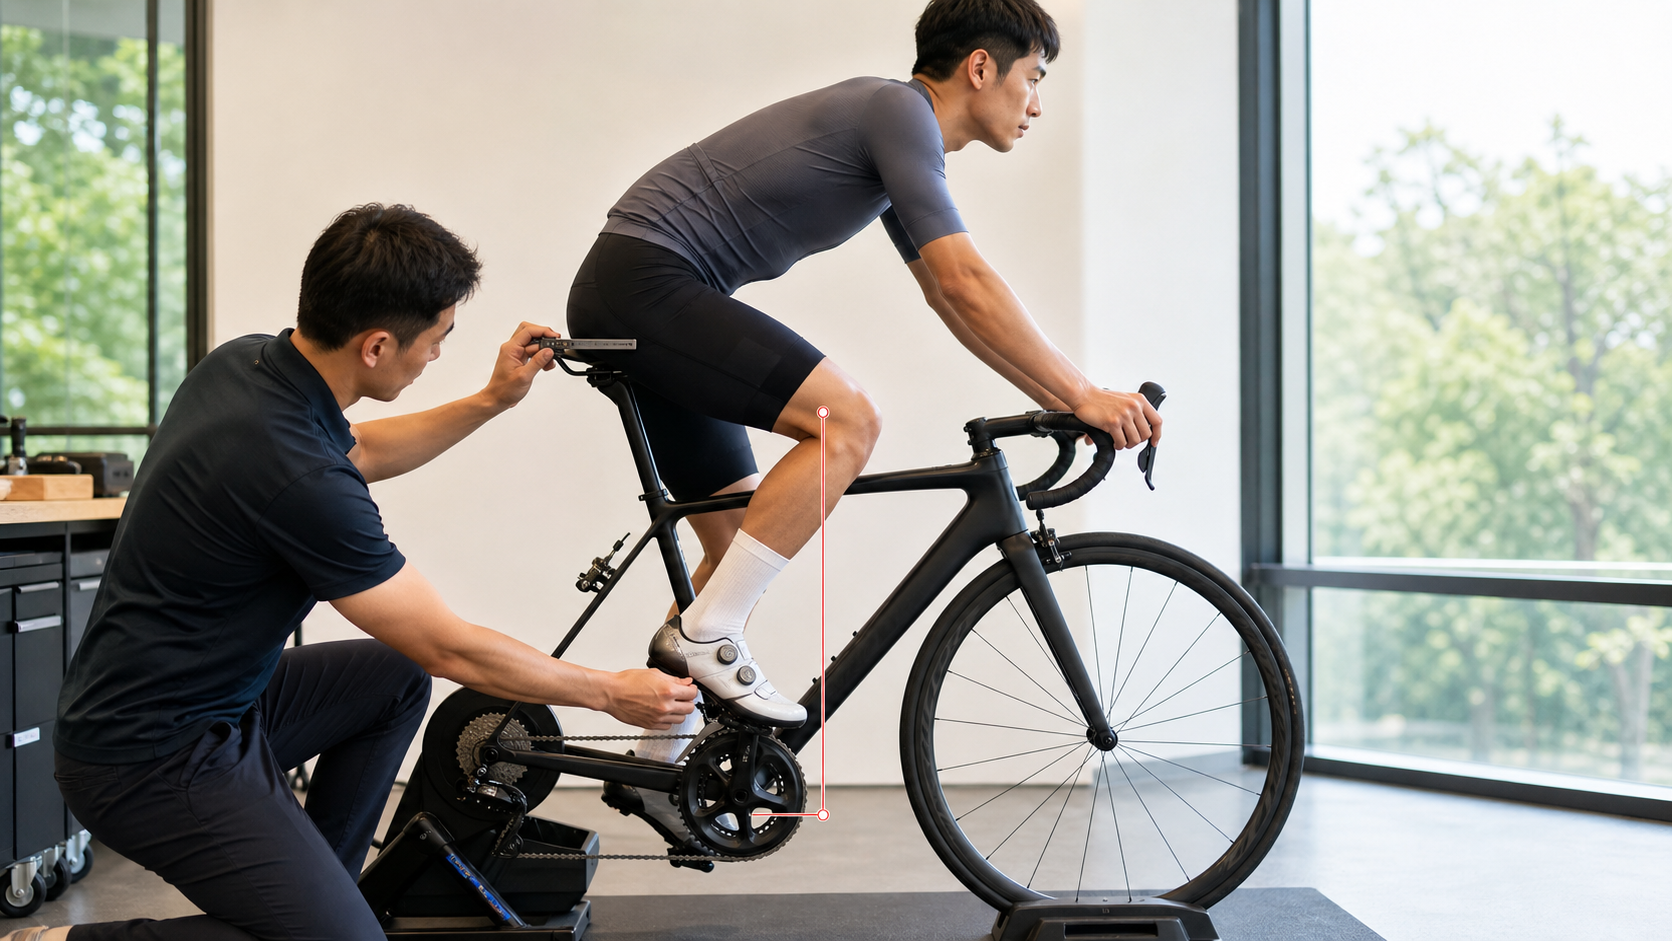
- Get on the bike and rotate the crank to the horizontal position (3 o’clock direction)
- Drop a plumb line vertically from the lower edge of the kneecap (tip of the patella)
- The plumb line should pass through the pedal spindle
Advantages: Intuitive and easy to perform, no complex tools required
Disadvantages: Ignores differences in the rider’s pedaling style; riders with a forward-pushing pedaling style (such as climbers) naturally have their knees in front of the spindle
Suitable for: Recreational riders, first-time setters
Method 2: LeMond Method (Inseam Coefficient Method)
A formula popularized by legendary rider Greg LeMond’s team mechanics:
Formula: Saddle height (from BB center to saddle surface) = Inseam length × 0.883
How to measure inseam length:
- Stand barefoot with your back against a wall
- Clamp a book or hard board between your legs, simulating the feel of sitting on the saddle
- Measure the distance from the top edge of the book to the floor
Example calculation:
| Inseam length (cm) | × 0.883 | Recommended saddle height (cm) |
|---|---|---|
| 75 | × 0.883 | 66.2 |
| 80 | × 0.883 | 70.6 |
| 85 | × 0.883 | 75.1 |
| 90 | × 0.883 | 79.5 |
Advantages: Data-backed and repeatable for verification
Disadvantages: Only considers leg length; does not account for differences in thigh-to-shin ratio or pedaling technique
Suitable for: Road riders, those with some riding foundation
Method 3: Holmes Angle Method (Predecessor to Dynamic Fit)
Use a protractor or a smartphone app to directly measure the knee angle at the lowest point:
- Recommended angle: 25°–35° (the posterior angle from thigh to shin)
- Below 25°: Saddle is too low, raise it
- Above 35°: Saddle is too high, lower it
This is the most commonly used objective indicator among dynamic bike fit technicians.
Method 4: Modern Dynamic Fit (3D Motion Analysis)
Dynamic fit technicians mark the hip, knee, and ankle joints with reflective dots while the rider pedals at 90–100 rpm, then use cameras or a Retül system to calculate:
- Knee angle at lowest point: Target 25–35°
- Hip angle at highest point: Target 45–55°
- Pelvic lateral rocking: No more than ±2 cm
- Ankle angle (Ankling): Reflects pedaling efficiency
Comparison Overview of the Four Methods
| Method | Tool Requirements | Accuracy | Suitable For | Cost |
|---|---|---|---|---|
| KOPS | Plumb line | Medium | Beginners | Free |
| LeMond | Tape measure, calculator | Medium-high | Road riders | Free |
| Holmes Angle | Protractor or app | High | Advanced riders | Free |
| Dynamic Fit | Camera equipment | Highest | Competitive athletes | NT$3,500–8,000 |
Practical Advice: Considerations for Adjusting Saddle Height
- Do not adjust more than 5 mm at a time, allowing muscles to adapt gradually
- Ride at least 100 km after an adjustment before the next evaluation
- Saddle height needs to be recalibrated when sole thickness changes (pay attention when switching cycling shoes)
- In winter, when wearing thick overshoes, you may need to lower the saddle by 2–3 mm
- Record every setting value—measure and log the distance from the BB center to the saddle surface with a tape measure
Conclusion
No single method works for every rider, but cross-validating the three methods is the most robust strategy: start with the LeMond Method to calculate an initial value, then verify with the Holmes Angle Method; if pain or efficiency concerns remain, seek professional assistance from a dynamic fit. Precise saddle height setting is the first step in all bike fit adjustments, and it is the step most worth investing your time in.
Related Reading
#公路車 #Fitting 靠人工智慧APP 幫你調整單車
6 年前
Nepest NOVA 碳條輪組:輕量、空力、舒適一次滿足!/ 公路車 / CT Yeh
7 個月前
單車 一日北高 ( 雙城 ) 肥宅雙人瘋狂行 紀錄片 REACTO
10 年前
訓練台體驗) 2019台北自行車展 三大家 訓練台體驗 Tacx Neo Flux 2 Xepdo Apx Wahoo Kickr
7 年前
Vision Metron RS 37碳幅條輪組 (非SL)官網沒有的 低調開箱 / 這重量太銷魂了 / 公路車 / CT Yeh
6 個月前
一日北高常見問題大集合 | 攻略 | 路線 | 訓練 | 補給 | 自行車 單車 | 一日雙城 | 雙塔 | TWB北高360 | 屁股痛
6 年前
武嶺配速表最佳使用方式 #bike
1 年前
靠單車減肥35公斤 心得分享與整理
7 年前