Why Do Triathletes Need a Power Meter?
The bike leg is the segment in triathlon where “pace control” is most likely to go wrong. Wind resistance, gradient, and perceived effort can all make you ride harder or easier than intended. Power output (Watts) is the only objective metric unaffected by external conditions:
- Unaffected by temperature (heart rate is)
- Unaffected by fatigue (speed is)
- Unaffected by road conditions (pace is)
In the bike leg of a 70.3 or IRONMAN, a 5% pacing error can lead to a 20% collapse on the run.
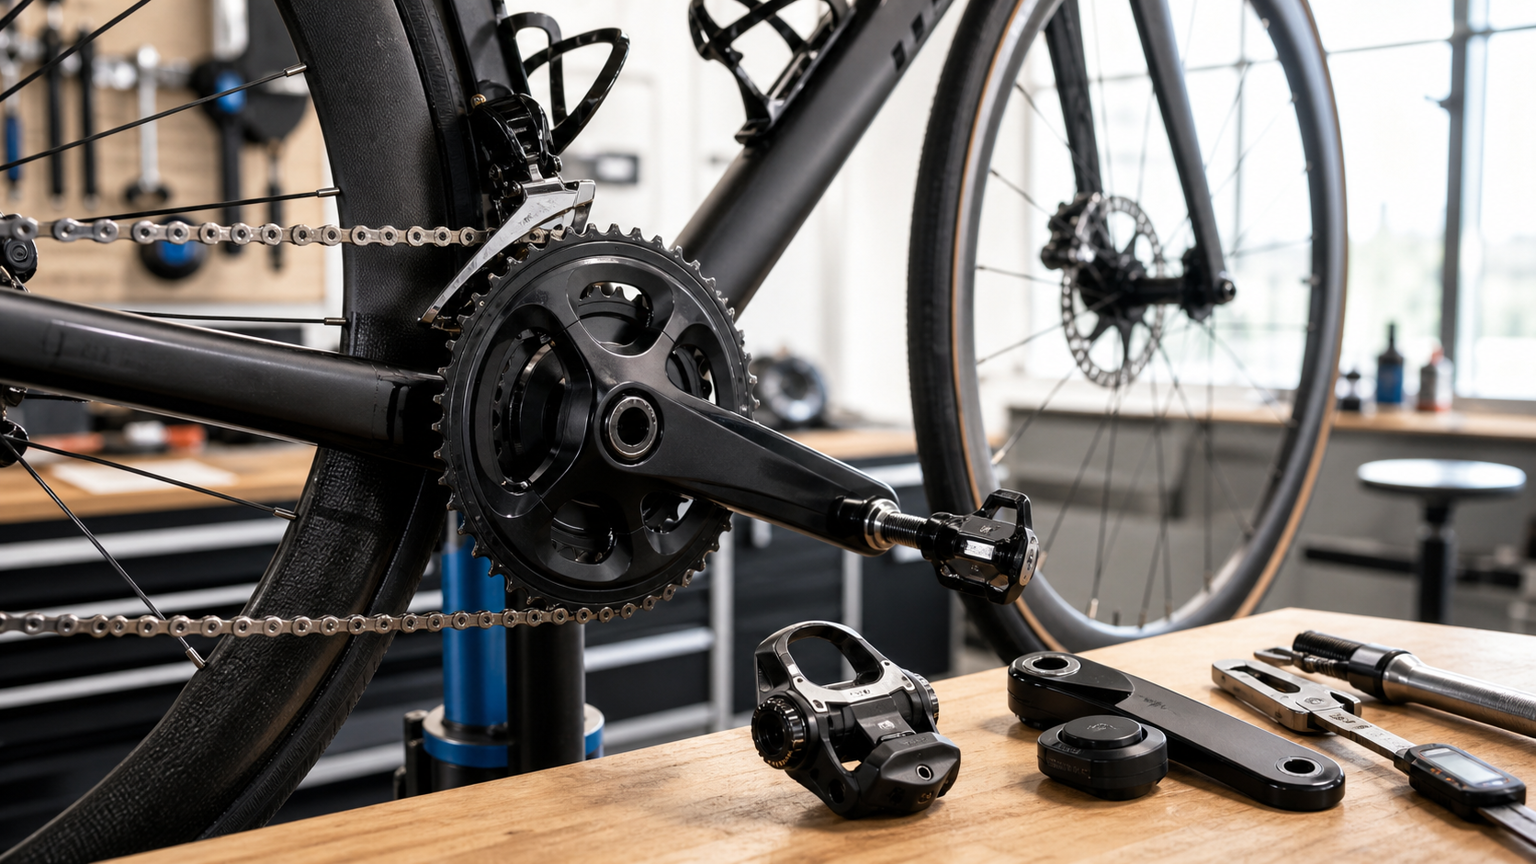
Power Meter Mounting Locations
1. Pedal-based
Examples: Garmin Rally, Favero Assioma, Wahoo Powrlink.
Advantages:
- Quick transfer between multiple bikes (road bike, TT bike, trainer)
- Simple installation (just swap pedals)
- Some models can measure both left and right sides simultaneously
Disadvantages:
- Exposed, higher risk of impact damage
- Slightly heavier (130-180g per pedal)
- Cleat type is fixed (Look or SPD)
2. Crank-based
Examples: Stages, 4iiii, Quarq DZero.
Advantages:
- Lightweight (50-90g added weight)
- Protected on the inside of the crank arm
- Not limited by cleat type
Disadvantages:
- More complex installation (requires removing the bottom bracket)
- Difficult to transfer (each bike needs its own set)
- Some crank compatibility issues (especially with Shimano Hollowtech II)
3. Bottom Bracket
Examples: Rotor INPower, SRM.
Advantages:
- Most hidden, least prone to damage
- Directly measures power input from the pedals to the drivetrain
Disadvantages:
- Highest price (NT$ 50,000+)
- Most difficult installation
- Transfer is nearly impossible
4. Rear Hub-based
Examples: PowerTap G3.
Advantages:
- Measurement is closest to actual output (drivetrain losses already deducted)
- Swap wheels and you swap bikes
Disadvantages:
- Limits wheel choice
- Compatibility with deep-section carbon wheels is restricted
- Market has shrunk in recent years
Single-Side vs Dual-Side
Single-Side Power Meters
Measures power from only the left (or right) leg, then multiplies by 2 to estimate total power.
The Problem: The left-right power distribution in humans is rarely exactly 50:50. It is commonly 48:52 or 47:53. A single-side power meter assumes 50:50, creating a systematic error of 2-5%.
Best suited for:
- Limited budget
- Training focus is “comparing yourself to yourself” (trend analysis)
- You already know your left-right balance is good
Dual-Side Power Meters
Measures left and right legs independently, providing:
- True total power
- Left/Right Balance
- Pedal Smoothness for each leg
- Torque Effectiveness
Best suited for:
- Rehabilitation (e.g., after a knee injury) requiring monitoring of leg balance
- Race-level training requiring absolute power accuracy
- Pedaling position analysis
Interpreting Accuracy Specifications
Manufacturers typically list “± 1%”, “± 1.5%”, or “± 2%”. What this actually means:
- ± 1%: at 250W true power, reads 247.5-252.5W
- ± 2%: at 250W true power, reads 245-255W
This has little impact on trend analysis (comparing yourself to yourself), but it matters significantly for comparing across bikes and riders.
Calibration and Maintenance
All power meters require zero offset calibration:
- Before every ride
- When temperature changes by more than 10°C
- After reinstalling
Calibration procedure (using pedal-based as an example):
- Stabilize the bike before riding
- Ensure the pedal hangs at the 6 o’clock position
- Execute “Calibrate” in the head unit settings
- Wait 10 seconds; when “Success” appears, it is complete
Pairing and Data Recording
Power meters typically support both ANT+ and Bluetooth protocols:
- ANT+: Can connect to multiple devices simultaneously (head unit + watch + trainer)
- Bluetooth: Stable but usually connects to only one device
It is recommended to connect the power meter to the head unit via ANT+ and the watch via BLE to avoid signal conflicts.
Price Range Recommendations
| Budget | Recommended Setup |
|---|---|
| < NT$ 15,000 | Single-side crank-based (4iiii entry-level / Stages Gen 2) |
| NT$ 15,000-25,000 | Single-side pedal-based (Favero Assioma Uno) |
| NT$ 25,000-40,000 | Dual-side pedal-based (Favero Assioma Duo) |
| > NT$ 40,000 | Dual-side crank-based or bottom bracket (Quarq / SRM) |
Special Considerations for Triathletes
- TT bike aerodynamics: Avoid large exposed pedal sensors; carbon crank-based is better
- Multiple race bikes: Pedal-based allows quick switching between TT bike and road bike
- Calibration before race: Install and calibrate immediately 30 minutes before the race
Conclusion
Choosing a single-side pedal-based power meter as your first one is the most practical choice: moderate price, transferable between bikes, and simple installation. Upgrade to a dual-side system once your training volume stabilizes and you start chasing that 1% marginal gain. The value of a power meter lies not in “accurate numbers” but in “consistent trends”—using it correctly matters more than using the right brand.
Related Reading
- Power Meter Buying Guide: Errors and Applications of Single-Side vs Dual-Side Power Meters
- Power Meter Selection: Accuracy and Cost Comparison of Pedal-Based vs Crank-Based vs Hub-Based
- Power Meter Buying Guide: Accuracy and Convenience of Hub-Based vs Pedal-Based vs Crank-Based
- 2025 Ultimate Power Meter Buying Guide: How to Choose Between Pedal, Crank, and Hub Types?
全台首發!邁金P715踏板功率計!市場價格撼動者再出招 / 功率對比實測 / FAVERO ASSIOMA 可參考! / 公路車 / CT Yeh
1 年前
多到選擇障礙... 換個單車把帶想一個小時 / BTP / 編織&軟木特有材質超吸睛! / 公路車 / CT Yeh
1 年前
單車胎壓觀察到的有趣現象,SRAM Quarq TyreWiz 2.0 無內胎胎壓計 / 裝了有哪些幫助? / Tubeless / 公路車 / CT Yeh
1 年前
Fitting訓練兩用功率車 ! Thinkrider ST900 完整實測!/ 坡度升降 / 鄰居測試/ smart bike/公路車/ CT Yeh
2 年前
Stages功率計 和 智騎 X7 Pro 訓練檯同時騎兩個 Rouvy 角色會一起進終點嗎?最後來點數據分析 | 公路車
5 年前
ThinkRider 智騎 XXPRO 訓練台,高階機種功能 只要 1/3價格!? 實測功率對比、噪音實測 / 公路車 / CT Yeh
1 年前
單車 重低音 藍芽喇叭 音質實測 SoundBot SB525 Real Sound Test
8 年前
單車 一日北高 ( 雙城 ) 肥宅雙人瘋狂行 紀錄片 REACTO
10 年前