Safety Principles of Plyometric Training: Landing Technique and Knee Tracking Movement Preparation
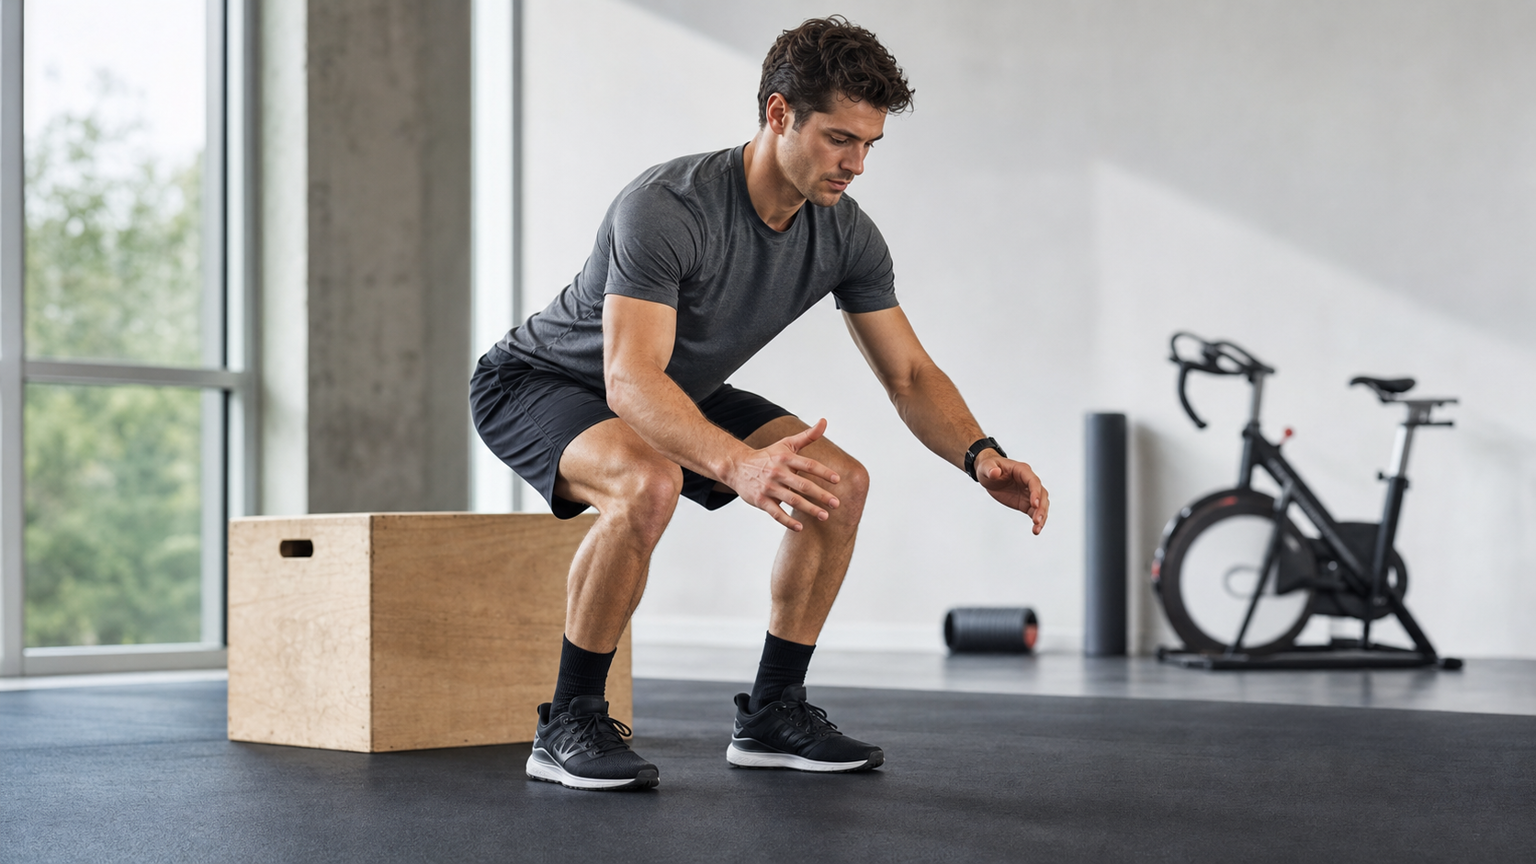
Where Are the Injury Risks in Plyometric Training?
Plyometric training, due to its high-impact nature, can easily lead to the following injuries when performed incorrectly:
- Anterior Cruciate Ligament (ACL) injury: Most commonly occurs when the knees collapse into valgus upon landing on both feet
- Patellar Tendinopathy: Repetitive jumping causes tendon overload
- Quadriceps strain: A combination of insufficient squat depth and explosive effort
- Ankle sprain: Unstable forefoot landing or restricted ankle dorsiflexion
According to statistics from the Sports Injury Research Lab at Taiwan Sports University, approximately 65% of injuries among amateur runners during plyometric training stem from poor landing technique, rather than excessive training volume. This means: technical preparation matters more than volume control.
The Foundation of Landing Technique: The Soft Landing Principle
A “soft landing” is not about landing lightly, but rather a strategy that disperses impact forces through multiple joints, known as the “Multi-Joint Absorption Chain.”
Correct Landing Sequence:
- Forefoot contacts the ground first (not the heel): Shortens the time impact is transmitted to the tibia
- Ankle dorsiflexion: The lower leg leans forward, absorbing vertical impact
- Knee flexion of 20–40 degrees: The quadriceps act as the primary shock absorber
- Hip flexion: The glutes activate, taking over the remaining impact from the knees
- Core stability: Prevents pelvic drop, which can cause uneven loading on the knees
Poor Landing Patterns:
- Landing on the heel → Impact travels directly to the tibia and knee joint
- Landing with locked (hyperextended) knees → Ligaments absorb all the impact
- Unilateral collapse → Knee caves inward, high ACL risk
Knee Tracking Assessment
Knee tracking refers to whether the movement trajectory of the knee aligns with the direction of the toes during dynamic movements.
Self-Assessment Method: Single-Leg Squat Test
- Stand on one leg and slowly squat down until the thigh is approximately parallel to the ground
- Observe from the front: Does the knee drift toward the inside of the big toe (Valgus)?
- Observe from the side: Does the knee travel too far past the toes (excessive forward movement)?
| Assessment Result | Judgment | Recommendation |
|---|---|---|
| Knee aligns with the middle toe | Good | Can perform moderate to high-intensity plyometric training |
| Knee drifts toward the big toe | Mild valgus | Strengthen the gluteus medius for 4 weeks, then reassess |
| Knee moves past the inside of the big toe | Significant valgus | Pause jumping training, refer for evaluation |
| Knee moves excessively forward (more than 5 cm past the toes) | Excessive quadriceps dominance | Strengthen the glutes and hamstrings |
Pre-Plyometric Routine
The following routine should be performed before every plyometric session, taking approximately 12–15 minutes:
Layer 1: Joint Mobility
- Ankle circles: 15 circles per side, once clockwise and once counterclockwise
- Quadriceps stretch (standing): 20 seconds × 2 per side
- Hip flexor stretch (lunge position): 30 seconds × 2 per side
- Thoracic spine rotations (seated or kneeling): 10 per side
Layer 2: Neuromuscular Activation
- Glute Bridge: 20 reps, ensuring the glutes are driving the movement, not the lower back
- Clamshell: 15 reps per side, activating the gluteus medius
- Bird Dog: 10 reps per side, activating the deep core muscles
- Calf Raise: 20 reps, preparing the ankle joints
Layer 3: Movement Integration
- Slow squat while observing knee tracking: 5 reps, confirming movement quality
- Light double-leg hops: 10 reps, feeling the landing feedback
- Light single-leg hops: 8 reps per side, final check before the main workout
Special Considerations for Specific Populations
Those with a history of patellar tendon pain:
- Avoid deep landings (knee flexion beyond 90 degrees)
- Replace land-based versions with Water Plyometrics
- Monitor knee pain scale (NRS 0–10) after each set; stop if it exceeds 3
Those with restricted ankle dorsiflexion (typically due to insufficient ankle mobility):
- Use a 5–10 mm heel lift for assisted training
- Increase calf massage and release work (Foam Rolling 1 minute per side)
- Prioritize Wall Ankle Mobilization exercises
Those who are overweight (BMI > 30):
- Start with “reduced-impact alternative” training: Step-Ups → Low Box Jumps → Standard Box Jumps
- Hold a static support position for 1 second after each landing to build proprioception
Conclusion
The risks of plyometric training are real, but they can be entirely managed through proper technical preparation. Assessing landing technique and knee tracking is a mandatory prerequisite for every endurance athlete before beginning jump training. Invest 15 minutes in movement preparation to make your power training both safe and effective.
Related Reading
- The Safe Dosage of Plyometric Training: Don’t Let Enthusiasm Hurt You
- A Must-Know for Runners: Plyometric Training to Boost Power and Efficiency
- Runner’s Landing Mechanics: Technique Drills and Measurement Methods to Reduce Impact Forces
- How Plyometric Training Improves Running Economy: Landing, Rebound, and Tendon Stiffness
[教學] Premiere 影片 手震 修正 教學 防抖 單眼 影像 GoPro 穩定 Video Stabilization
8 年前
西進武嶺 免費訓練分析服務 Intervals | 練不夠還是練過頭?你哪一種類型選手?AI模型告訴你! | 備戰神器 | 公路車 訓練 | CT Yeh
4 年前
一日北高/長距離團騎 常見問題補充篇 / 組團或跟團的眉角 / 壯車友容易被瘦車友慢性拉爆 / 原來屁股痛可能是這個原因...? / 風場配速法 / 公路車 / CT Yeh
2 年前
FTL 與 SYB 車隊專訪 西進武嶺 實用攻略分享! 2小時 如何練?!你不知道的眉角!新手準備武嶺必看 EP1 | 實力派女車友 | 精華版 | 公路車 | CTYeh
4 年前
大禹嶺 到 武嶺牌樓 全程前後實況錄影 | 北進武嶺 | 東進武嶺 | KOM | 訓練台 | 坡度分析 | Taiwan KOM Last 10 km HARD | 公路車
6 年前
CT 喇低賽) 武嶺牽車 才是王道 西進牽車四小時內秘訣 攝手位置 如何判斷 防抽筋小秘訣
7 年前
西進武嶺 自製新版AI配速表產生器 x 賽前攻略 抱佛腳! 沒有功率計也可以產生配速表嗎?有什麼其他眉角賽前要注意的呢? | 西進武嶺 / 東進武嶺 KOM 攻略 | 公路車 | CT Yeh
4 年前
Zwift 元宇宙單車世界 如何與全世界同步騎車運動
6 年前