Gravel Bike Basics: Key Riding Differences and Technique Adjustments Between Gravel and Road Bikes
Gravel Bike Beginner’s Guide: Riding Differences and Technical Adjustments Between Gravel and Road Bikes
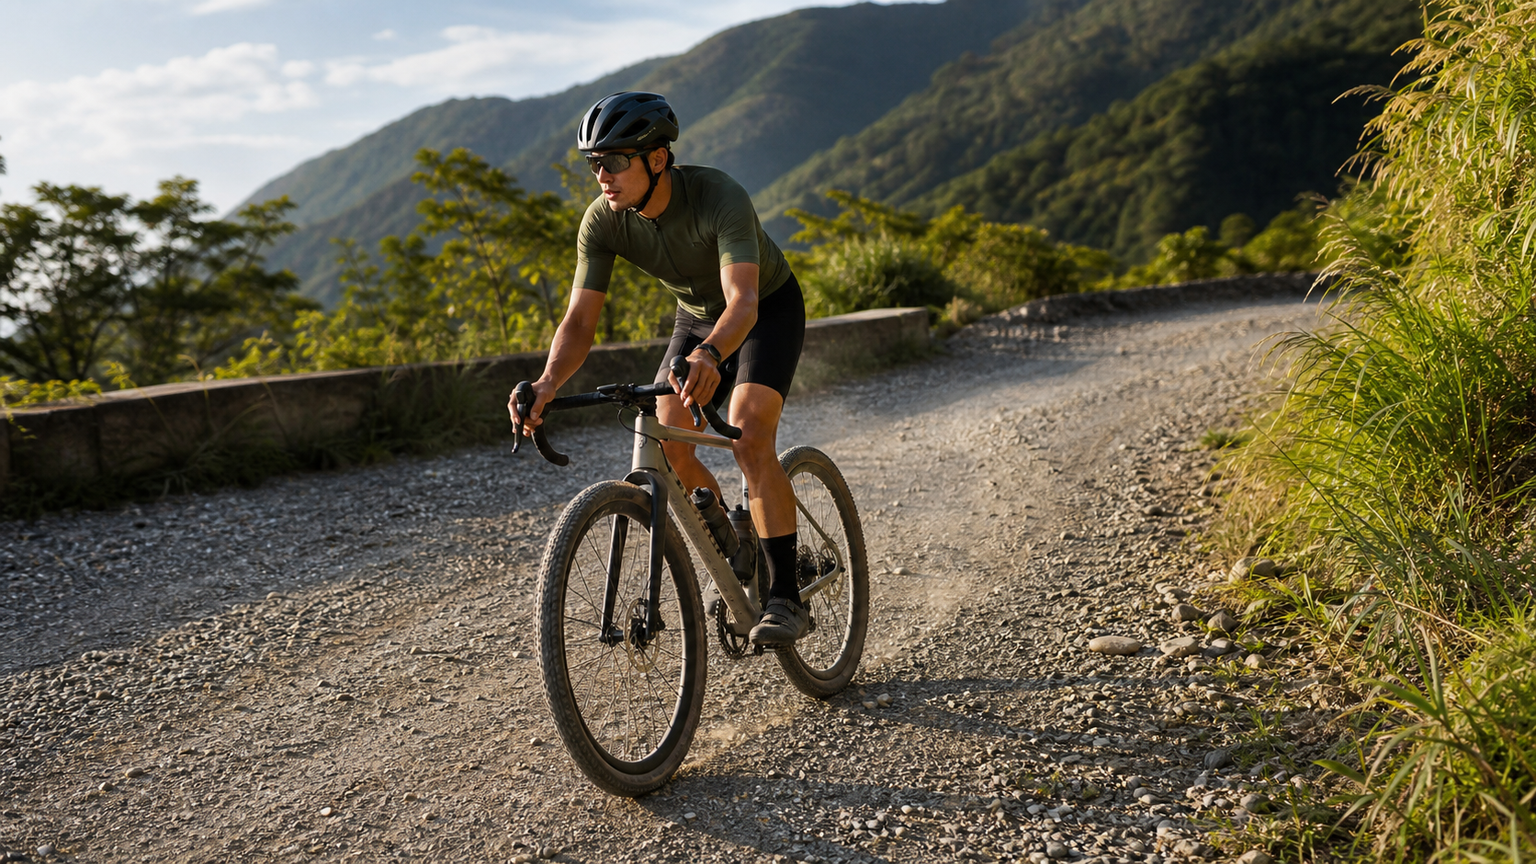
Many Taiwanese road cyclists experience a strong sense of losing control the first time they hit gravel: tires slipping on loose stones, the frame vibrating constantly, and uncertainty about how much lean angle to use when cornering. This unfamiliarity isn’t a regression in skill—it’s that you’re facing an entirely different physical world. Gravel riding isn’t an extension of road riding; it has its own logic, its own rhythm, and instinctive reactions that need to be recalibrated.
Geometry Differences: Why Gravel Bikes “Feel Different”
The most fundamental difference between gravel and road bikes comes from geometry design. Road bikes prioritize efficiency and aerodynamics, with steeper head tube angles (approx. 73–74°), shorter wheelbases, and compact geometry that make them agile at high speeds on smooth pavement. Gravel bikes, by contrast, deliberately increase fork rake, lengthen the wheelbase, and lower the bottom bracket height to create a more stable, more forgiving ride.
| Item | Road Bike | Gravel Bike |
|---|---|---|
| Head tube angle | 73–74° | 70–72° |
| Fork rake | 43–45mm | 47–55mm |
| Wheelbase | 980–1000mm | 1020–1060mm |
| BB drop | 68–72mm | 60–68mm |
| Recommended tire width | 25–32mm | 35–50mm |
The practical effect of these numbers: a gravel bike self-stabilizes on rough, high-speed terrain, steering is less twitchy, and the front end won’t violently wobble when hitting potholes or loose rocks. The trade-off is slightly less agility for quick line changes on pavement, but it’s entirely worth it.
Riding Position Adjustments: Seating, Center of Gravity, and Handlebar Position
Road cyclists are accustomed to dropping into the drops and lowering their upper body to reduce wind resistance, but on gravel, this position actually increases danger. Two reasons:
- Restricted field of vision: Being too low means you only see 5–8 meters ahead, whereas gravel requires reading the road 10–15 meters in advance
- Center of gravity too low: The low center of gravity that works on pavement puts too much pressure on the front wheel on gravel, making it more prone to digging into loose surfaces and washing out
Recommended basic gravel riding position: raise your upper body about 10–15°, keep a slight bend in your elbows (don’t lock them), relax your shoulders, and absorb vibration through your pelvis rather than your lumbar spine. This position lets you absorb shock while maintaining good visibility.
Core Technique: Counterintuitive Handling on Loose Surfaces
The most common mistake gravel beginners make is “overcorrecting.” On asphalt, instinctively steering into a slight tire slip is correct; on gravel, that correction often makes things worse.
What to do instead:
- When you feel the tires starting to wander, loosen your grip, and let the bike find its own center of gravity
- Look toward the stable road surface ahead, not at the obstacle right in front of you
- When the bike sways slightly, keep your pedaling rhythm steady and use cadence to stabilize the frame
- Start your turn 2–3 meters earlier than on a road bike, with a wider, rounder arc
Recalibrating Braking Habits
Braking logic on gravel is completely different from asphalt. The feathering technique road cyclists are used to can lock up the tires on gravel and trigger a sideways slide.
Recommended approach:
- Apply continuous pressure at 40–60% force rather than sudden hard braking
- On descents, prioritize the rear brake (60–70%), with the front brake as support, to avoid front-wheel washout
- Complete most of your braking before entering a gravel section, then maintain a steady speed through it
- Avoid braking mid-corner; finish braking before the turn and accelerate on the way out
Tire Pressure: The Most Important Gravel Setting
For gravel beginners, tire pressure settings have a far greater impact than on road bikes. A simple baseline:
- 43mm tire width: 28–35 psi front, 32–38 psi rear
- 40mm tire width: 30–38 psi front, 35–42 psi rear
- For every additional 10kg of body weight, increase pressure by about 3–4 psi
Lower pressure increases contact area and improves grip, but going too low risks pinch flats (rim strikes). With a tubeless setup, you can run even lower pressures.
The Mindset Shift from Road Cyclist to Gravel Rider
Finally, and most importantly: gravel riding requires accepting “imperfect surfaces.” Road cyclists are used to finding the best line and avoiding every pothole; gravel riders need to learn to coexist with the terrain, making their body part of the suspension system.
- You don’t need to dodge every obstacle—sometimes rolling straight over it is safer than going around
- Accept that brief tire slip is normal, not a precursor to losing control
- Enjoy the vibration and feedback transmitted through the surface—that’s part of the fun of gravel
Conclusion
The entry barrier for gravel riding is actually lower than you’d think. The hard part isn’t the technique—it’s letting go of the road bike mindset. I’d recommend beginners find a 5–10 kilometer gravel farm road (most mountain forest roads across Taiwan qualify), and practice the technical points in this article at a relaxed pace. After a few sessions, you’ll find that gravel is actually a very honest teacher—it will clearly tell you which habits need adjusting.
Related Reading
- Gravel Bike vs Road Bike: A Comprehensive Analysis of the Differences and Buying Guide
- Gravel Bike Beginner’s Guide: The Perfect Balance Between Road Bikes and Mountain Bikes
- Gravel Bike Fully Explained: Bike Category Positioning, Geometry, and Tire Width Logic, and the Trade-offs with Road/Mountain Bikes
- Gravel Race-Specific Training: Physical and Technical Preparation for Mixed Terrain
碟煞公路車 優缺點?換車一年半實際經驗分享 / 公路車 / CT Yeh
2 年前
公路車 BB培林大升級! / 備戰海鷗繞圈賽 Canyon Aerod & TIME 一起改 / MIT大廠 CEMA對鎖式陶瓷培林BB & 導輪 / 公路車 / CT Yeh
2 年前
一個測試有沒有認真練車的方法😂 #公路車
10 個月前
風櫃嘴! 現實與虛擬騎乘 會有誤差嗎? 背著iPad邊騎一趟風櫃嘴實際測試一次 | 公路車 | CT Yeh
3 年前
RAMP FTP Test 直播 究竟能撐到幾瓦 訓練台 Gravat Zwift
6 年前
大禹嶺 到 武嶺牌樓 全程前後實況錄影 | 北進武嶺 | 東進武嶺 | KOM | 訓練台 | 坡度分析 | Taiwan KOM Last 10 km HARD | 公路車
6 年前
FTL 與 SYB 車隊專訪 西進武嶺 實用攻略分享! 2小時 如何練?!你不知道的眉角!新手準備武嶺必看 EP1 | 實力派女車友 | 精華版 | 公路車 | CTYeh
4 年前
單車AI教練!全新 ChatGPT4o 幫你分析訓練成果!排武嶺課表,分析騎車姿勢! 太神了! / 公路車 / CT Yeh / feat. 緯緯
2 年前